Introduction
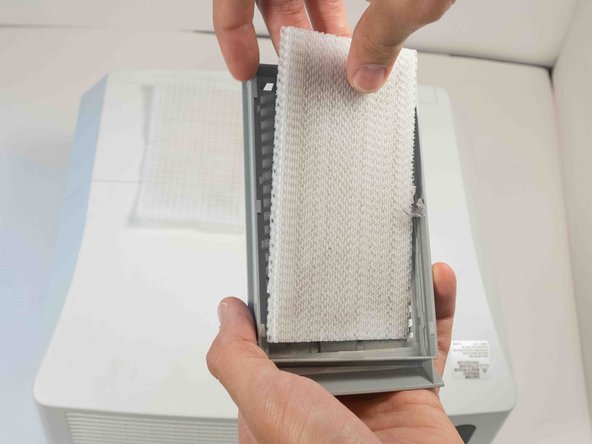
This is the most common but also the easiest component to replace on the Hitachi CP-X2010N projector. The air filter is responsible for cleaning the air that circulates through your device. If you notice excessive fan noise or difficulty keeping temperature down, the air filter might be dirty or clogged. The air filter will need replacement more often if the projector is operating in a dusty environment.
-
-
Lift the front of the projector up so the air filter tray is easily accessible.
-
-


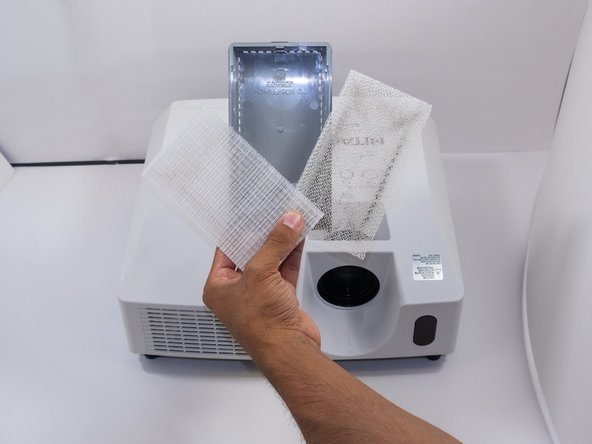
To reassemble your device, follow these instructions in reverse order.
To reassemble your device, follow these instructions in reverse order.
Cancel: I did not complete this guide.
5 other people completed this guide.

Team

Austin Community College, Team 9-2, Watkins Fall 2022 Member of Austin Community College, Team 9-2, Watkins Fall 2022
AUSTINCC-WATKINS-F22S9G2
4 Members
6 Guides authored