Introduction
This will walk you through replacing the microphone on the handset.
What you need
-
-
After removing the BP-T18 battery pack, you will see two 11mm Phillips #0 screws located at the bottom of the phone. Remove both screws with a screwdriver.
 Ask FixBot
-
-
-
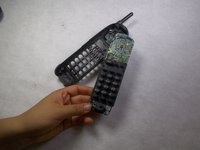
Locate an easy point of access for a spudger, and then slowly insert it into the gap and pry it open.
-
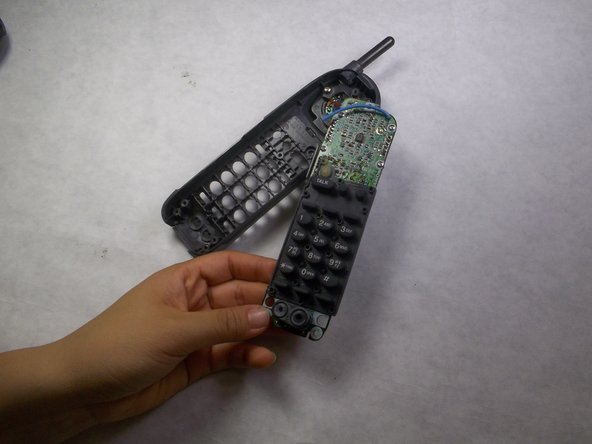
Increase the degree of slant until the back cover is completely removed.
-
-
-
-
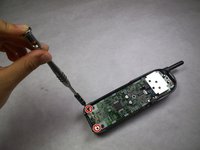
After removing the back cover, you will see 3 screws: one 7mm Phillips #0 screw at the top and two 11mm Phillips #0 screws at the bottom.
-
Use a screwdriver to remove all 3 screws.
-
-
-
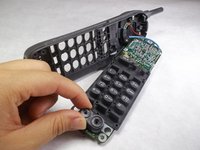
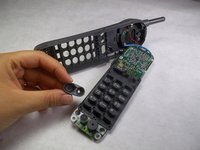
Locate the rubber part towards the very bottom of the handset. This is the microphone with protective rubber cover.
-
Remove the protective rubber cover. This may require a spudger.
-


To reassemble your device, follow these instructions in reverse order.
Cancel: I did not complete this guide.
3 other people completed this guide.
Team

IUPUI, Team 3-3, Harley Fall 2016 Member of IUPUI, Team 3-3, Harley Fall 2016
IUPUI-HARLEY-F16S3G3
4 Members
22 Guides authored