
HTC Wizard 200 Screen Cover Replacement

Kyle Champ and
Last updated on Jan 15, 2026
Views: 1.4K
View statistics:
- Past 24 Hours:
- 3
- Past 7 Days:
- 23
- Past 30 Days:
- 90
- All Time:
- 1,401
Comments: 0
No one has left comments on this guide. Will you be first?
Go to guide commentsCompleted: 0 1
No one has marked this guide "completed." Will you be the first?
1 person has marked this guide "completed." It's you — great job!
Favorites: 2 3
2 people have favorited (and subscribed to) this guide. Will you be next?
3 people have favorited (and subscribed to) this guide — including you!
Better Introduction
Improve this guide by completing or revising its introduction.
Missing Details
Some of this guide's details are missing. Help users by adding tools, difficulty, or time.
Introduction
Go to step 1 ↓This guide will explain how to install / remove the screen cover from the HTC Wizard 200.
What you need
Tools
-
Spudger4.9


-
-
-
To expose the battery, remove the outer case with your fingernail.
-
Remove the battery by pulling the black tab.
 Ask FixBot
-
-
-
-
Tool used on this step:Spudger$3.99
-
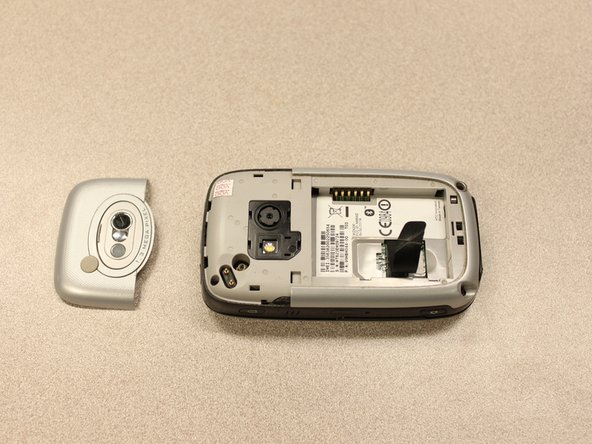
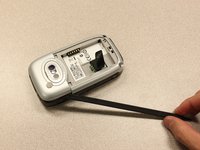
Insert the flat end of the spudger into the two notches on the back of the camera cover and pry them up.
-
-
Tool used on this step:Spudger$3.99
-
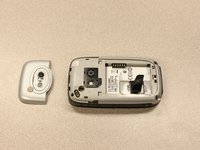
Work the spudger around the edges of the camera cover until it comes off.
-
-
Tool used on this step:T5 Torx Screwdriver$5.49
-
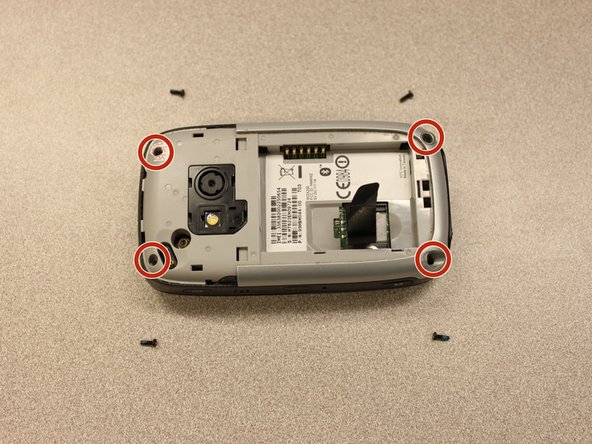
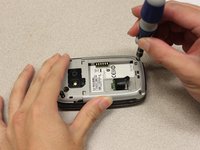
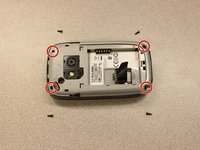
Remove the four 6 mm screws with the T5 Torx screwdriver.
-
-
-
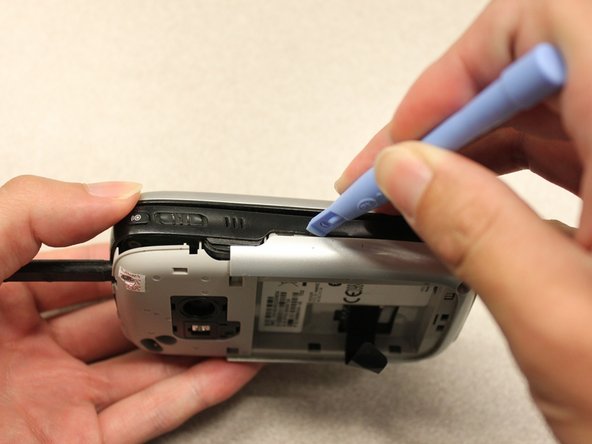
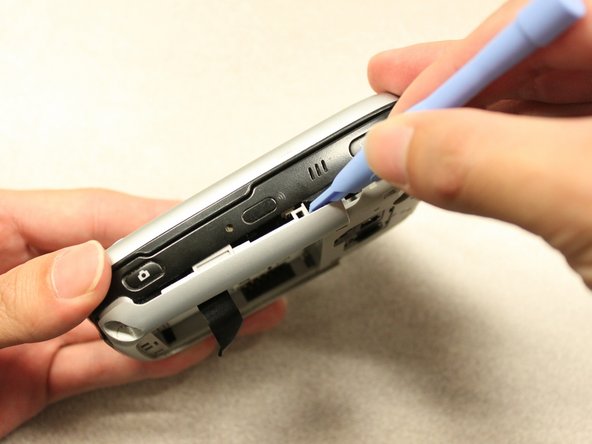
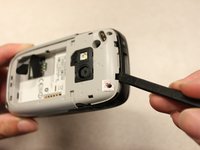
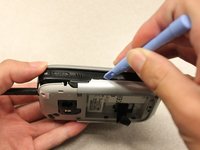
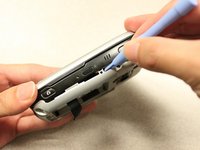
Insert the flat end of an iFixit opening tool between the side and inner covers to create a gap.
-
Work the tool around the edges until all the clips release.
-
-
-
-
Tool used on this step:Spudger$3.99
-
Use the spudger to pry the camera off.
-
-
-
Tool used on this step:Tweezers$4.99
-
Using tweezers, flip the connector latch away from the motherboard.
-
Detach the flexible connection from under the connector latch.
-
-
Tool used on this step:Spudger$3.99
-
Lift the motherboard out of the case using the spudger.
-
Expose the underside of the motherboard using your hands.
-
-
-
-
Tool used on this step:T5 Torx Screwdriver$5.49
-
Remove the four 5mm screws with the T5 Torx screwdriver.
-
Remove the keyboard slider from the main body.
-
-
-
-
-
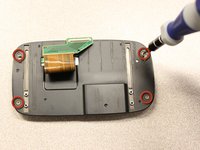
Use the T5 Torx screwdriver to remove four 5mm screws that secure the back of the screen casing.
-
-
-
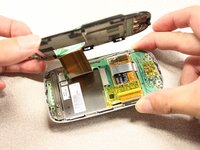
Insert the plastic opening tool between the front panel and the rear panel and pry open to reach the screen.
-
-
-
Once the rear panel is loose, lift it off of the front panel.
-
The flexible connection will pop loose.
-
-
-
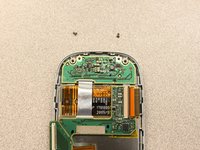
Unscrew the two 3mm phillips #0 screws from the bottom of the device that secure the rigid flex board to the screen panel.
-
-
-
Unscrew the two 3mm Phillips #0 screws from the top of the device that secure the rigid flex board to the screen panel.
-
-





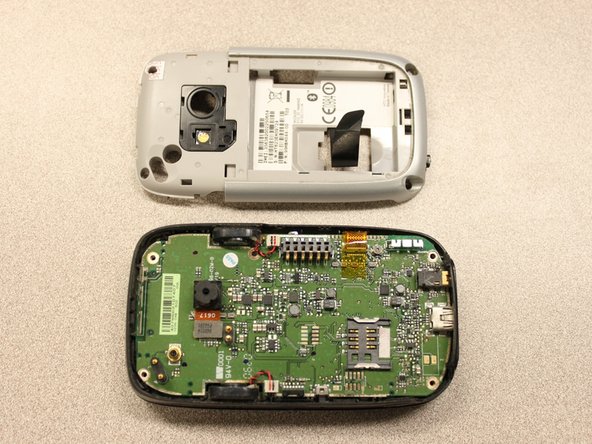
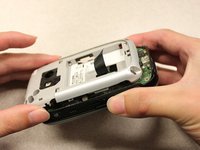
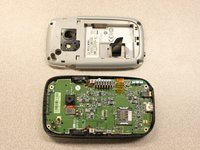


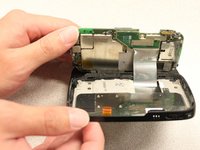


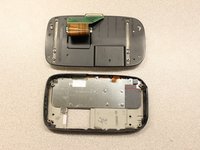








To reassemble your device, follow these instructions in reverse order.

Team

Cal Poly, Team 20-27, Maness Fall 2011 Member of Cal Poly, Team 20-27, Maness Fall 2011
CPSU-MANESS-F11S20G27
4 Members
144 Guides authored
