Free Shipping on Domestic Orders $75+

HTC Vive Sensor Array Assembly Replacement

Archived Guide
This guide is retained solely for historical purposes. Use the updated version of the guide to perform your repair.

What you need

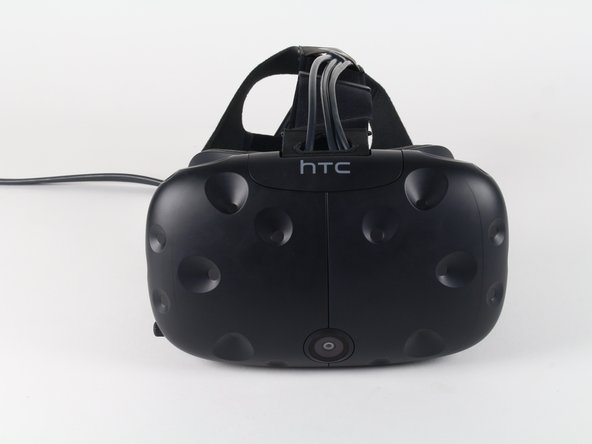
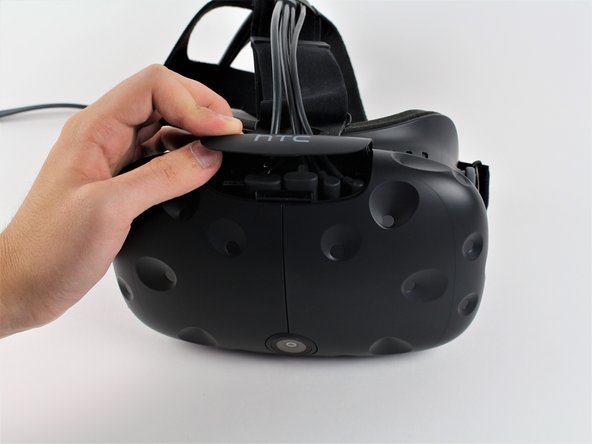
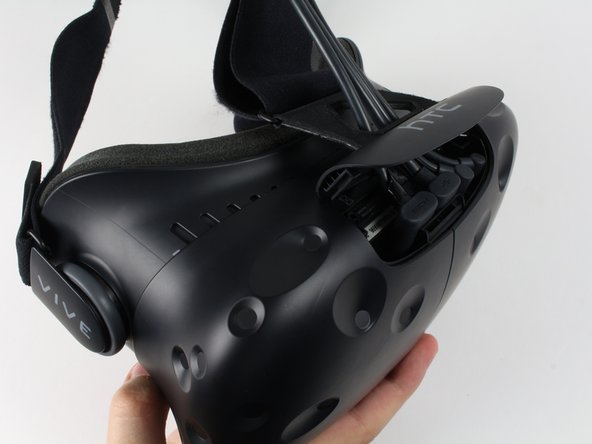
    1. HTC Vive Sensor Array Assembly Replacement, Straps and Cables: step 1, image 1 of 3 HTC Vive Sensor Array Assembly Replacement, Straps and Cables: step 1, image 2 of 3 HTC Vive Sensor Array Assembly Replacement, Straps and Cables: step 1, image 3 of 3
      • Slide the HTC panel covering the cables forward, away from the Vive.

      • Gently pull on each of the four connectors to remove the sound and Three-in-One cables.

      Ask FixBot

      Add Comment

    2. HTC Vive Sensor Array Assembly Replacement: step 2, image 1 of 1
      • Undo the hook and loop tape on the straps.

      • Slide the ends of the straps through the hinge loops.

      Ask FixBot

      Add Comment

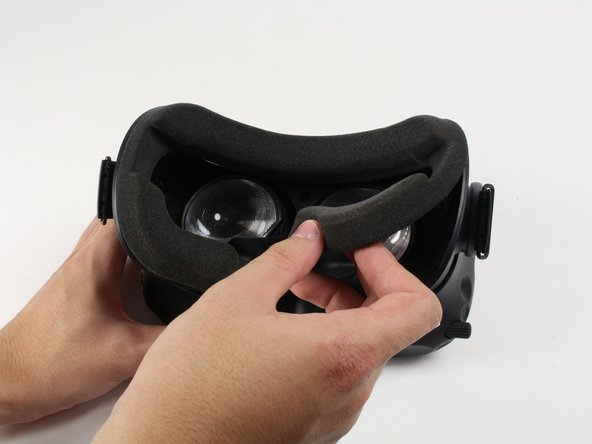
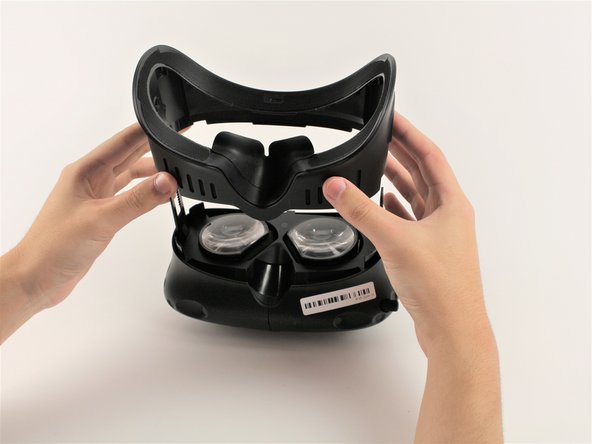
    1. HTC Vive Sensor Array Assembly Replacement, Facerest: step 3, image 1 of 1
      • Pull the facerest cushion off away from the Vive, separating the hook and loop tape.

      Ask FixBot

      Add Comment

    2. HTC Vive Sensor Array Assembly Replacement: step 4, image 1 of 2 HTC Vive Sensor Array Assembly Replacement: step 4, image 2 of 2
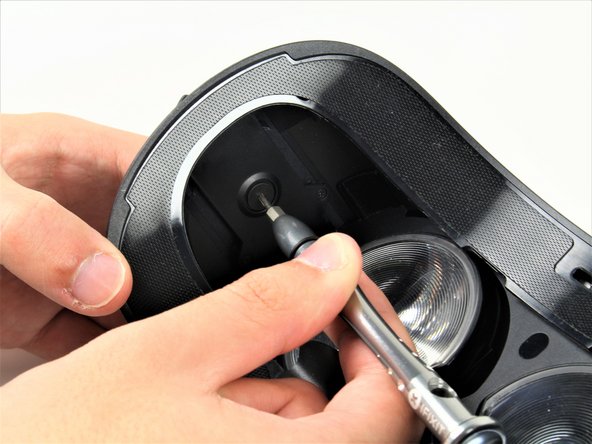
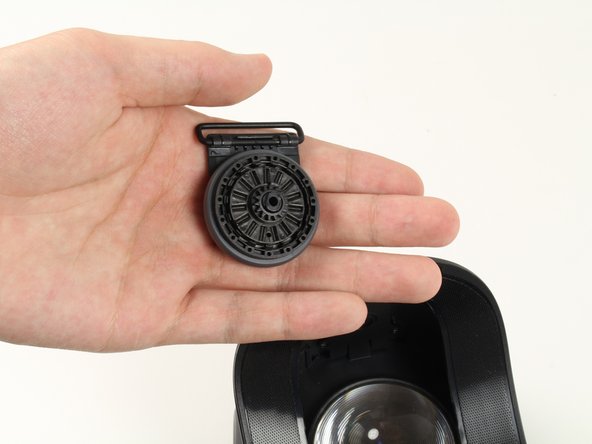
      • Use a T6 Torx Screwdriver to remove either of the two 12mm hinge screws holding the two hinges in place.

      • Allow the hinge to fall away once the screw is removed.

      • Repeat for the opposite side.

      Ask FixBot

      Add Comment

    3. HTC Vive Sensor Array Assembly Replacement: step 5, image 1 of 3 HTC Vive Sensor Array Assembly Replacement: step 5, image 2 of 3 HTC Vive Sensor Array Assembly Replacement: step 5, image 3 of 3
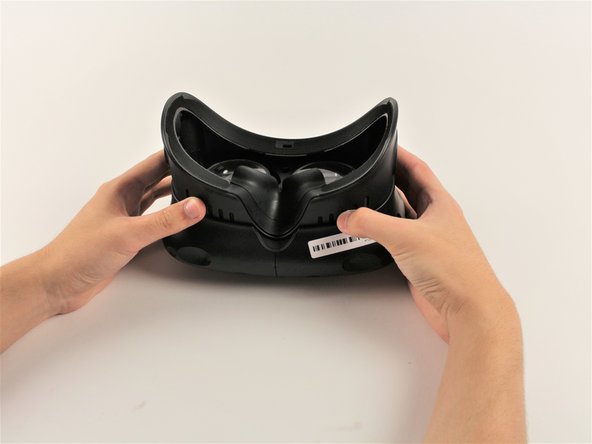
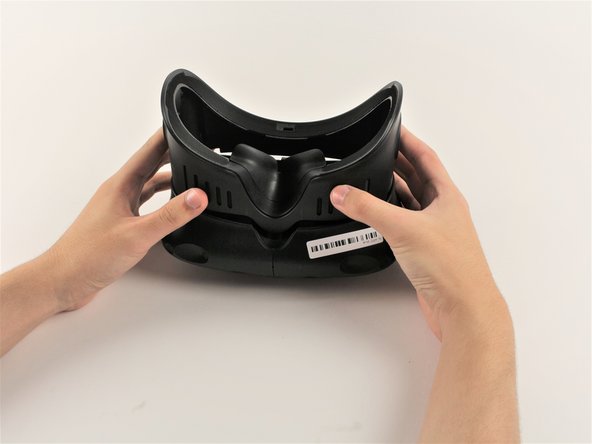
      • Slide the plastic facerest away from the device.

      Ask FixBot

      Add Comment

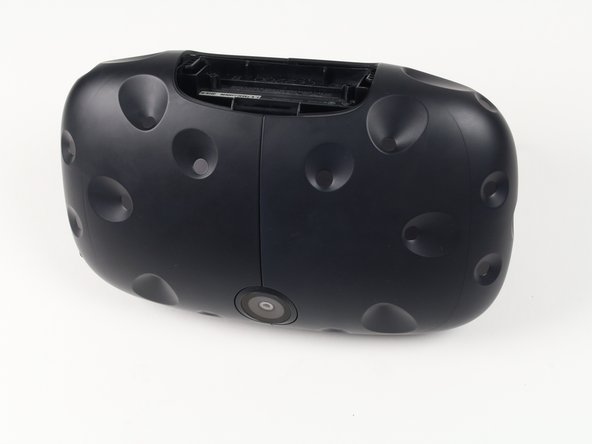
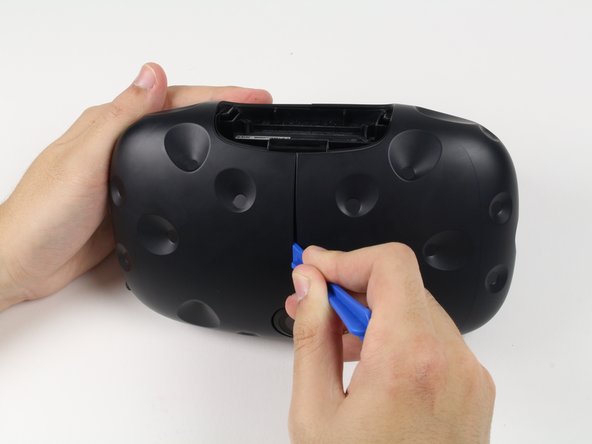
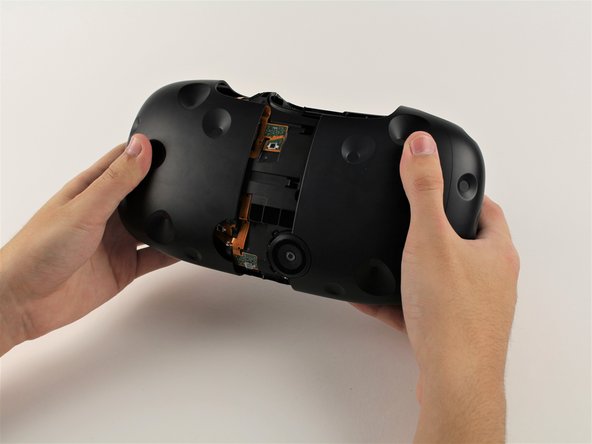
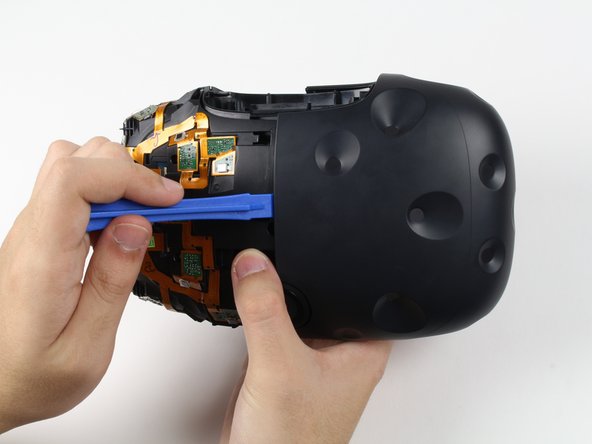
    1. HTC Vive Sensor Array Assembly Replacement, Outer Shell: step 6, image 1 of 3 HTC Vive Sensor Array Assembly Replacement, Outer Shell: step 6, image 2 of 3 HTC Vive Sensor Array Assembly Replacement, Outer Shell: step 6, image 3 of 3
      • Orient the Vive so that the camera is facing towards you and the connector ports are facing upwards.

      • There are four screws you need to remove that are covered with small black stickers (two on top, two on bottom).

      • Use a plastic opening tool to gently pry up the left side of the outer sheath.

      • If the left sheath is glued down, slide your plastic opening tool along the middle seam to break the bond.

      • Slide the left side of the sheath outwards.

      Ask FixBot

      Add Comment

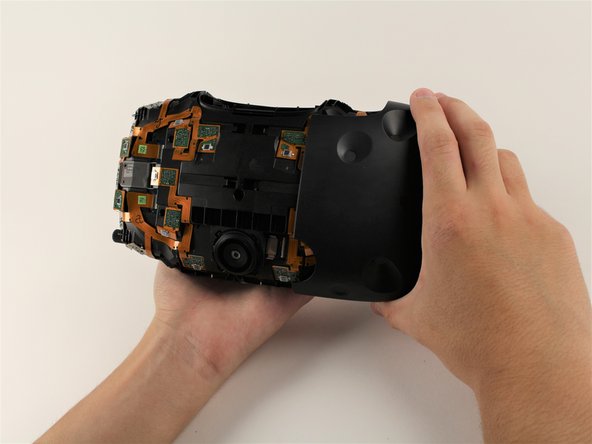
    2. HTC Vive Sensor Array Assembly Replacement: step 7, image 1 of 3 HTC Vive Sensor Array Assembly Replacement: step 7, image 2 of 3 HTC Vive Sensor Array Assembly Replacement: step 7, image 3 of 3
      • Slide a plastic opening tool underneath the right side of the sheath to remove any remaining glue.

      • Using the plastic opening tool, pry the right side of the sheath upwards slightly.

      • Using your hands, slide the right side of the sheath outwards.

      Ask FixBot

      Add Comment

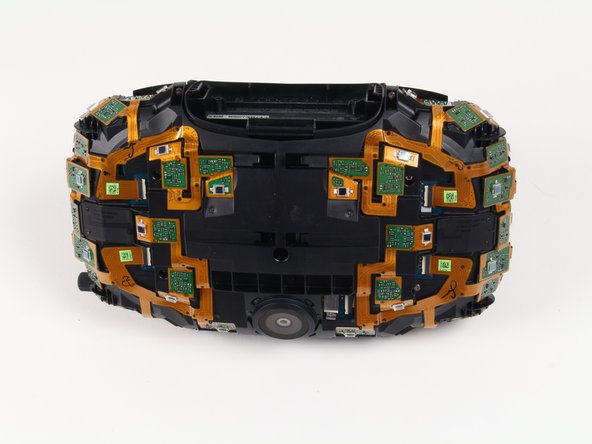
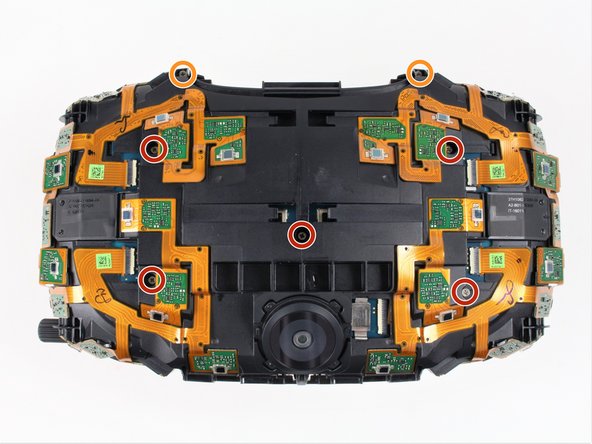
    1. HTC Vive Sensor Array Assembly Replacement, Sensor Array Assembly: step 8, image 1 of 2 HTC Vive Sensor Array Assembly Replacement, Sensor Array Assembly: step 8, image 2 of 2
      • Remove the five 4mm Philips #00 screws holding the sensor array to the motherboard.

      • Remove the two 4mm Philips #00 screws holding the sensor array to the midframe.

      Ask FixBot

      Add Comment

    2. HTC Vive Sensor Array Assembly Replacement: step 9, image 1 of 2 HTC Vive Sensor Array Assembly Replacement: step 9, image 2 of 2
      Tool used on this step:
      Tweezers
      $4.99
      Buy
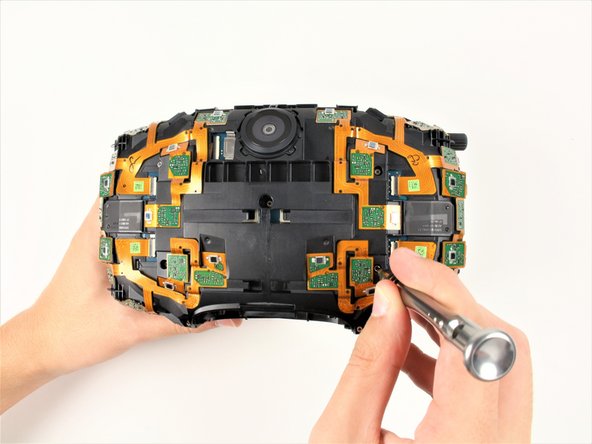
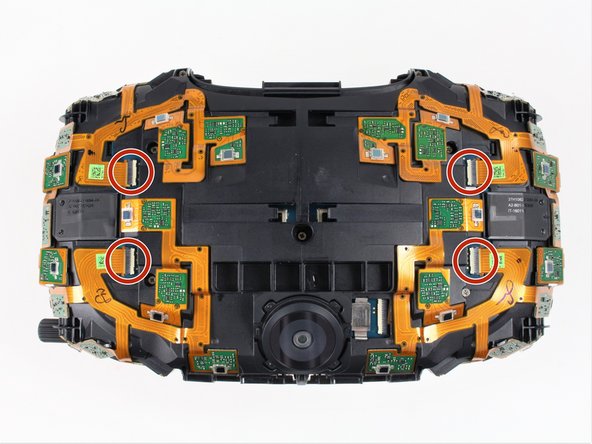
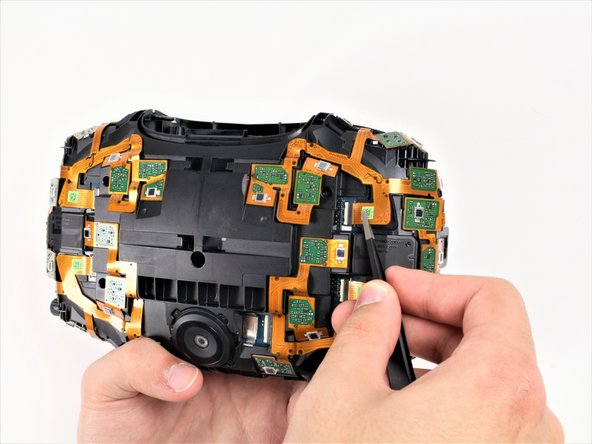
      • Using a pair of ESD safe tweezers, gently pull the four ribbon cables out horizontally from the sensor array.

      Ask FixBot

      Add Comment

    3. HTC Vive Sensor Array Assembly Replacement: step 10, image 1 of 3 HTC Vive Sensor Array Assembly Replacement: step 10, image 2 of 3 HTC Vive Sensor Array Assembly Replacement: step 10, image 3 of 3
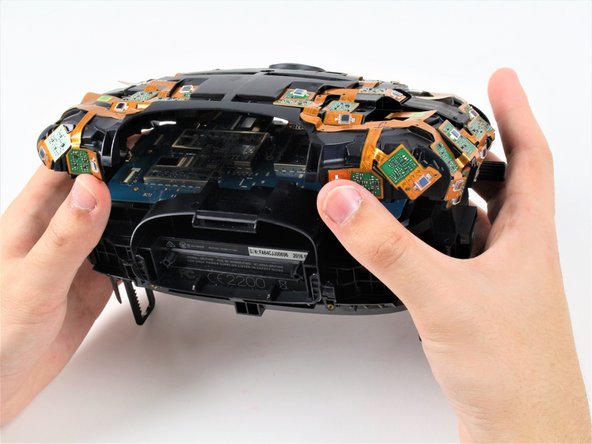
      • Be careful not to lift the sensor array too far from the rest of the device because the camera ribbon cable may tear.

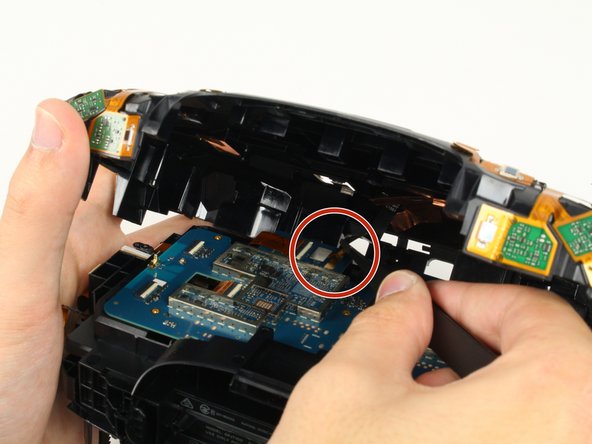
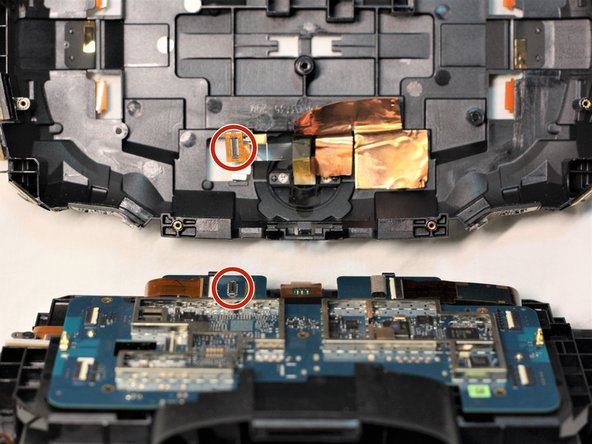
      • Lift the sensor array away from the rest of the Vive until the camera cable tugs back and hold it in place.

      • The camera ribbon cable must be pulled out of its socket vertically, as opposed to all other ribbon cables which slide out horizontally.

      • Disconnect the camera by lifting its ribbon cable up and away from the motherboard using a pair of ESD safe tweezers.

      • Lift the sensor array upwards away from the motherboard to separate the array from the device fully.

      Ask FixBot

      Add Comment

Conclusion

To reassemble your device, follow these instructions in reverse order.

Cancel: I did not complete this guide.

Caleb Watts

Member since: 09/25/17

2,439 Reputation

11 Guides authored

Team

Cal Poly, Team S18-G1, Forte Fall 2017 Member of Cal Poly, Team S18-G1, Forte Fall 2017

CPSU-FORTE-F17S18G1

5 Members

132 Guides authored

0 Guide Comments

Add Comment

View Statistics:

Past 24 Hours: 2

Past 7 Days: 4

Past 30 Days: 10

All Time: 93