
HTC Vive Controller Trigger Replacement

Christopher Amaro and 5 other contributors
Last updated on Feb 23, 2022
Views: 7.1K
View statistics:
- Past 24 Hours:
- 5
- Past 7 Days:
- 33
- Past 30 Days:
- 127
- All Time:
- 7,090
Comments: 45
43 comments on steps, 2 guide comments.
Go to guide commentsCompleted: 6 7
6 people have marked this guide "completed." Will you be next?
7 people have marked this guide "completed." Including you — great job!
Favorites: 1 2
1 person has favorited (and subscribed to) this guide. Will you be next?
2 people have favorited (and subscribed to) this guide — including you!
Introduction
Go to step 1 ↓The HTC Vive controller trigger may be faulty and may not be detecting clicks from extended use. The motherboard has to be removed in order to access the trigger. This guide will show you how to replace the trigger.
What you need


-
-
-
Turn over the Vive controller so that the bottom saucer is facing up.
-
Use the T5 Torx screwdriver to remove three black 21mm screws from the bottom saucer.
 Ask FixBot
-
-
-
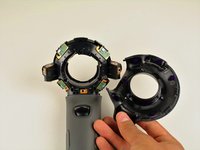
Use the nylon spudger to separate the top and bottom saucer covers all around the edges.
-
Remove only the top saucer cover by pulling up with your hand.
-
-
-
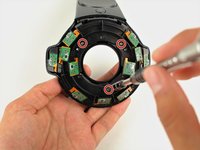
Use the Phillips 00 screwdriver to remove the three silver 12.8mm screws from the exposed upper sensor panel.
-
-
-
-
-
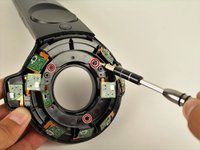
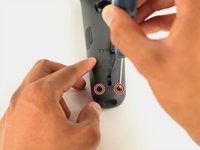
Use the T5 Torx screwdriver to remove the two black 5.2mm screws on the back gray panel.
-
-
-
Turn over the Vive controller so that the exposed bottom saucer panel is facing up.
-
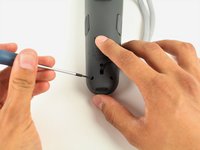
Use the T5 Torx screwdriver to remove the three black 5.2mm screws.
-
-
-
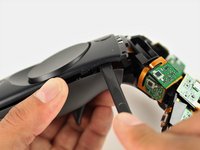
Use the nylon spudger to separate the front panel gently by running the spudger around the edges of the handle.
-
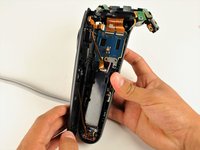
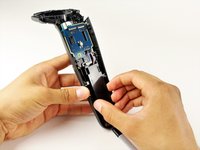
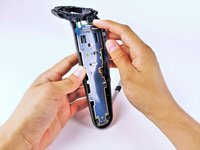
Gently lift the right side of the panel to the left.
-
-
-
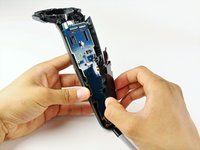
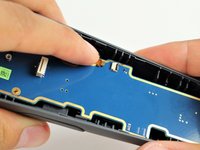
Disconnect the upper ribbon cable gently by pulling the ribbon up and away from the motherboard with two fingers.
-
-
-
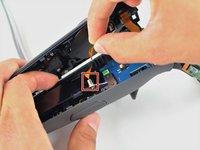
Disconnect the middle ribbon cable gently by pulling the ribbon cable up and away from the motherboard with two fingers.
-
-
-
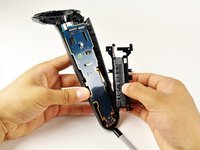
Use the nylon spudger to lift the white tab by 90 degrees.
-
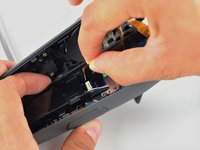
Disconnect the bottom ribbon cable gently by pulling the ribbon cable down with two fingers.
-
-
-
-
-
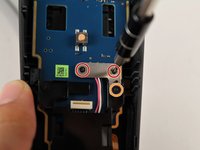
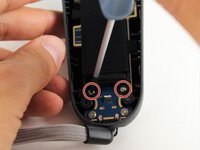
Use the Phillips 00 screwdriver to remove two black 2.8mm screws from the silver plate.
-
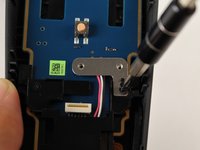
Use the Phillips 00 screwdriver to remove the black 5.8mm screw from the bottom right corner of the silver plate.
-
-
-
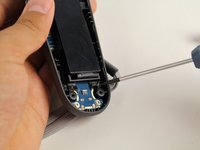
Use the Phillips 00 screwdriver to remove the black 5.8mm screw from the top left of the battery frame.
-
-
-
Use the T5 Torx screwdriver to remove the two silver 4.2mm screws from the bottom of the battery frame.
-
-
-
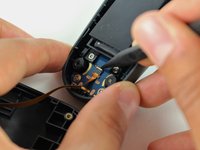
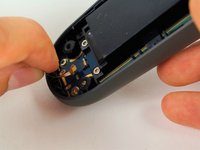
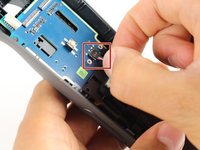
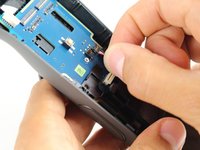
Disconnect the three-pin cable gently by pinching the cable with two fingers and pulling up.
-
-
-
-
-
-
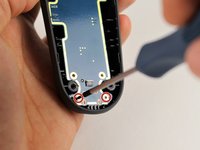
Use the Phillips 00 screwdriver to remove the two black 5.8mm screws from the top of the motherboard.
-
-
-
Use the T5 Torx screwdriver to remove the two silver 4.2mm screws from the bottom of the motherboard.
-
-
-
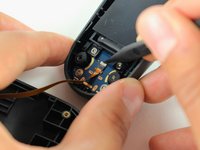
Use the nylon spudger to rotate the black tab up by 90 degrees.
-
Disconnect the ribbon cable carefully with your finger.
-
-
-
-
-
Use the T5 Torx screwdriver to remove the four black 5.2mm screws from the inner part of the trigger.
-
-
-
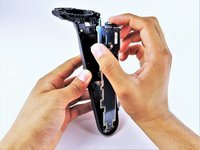
Push the trigger button in with your finger until it pops out of the front panel.
-
-




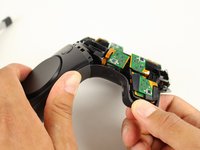
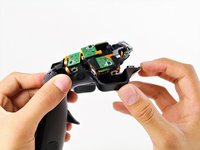


















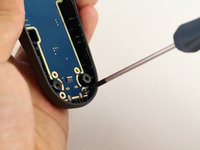
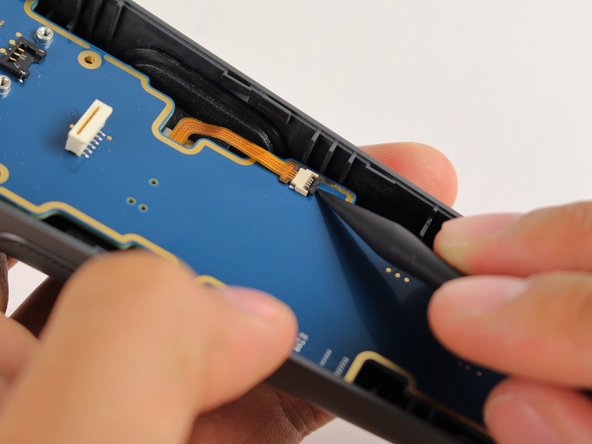




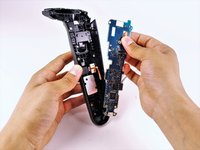


To reassemble your device, follow these instructions in reverse order.
Cancel: I did not complete this guide.
6 other people completed this guide.

Team

Cal Poly, Team S15-G5, Livingston Fall 2017 Member of Cal Poly, Team S15-G5, Livingston Fall 2017
CPSU-LIVINGSTON-F17S15G5
4 Members
96 Guides authored
2 Guide Comments
It is possible to access and replace the trigger without having to disconnect any of the cables. I have done this with 3 controllers already.
Just ignore the steps saying to disconnect the cable, move parts to the side and be careful.
No disassembly fix for a broken spring: Sling a rubber band under the trigger.
