Free Shipping on Domestic Orders $75+

HTC Thunderbolt Kickstand Replacement

What you need

  1. HTC Thunderbolt Kickstand Replacement, Rear Panel: step 1, image 1 of 1
    • Insert the plastic opening tool into the top of the Thunderbolt near the power button.

    • Gently pry up on the rear panel around the edges until it is loose.

    Ask FixBot
  2. HTC Thunderbolt Kickstand Replacement: step 2, image 1 of 1
    • Lift and remove the rear panel.

    Ask FixBot
  3. HTC Thunderbolt Kickstand Replacement, Battery: step 3, image 1 of 2 HTC Thunderbolt Kickstand Replacement, Battery: step 3, image 2 of 2
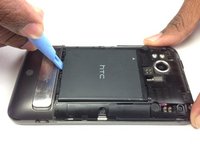
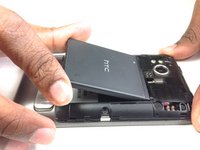
    • Using the plastic opening tool, lift up the battery from the bottom near the kickstand.

    • Remove the battery from the inner frame.

    Ask FixBot
  4. HTC Thunderbolt Kickstand Replacement, MicroSD Card: step 4, image 1 of 2 HTC Thunderbolt Kickstand Replacement, MicroSD Card: step 4, image 2 of 2
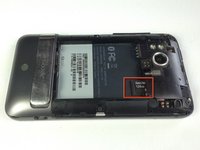
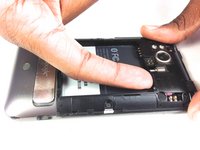
    • Use your finger to push the MicroSD card in towards the top of the phone, allowing it to be released from the casing.

    Ask FixBot
  5. HTC Thunderbolt Kickstand Replacement: step 5, image 1 of 1
    Tool used on this step:
    Tweezers
    $4.99
    Buy
    • Use tweezers to grab onto the MicroSD card and carefully remove it from the casing.

    Ask FixBot
  6. HTC Thunderbolt Kickstand Replacement, Rear Frame: step 6, image 1 of 1
    • Remove the six Phillips screws from the perimeter of the rear frame.

    • By removing the screw with the "void" sticker on it, your Thunderbolt will no longer be covered under warranty.

    Ask FixBot
  7. HTC Thunderbolt Kickstand Replacement: step 7, image 1 of 2 HTC Thunderbolt Kickstand Replacement: step 7, image 2 of 2
    • Insert the plastic opening tool into the bottom of the phone underneath the soft keys.

    • Gently pry up on the plastic cover by sliding the plastic opening tool across the bottom of the phone.

    • Remove the plastic cover.

    • The plastic cover will have adhesive on it making it difficult to remove.

    Ask FixBot
  8. HTC Thunderbolt Kickstand Replacement: step 8, image 1 of 1
    • Remove the two Phillips screws where the plastic cover was.

    Ask FixBot
  9. HTC Thunderbolt Kickstand Replacement: step 9, image 1 of 2 HTC Thunderbolt Kickstand Replacement: step 9, image 2 of 2
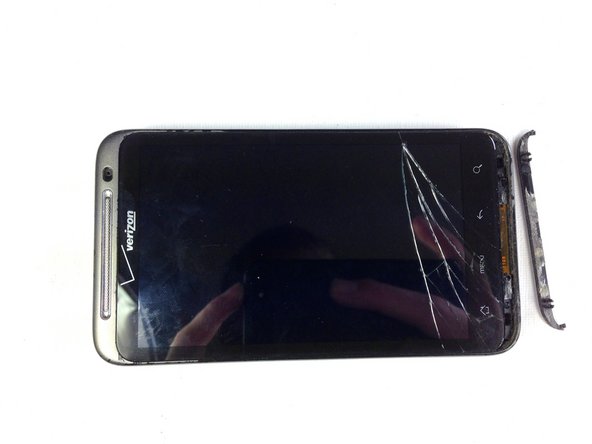
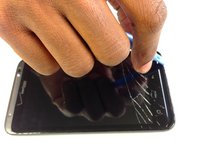
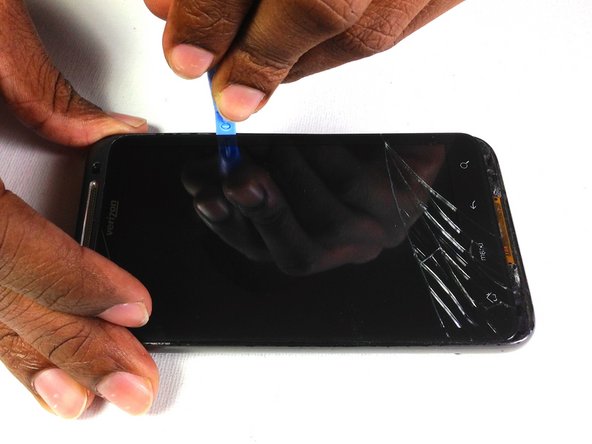
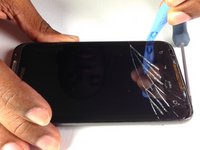
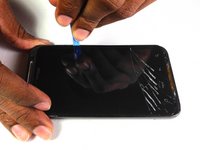
    • Insert the plastic opening tool in between the screen and the frame on the side of the phone.

    • Slowly slide the the plastic opening tool along the side of the phone until the screen begins to separate from the frame.

    • Do the same for the opposite side of the phone.

    Ask FixBot
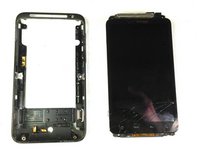
  10. HTC Thunderbolt Kickstand Replacement: step 10, image 1 of 3 HTC Thunderbolt Kickstand Replacement: step 10, image 2 of 3 HTC Thunderbolt Kickstand Replacement: step 10, image 3 of 3
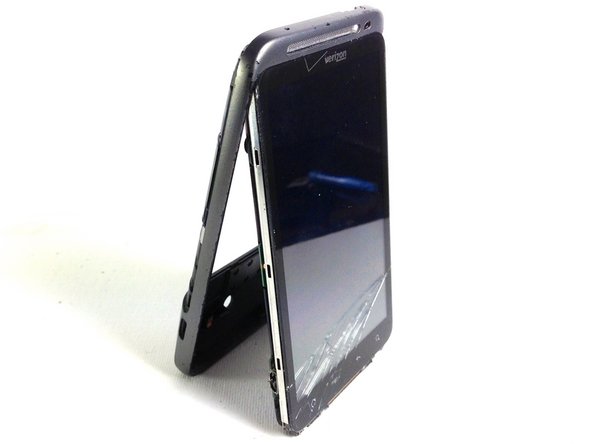
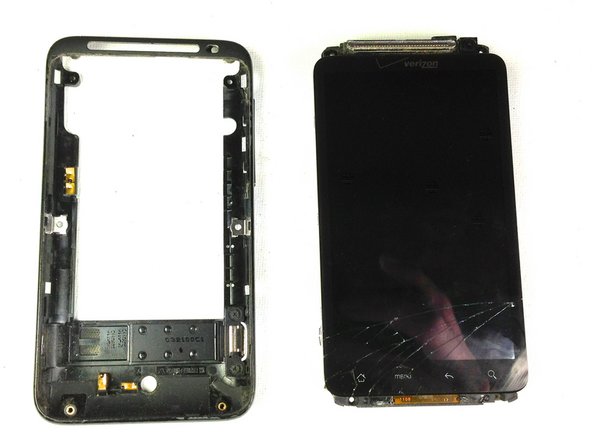
    • Carefully separate the screen and phone from the rear frame, starting from the bottom.

    • Gently pull down on the phone and screen to fully separate it from the rear frame.

    Ask FixBot
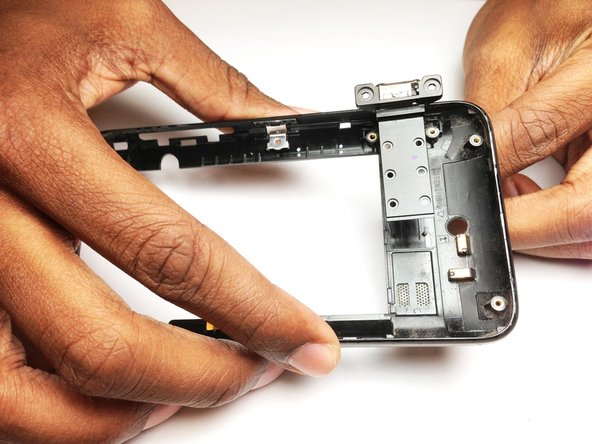
  11. HTC Thunderbolt Kickstand Replacement, Kickstand: step 11, image 1 of 1
    • Remove the two Phillips screws on the bottom right of the rear frame.

    Ask FixBot
  12. HTC Thunderbolt Kickstand Replacement: step 12, image 1 of 1
    • Grab the kickstand and make sure it is fully extended.

    • Push the kickstand from the outside of the rear frame through the rear frame.

    Ask FixBot
Conclusion

To reassemble your device, follow these instructions in reverse order.

Brandon Younger

Member since: 01/17/13

212 Reputation

8 Guides authored

Team

Cal Poly, Team 19-45, Regan Winter 2013 Member of Cal Poly, Team 19-45, Regan Winter 2013

CPSU-REGAN-W13S19G45

4 Members

24 Guides authored

0 Guide Comments

Add Comment

View Statistics:

Past 24 Hours: 2

Past 7 Days: 7

Past 30 Days: 52

All Time: 960