HTC Incredible 2 Power Button Replacement

What you need

  1. HTC Incredible 2 Power Button Replacement, Disassembling HTC Incredible 2 Back Panel: step 1, image 1 of 2 HTC Incredible 2 Power Button Replacement, Disassembling HTC Incredible 2 Back Panel: step 1, image 2 of 2
    • Press your thumbnail into the slot between the rear panel and the front casing located on the bottom of the phone. Use a penny or dime if you have trouble using your thumbnail.

    • With a moderate amount of force, pry the rear panel up and away from the phone. You may need to slide your thumbnail up the crack to separate the rear panel from the front casing.

    • This can take a little bit of effort. Don't be discouraged if you can't get it right away.

  2. HTC Incredible 2 Power Button Replacement: step 2, image 1 of 1
    • Remove the rear panel from the phone.

  3. HTC Incredible 2 Power Button Replacement, Battery: step 3, image 1 of 1
    • Press your fingernail into the slot between the battery and the rear inner frame, located between the battery and LED lights.

    • Use a penny or dime if you can't use your fingernail.

  4. HTC Incredible 2 Power Button Replacement: step 4, image 1 of 2 HTC Incredible 2 Power Button Replacement: step 4, image 2 of 2
    • Gently lever the battery up and away from the lights.

    • Lift the top of the battery up and remove the battery from the rear inner frame.

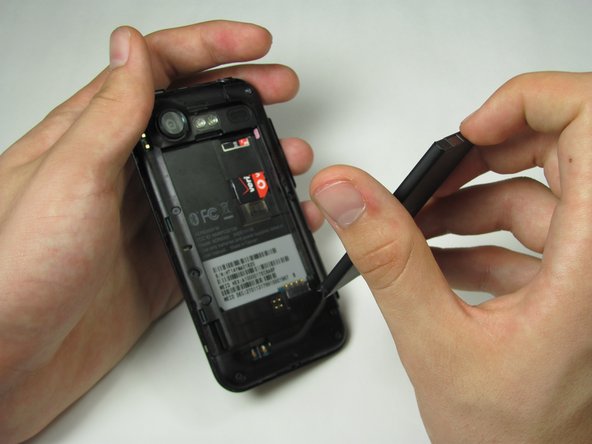
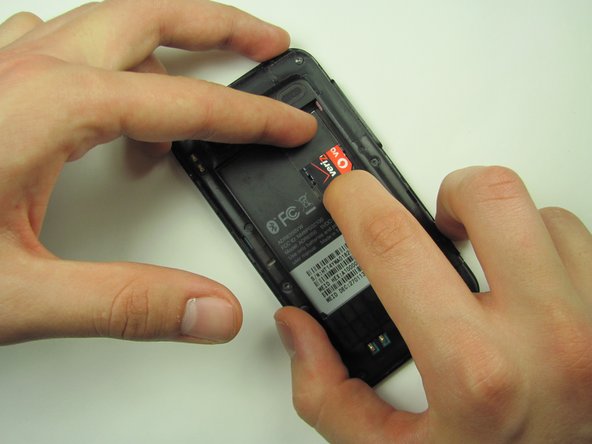
  5. HTC Incredible 2 Power Button Replacement, SIM Card: step 5, image 1 of 2 HTC Incredible 2 Power Button Replacement, SIM Card: step 5, image 2 of 2
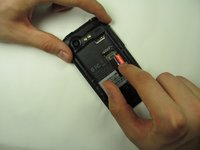
    • Apply pressure with your fingertip to the pressure clip beneath the SIM card.

    • While keeping pressure on the clip, use another finger to gently slide the SIM card down over the clip.

  6. HTC Incredible 2 Power Button Replacement: step 6, image 1 of 2 HTC Incredible 2 Power Button Replacement: step 6, image 2 of 2
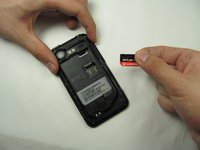
    • Keep sliding SIM card until completely free from holding apparatus. Now remove the SIM card.

  7. HTC Incredible 2 Power Button Replacement, Mid Panel: step 7, image 1 of 1
    • Remove the seven 1.42 mm Torx T5 screws

  8. HTC Incredible 2 Power Button Replacement: step 8, image 1 of 2 HTC Incredible 2 Power Button Replacement: step 8, image 2 of 2
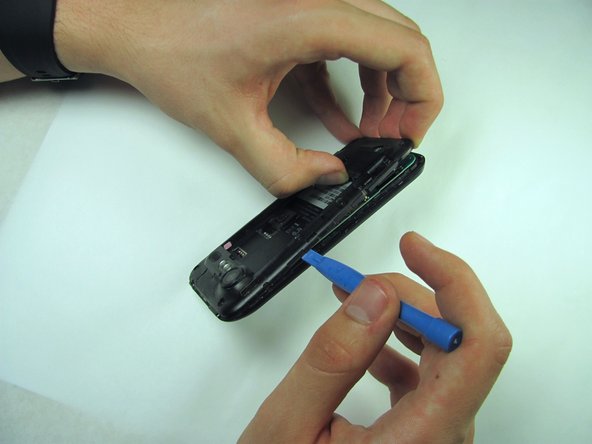
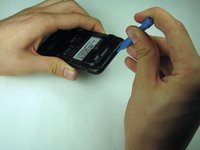
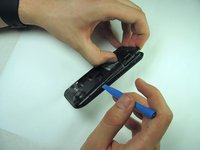
    • Use a plastic opening tool to run along the phone's side and lever mid panel upward.

    • Apply minimal pressure as the mid panel is very delicate.

  9. HTC Incredible 2 Power Button Replacement: step 9, image 1 of 1
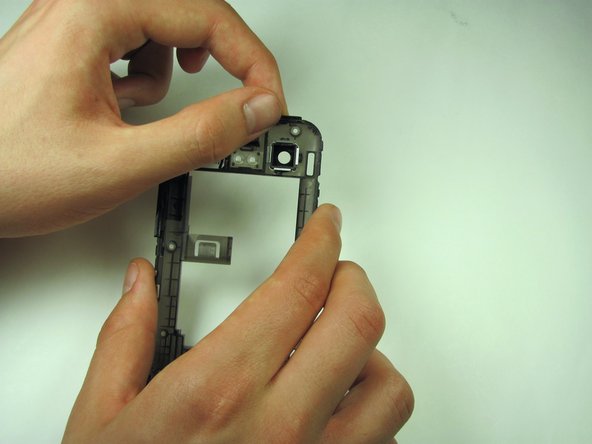
    • Gently grasp and carefully lift mid panel up and away from the device with your fingers.

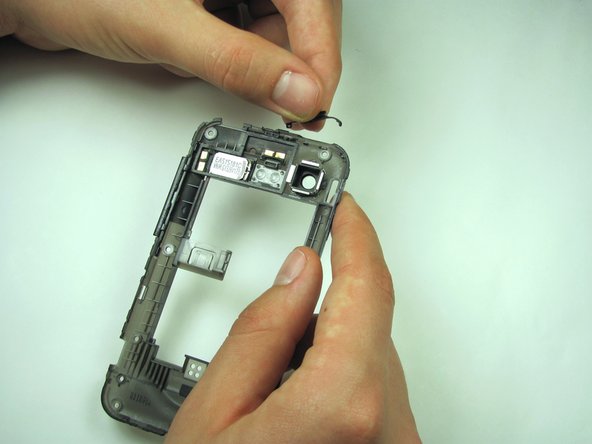
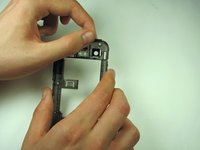
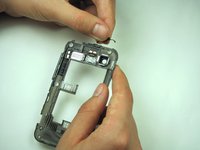
  10. HTC Incredible 2 Power Button Replacement, Power Button: step 10, image 1 of 3 HTC Incredible 2 Power Button Replacement, Power Button: step 10, image 2 of 3 HTC Incredible 2 Power Button Replacement, Power Button: step 10, image 3 of 3
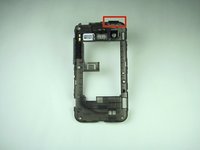
    • Firmly grasp the power button, located on the upper right corner of the mid panel, and gently lift it up and off the mid panel.

Conclusion

To reassemble your device, follow these instructions in reverse order.

3 other people completed this guide.

Cristian Suarez

Member since: 04/22/14

108 Reputation

1 Guide authored

Team

Cal Poly, Team 11-53, Amido Spring 2014 Member of Cal Poly, Team 11-53, Amido Spring 2014

CPSU-AMIDO-S14S11G53

5 Members

14 Guides authored

0 Comments

Add Comment

View Statistics:

Past 24 Hours: 0

Past 7 Days: 0

Past 30 Days: 0

All Time: 770