
HTC Hero Camera Replacement

Max Brown and
Last updated on May 7, 2024
Views: 2K
View statistics:
- Past 24 Hours:
- 6
- Past 7 Days:
- 21
- Past 30 Days:
- 83
- All Time:
- 1,988
Comments: 0
No one has left comments on this guide. Will you be first?
Go to guide commentsCompleted: 1 2
1 person has marked this guide "completed." Will you be next?
2 people have marked this guide "completed." Including you — great job!
Favorites: 3 4
3 people have favorited (and subscribed to) this guide. Will you be next?
4 people have favorited (and subscribed to) this guide — including you!
Needs More Images
A few more images would make this guide's procedures crystal clear.
Needs Better Images
Better photos will improve this guide. Help out by taking, editing, or uploading new ones!
What you need
Parts
Tools


-
-
-
Remove the back of the phone by pushing firmly with your thumbs up towards the camera.
-
Remove both the battery and the SD card (Press SD card in to release)
-
Locate and remove the four Torx screws highlighted in the photo, with the phone laying face down on your work space.
 Ask FixBot
-
-
-
Carefully pry the inside back cover from the device using an appropriate size plastic opening tool or small flathead screwdriver.
-
Insert the flat end between the back and front enclosure, working your way around the rim.
-
-
-
Gently depress and release the small plastic tabs around the rim in the front enclosure, highlighted here.
-
-
-
-
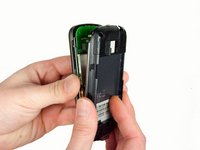
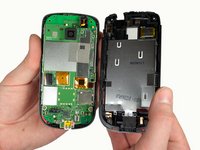
Carefully separate the front and back enclosures once all of the clips have been disengaged.
-
-
-
-
-
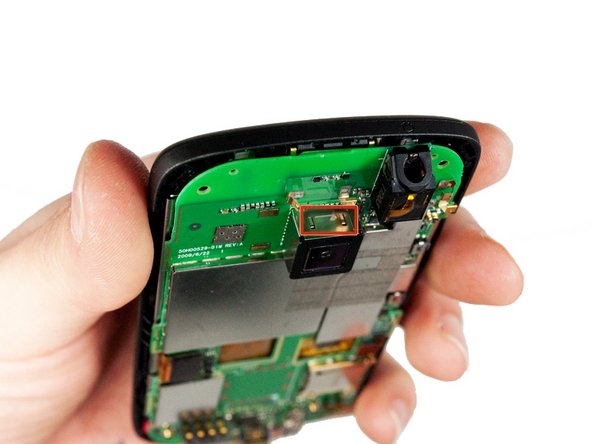
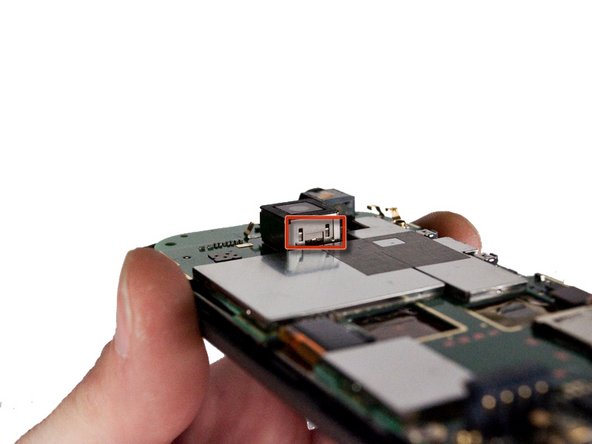
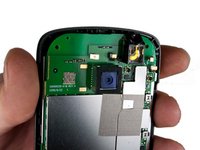
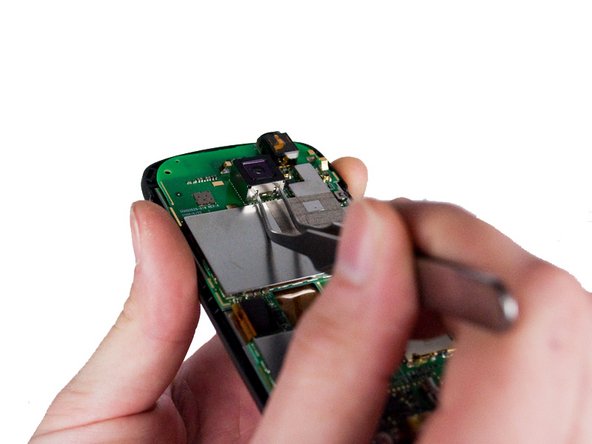
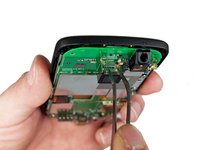
Locate the four metal tabs on the top and bottom of the camera holding the camera enclosure to the motherboard.
-
-
Tool used on this step:Tweezers$4.99
-
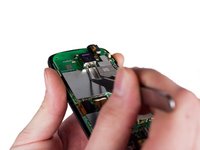
Using a pair of metal tweezers, simultaneously depress both tabs on one side of the camera enclosure and gently pull up until tabs come free. Repeat for the opposite side.
-
-
-
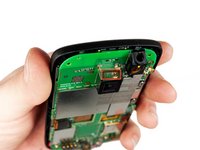
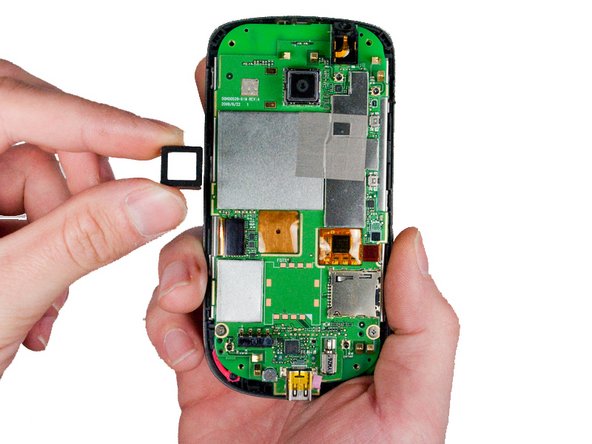
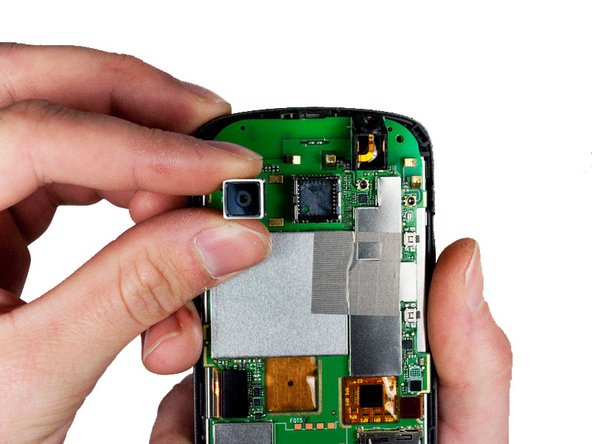
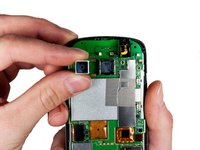
Pull the released camera enclosure away from the motherboard until it is completely free.
-
-
-
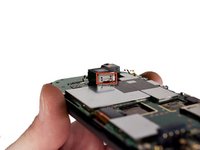
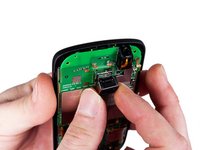
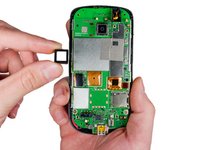
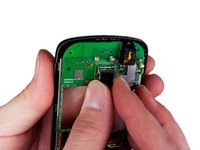
Now with camera unit exposed, gently wiggle the camera as you pull away from the phone to remove it.
-
-






To reassemble your device, follow these instructions in reverse order.
Cancel: I did not complete this guide.
One other person completed this guide.

Team

Cal Poly, Team 3-26, Amido Winter 2012 Member of Cal Poly, Team 3-26, Amido Winter 2012
CPSU-AMIDO-W12S3G26
5 Members
72 Guides authored
