Introduction
In this guide we will show how to replace the screen on an HTC Evo 3D. This will include disassembling internal features of the phone in order to remove the screen.
What you need
-
-
-
Remove the outer casing of the phone with your hands by prying and lifting at the latch.
 Ask FixBot
-
-
-
Remove the battery with your hands, lifting at the marked area.
-
Remove the SD card by gently pulling down on the bottom of the card.
-
-
-
Remove the four T5 screws using the corresponding screwdriver.
-
Remove the two J000 screws using the corresponding screwdriver.
-
-
-
With the battery, SD card, and screws removed, the inner case of the phone can now be removed.
-
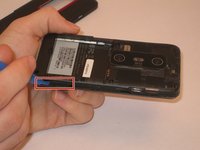
Using the plastic opening tool, pry the inner case off at the marked area. Continue prying around the entire perimeter of the phone.
-
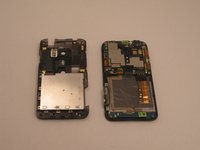
This will remove the inner case, and allow access into the inner portion of the phone.
-
-
-
Tool used on this step:Tweezers$4.99
-
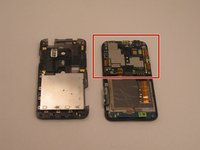
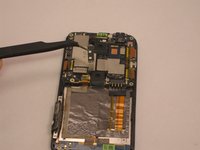
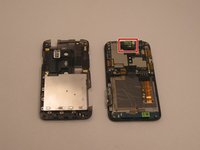
Pictured here is the motherboard.
-
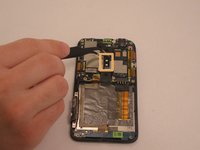
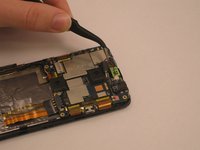
Using precision tweezers, remove the flash mechanism by prying the sides of the piece.
-
-
-
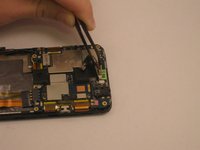
Next we will remove the vibration mechanism shown here.
-
Using precision tweezers or fingers, gently pull on the wires connecting the vibration mechanism to the motherboard.
-
The piece should come loose easily.
-
-
-
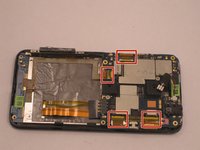
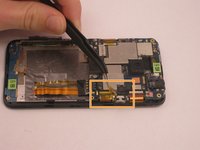
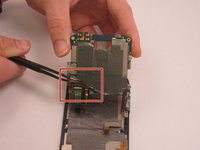
The next step is to disconnect all ribbons attached to the motherboard.
-
Begin by using tweezers to remove the plastic covering the ribbons.
-
Each ribbon needs to be removed by unlocking the white tab and pulling on the ribbon.
-
Unlock by lifting the white tab directly up.
-
-
-
At this point the motherboard is almost fully detached.
-
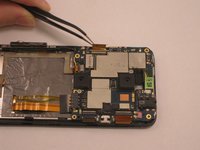
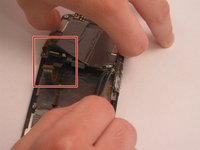
Lift the motherboard and using precision tweezers, peel up the insulation cover on the bottom left corner.
-
-
-
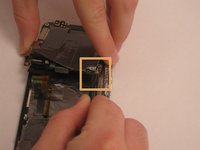
Disconnect the two ribbons on the backside of the mother board using precision tweezers.
-
Disconnect the Cellular/WIFI antenna by pulling directly up on the black wire.
-
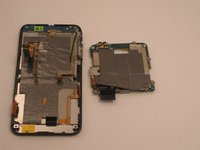
The motherboard will now be free from the rest of the phone.
-
-
-
-
-
Once the motherboard is removed, heat up the frame of the screen for 30 seconds with a heat gun or a hair dryer. This will make removal easier.
-
Use the plastic opening tool to pry open up one side of the screen.
-
Use the plastic opening tool to move around the borders and loosen the screen.
-
-
-
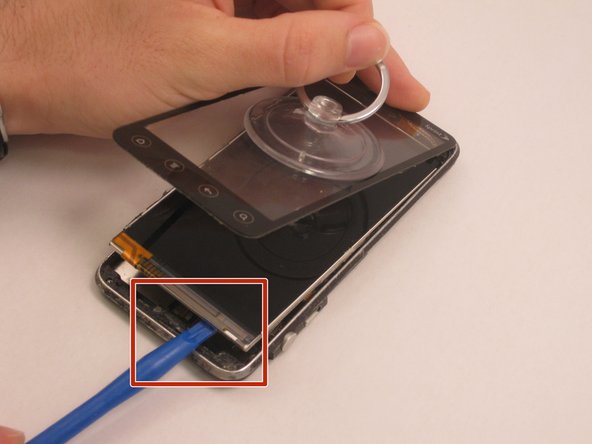
Use the suction cup to remove the screen off the device.
-
After lifting the screen, begin prying the digitizer using a plastic opening tool.
-
Continue with this process around the entire perimeter of the phone.
-
-
-
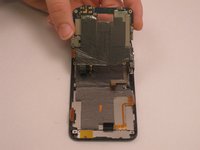
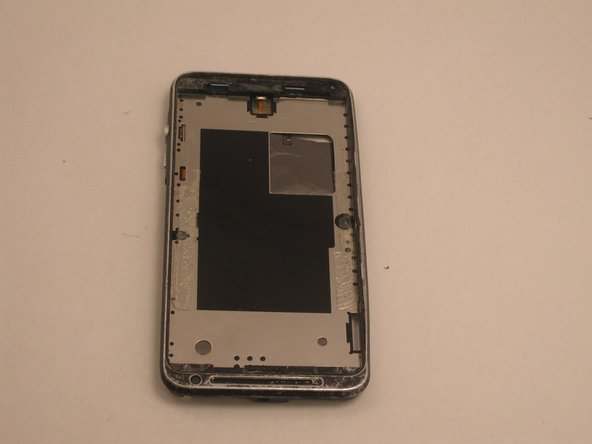
Once all the adhesive is separated, carefully remove the screen from the device.
-
Due to the removal of the motherboard, the screens should be easily removed from the phone.
-
-


















To reassemble your device, follow these instructions in reverse order.
Cancel: I did not complete this guide.
6 other people completed this guide.

Team

USF Tampa, Team 14-20, Meier Fall 2015 Member of USF Tampa, Team 14-20, Meier Fall 2015
USFT-MEIER-F15S14G20
5 Members
60 Guides authored
