HP x2 10-p010wm Screen Replacement

What you need

  1. HP x2 10-p010wm Screen Replacement, Screen: step 1, image 1 of 2 HP x2 10-p010wm Screen Replacement, Screen: step 1, image 2 of 2
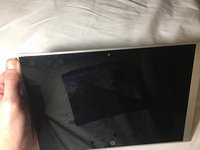
    • Pull the screen away from the keyboard.

  2. HP x2 10-p010wm Screen Replacement: step 2, image 1 of 2 HP x2 10-p010wm Screen Replacement: step 2, image 2 of 2
    • Insert a spudger into the space between the screen and computer and gently pry the two pieces apart. Continue this around the whole screen.

  3. HP x2 10-p010wm Screen Replacement: step 3, image 1 of 1
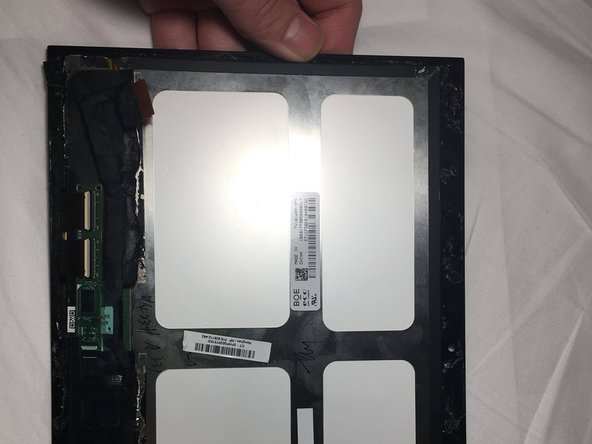
    • Slowly disconnect the thin wire attaching the screen to the rest of the computer by holding one end and sliding it down.

    • Do not pull up too hard; slowly slide it towards the screen.

  4. HP x2 10-p010wm Screen Replacement: step 4, image 1 of 3 HP x2 10-p010wm Screen Replacement: step 4, image 2 of 3 HP x2 10-p010wm Screen Replacement: step 4, image 3 of 3
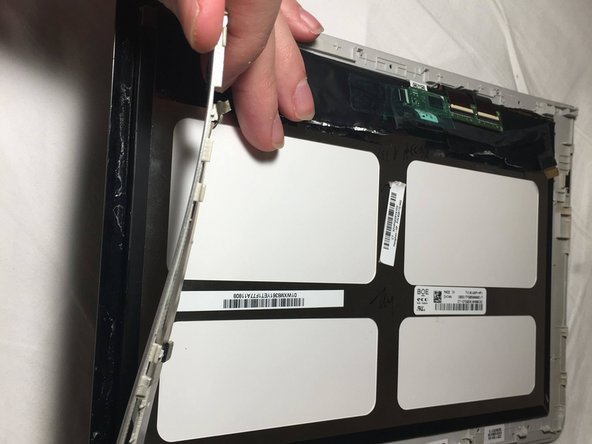
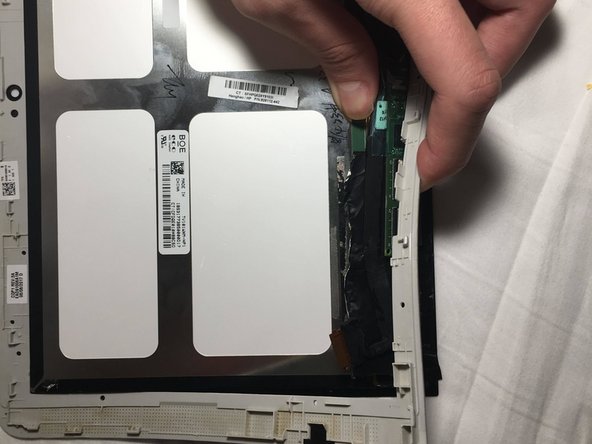
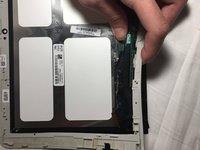
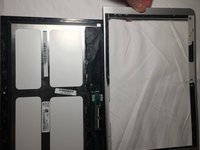
    • Hold the screen with your thumb and push back on the plastic frame.

    • Slowly separate the plastic frame on all sides.

    • Be careful not to break the plastic frame.

  5. HP x2 10-p010wm Screen Replacement: step 5, image 1 of 2 HP x2 10-p010wm Screen Replacement: step 5, image 2 of 2
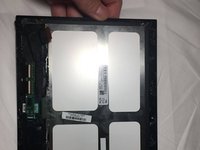
    • Remove the frame.

Conclusion

To reassemble your device, follow these instructions in reverse order.

One other person completed this guide.

Nathan Ojala

Member since: 10/30/19

317 Reputation

2 Guides authored

Team

0 Comments

Add Comment

View Statistics:

Past 24 Hours: 0

Past 7 Days: 5

Past 30 Days: 7

All Time: 379