
HP Stream x360 11-p015wm Battery Replacement

What you need

  1. HP Stream x360 11-p015wm Battery Replacement, Back Cover: step 1, image 1 of 2 HP Stream x360 11-p015wm Battery Replacement, Back Cover: step 1, image 2 of 2
    • Orient the laptop to have the back cover facing upwards.

    • Remove the four rubber pads located in each corner.

  2. HP Stream x360 11-p015wm Battery Replacement: step 2, image 1 of 1
    Tool used on this step:
    JIS Driver Set
    $19.99
    Buy
    • Tool required: JIS #1 Screwdriver

    • Using the screwdriver, remove all of the exposed screws.

  3. HP Stream x360 11-p015wm Battery Replacement: step 3, image 1 of 2 HP Stream x360 11-p015wm Battery Replacement: step 3, image 2 of 2
    Tool used on this step:
    iFixit Opening Tool
    $1.99
    Buy
    • Tool required: iFixit opening tool

    • Open the laptop and orient the keyboard facing upward.

    • Slowly wedge the opening tool into the gap between the keyboard and the back cover.

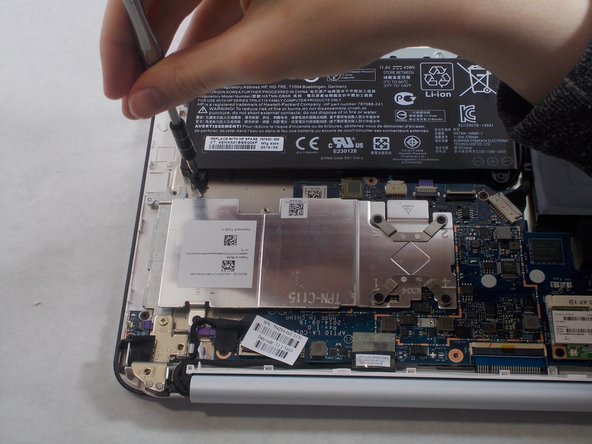
    • After loosening the back cover, close the laptop and orient the back cover facing upward. Open the cover.
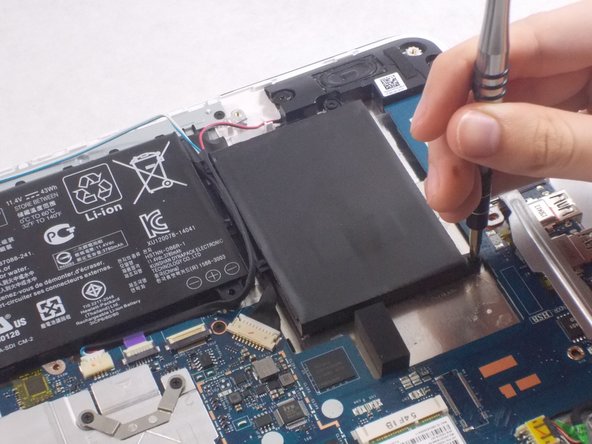
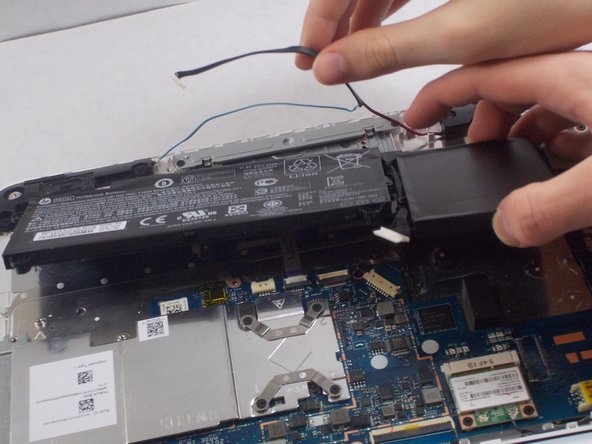
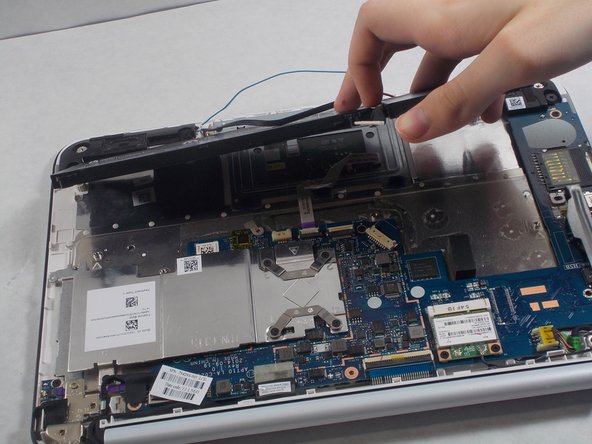
  4. HP Stream x360 11-p015wm Battery Replacement: step 4, image 1 of 2 HP Stream x360 11-p015wm Battery Replacement: step 4, image 2 of 2
    Tool used on this step:
    Tweezers
    $3.99
    Buy
    • This is a good time to clean any accumulated dust or debris. Use this link on tips for cleaning.

    • Tool required: Tweezers

    • Carefully use tweezers to remove the audio jack connector from the motherboard.

  5. HP Stream x360 11-p015wm Battery Replacement, Battery: step 5, image 1 of 3 HP Stream x360 11-p015wm Battery Replacement, Battery: step 5, image 2 of 3 HP Stream x360 11-p015wm Battery Replacement, Battery: step 5, image 3 of 3
    • Use the JIS J1 screwdriver to remove the 6.5 mm screws surrounding the battery.

  6. HP Stream x360 11-p015wm Battery Replacement: step 6, image 1 of 3 HP Stream x360 11-p015wm Battery Replacement: step 6, image 2 of 3 HP Stream x360 11-p015wm Battery Replacement: step 6, image 3 of 3
    • Using the iFixit tweezers, remove the cable connecting the battery to the motherboard.

    • Remove the wire located on the top side of the battery.

    • All connections should be removed. Simply remove the battery from the computer.

Conclusion

To reassemble your device, follow these instructions in reverse order.

DaisyHaskell

Member since: 10/15/18

683 Reputation

6 Guides authored

Team

0 Comments

Add Comment

View Statistics:

Past 24 Hours: 0

Past 7 Days: 4

Past 30 Days: 5

All Time: 524