Introduction
This guide shows the user how to disassemble an HP Smart Card Keyboard and convert it into a lightweight, portable card reader for Personal Identity Verification cards and Military CAC cards.
What you need
-
-
-
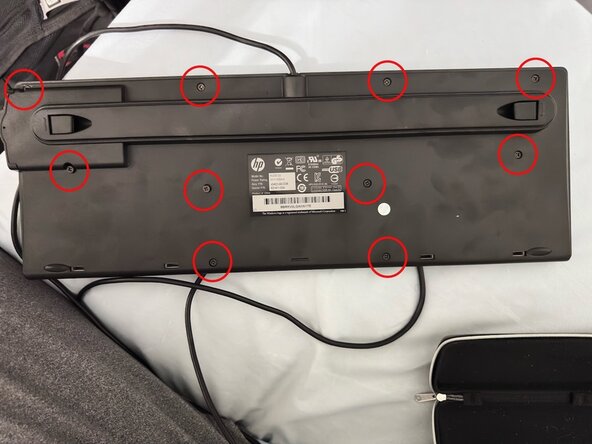
Remove the 10 Phillips screws on the back of the smart card keyboard.
 Ask FixBot
-
-
-
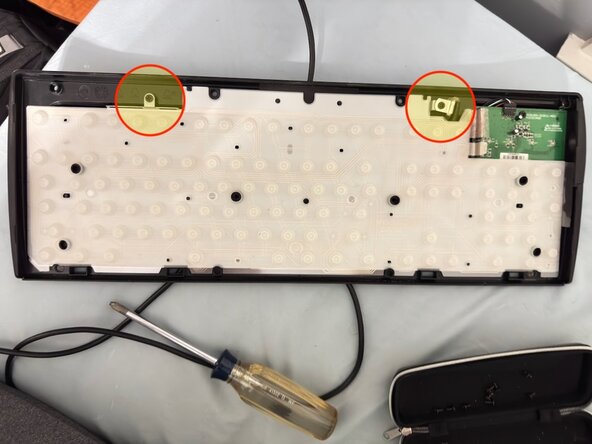
Separate the top keyboard assembly from the membrane switches by pulling incredibly hard on it until it pops off. There are some hidden clips but you will destroy your plastic spudger and guitar picks if you try to unclip them. Just go full beast mode and pull it off from the top center of the keyboard (near the F8 Key).
-
Unscrew the 2 Phillips screws securing the metal plate.
-
-
-
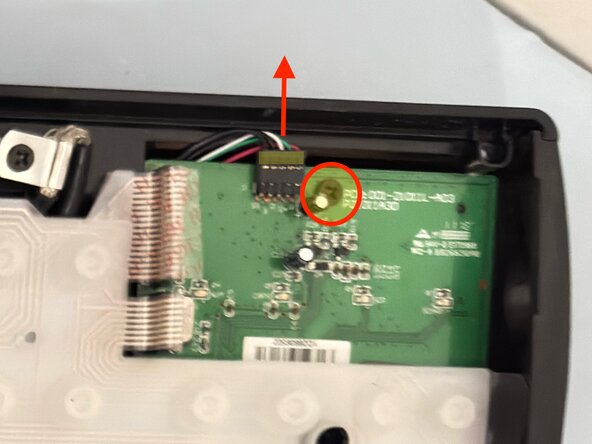
Disconnect the 5-pin connector and unscrew the 1 visible screw. There are 2 other hidden screws under the switch membrane, so do not remove the green PCB yet.
-
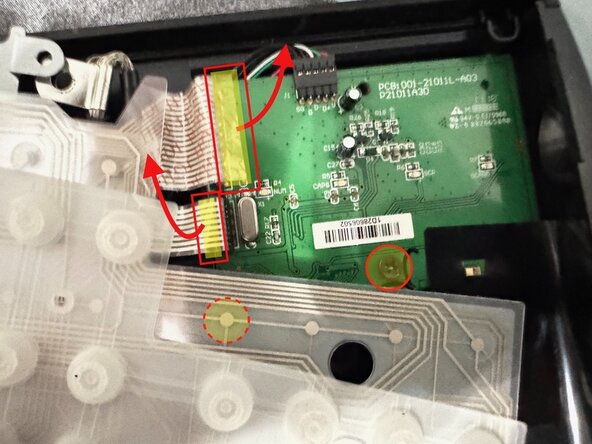
Disconnect the two ribbon cables to the top and bottom flexible PCBs being careful not to damage the green PCB. There are release pull tabs on the right side of the larger ribbon connector and the left side of the smaller ribbon connector.
-
Remove the USB to 5-pin cable by sliding it out the hole in the top center of the keyboard. You may need to remove the metal plate first. The gap is just large enough to turn the securing plastic piece sideways and push it through.
-
-
-
-
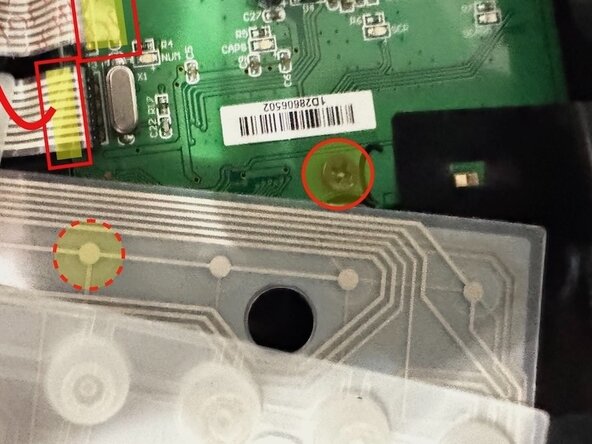
Unscrew the 2 hidden screws on the green PCB that were being covered by the membrane.
-
-
-
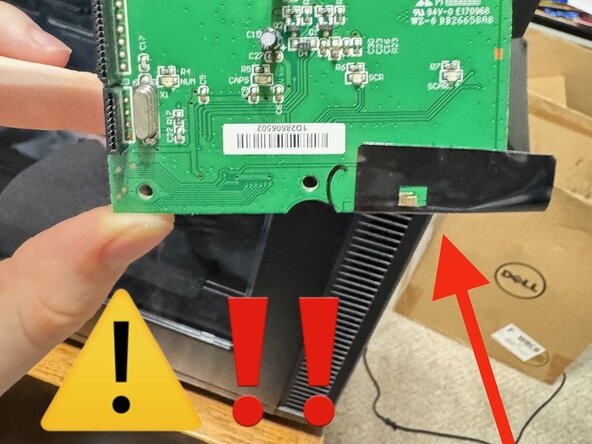
There is a piece of anti-tampering black electrical tape that serves a dual purpose: preventing the PCB from moving, and covering the light-sensitive EEPROM (Electrically Erasable and Programmable Read-Only Memory). If the electrical tape is removed from the PCB, the light will erase the contents of the IC and the PCB will no longer function.
-
Remove the electrical tape from the black plastic chassis WITHOUT removing it from the green PCB. Cut off any tape hanging over the card reader (right) and fold the bottom side under.
-
-
-
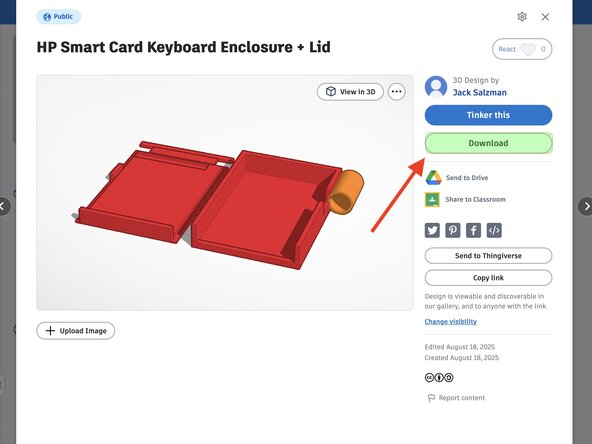
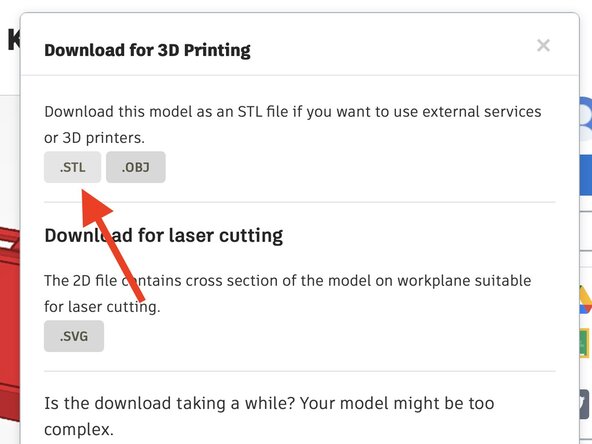
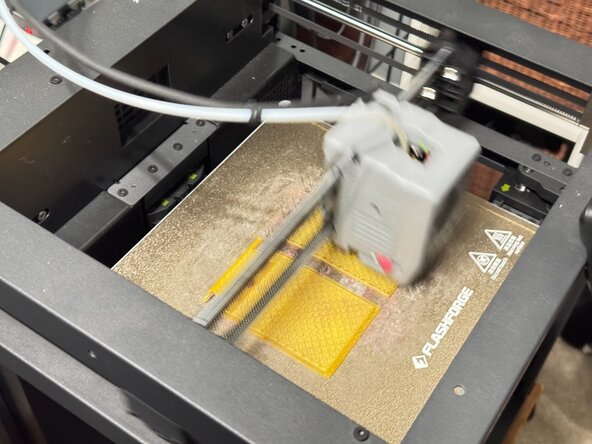
Open the file in the slicing software that came with your printer and print it using the default settings for your model of printer.
-
Alternatively, print it using custom settings in OrcaSlicer (open-source)
-
-
-
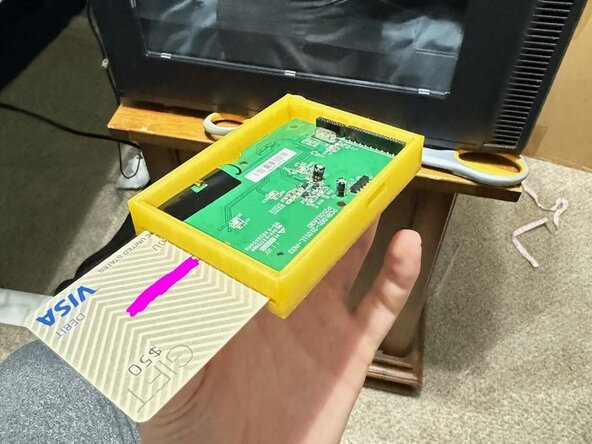
Insert the PCB into the 3D printed case.
-
Feed the 5-pin connector through the cylindrical brace and then insert it into the square hole. Make sure that the RED wire is facing towards the FRONT where the card would be inserted. Otherwise the board will release magic smoke, which cannot be put back in once it escapes.
-
Test it and make sure a credit card fits.
-
-
-
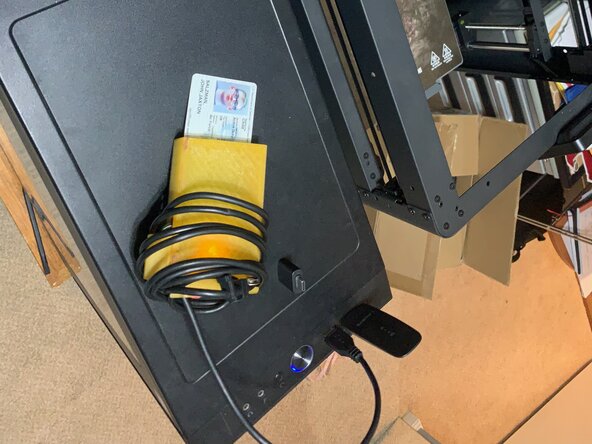
Secure the top cover onto the board, making sure the T-shaped piece of plastic is on the back. Since the cable is so long, you can wrap it around this piece.
-
-






To reassemble your device, follow these instructions in reverse order.
This is a one-way modification, requiring sacrificing your device. This model is old and often discarded as e-waste, and we have turned it into a usable product that is worth more than the original keyboard and still in demand today.
Cancel: I did not complete this guide.
One other person completed this guide.

