Introduction
This guide is designed to help you to replace your HP ProBook 450 G4 display assembly. If your HP ProBook 450 G4 laptop’s display shuts off, this could indicate that your display assembly is wearing out and getting old. A way to tell if a replacement is needed is if your screen does not show visuals clearly. A good way to resolve this is to replace the old display assembly with a new one. Before beginning, make sure to power off your laptop and disconnect it from all power sources.
What you need
-
-
-
Use the Phillips #0 screwdriver to remove the screw securing the service door.
-
Use a Jimmy to remove the service door.
 Ask FixBot
-
-
-
-
-
Use a Phillips #0 screwdriver to remove the two 6.6mm screws.
-
Remove the black 3.2mm screw that secures the hard drive to the left side of the laptop with a Phillips #0 screwdriver.
-
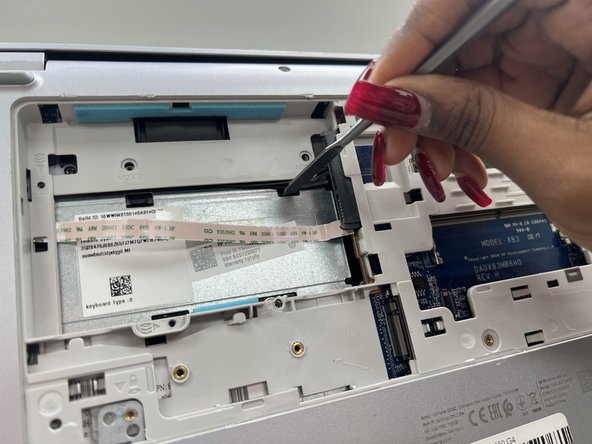
Use the spudger to lift the left side of the hard drive, and remove.
-
-
-
-
Flip the laptop over, and use a Jimmy to loosen the keypad from the laptop.
-
Use the spudger to unclip the tab.
-
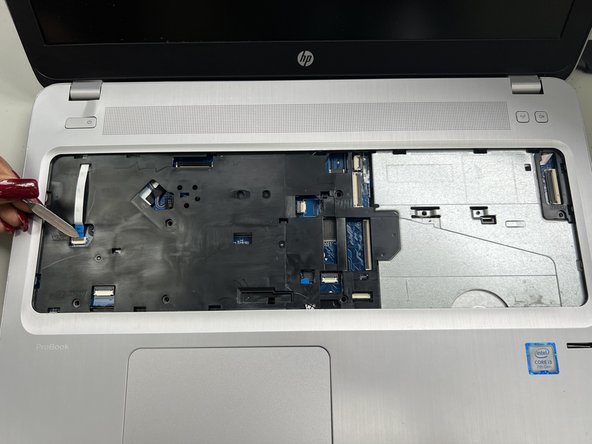
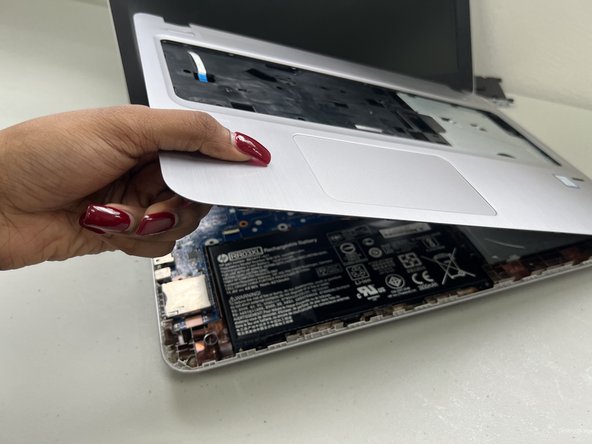
Remove the top case once all tabs are loose.
-
-
-
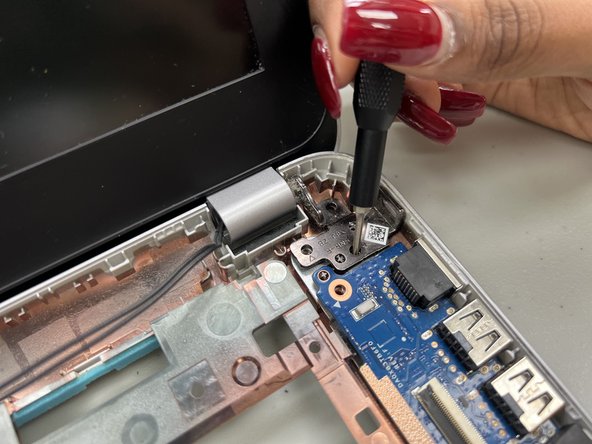
Use the Phillips #0 screwdriver to remove the two 3.2mm screws from the hinges.
-
Repeat on both sides.
-
-




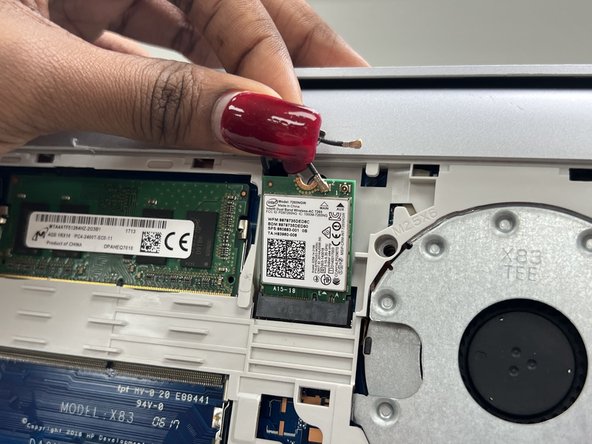






To reassemble your device, follow these instructions in reverse order.
Cancel: I did not complete this guide.
One other person completed this guide.

Team

University of North Texas, Team 5-3, Coppersmith Spring 2024 Member of University of North Texas, Team 5-3, Coppersmith Spring 2024
UNT-COPPERSMITH-S24S5G3
4 Members
45 Guides authored
