
HP ProBook 440 G1 Keyboard Replacement

What you need

  1. HP ProBook 440 G1 Keyboard Replacement, Battery: step 1, image 1 of 2 HP ProBook 440 G1 Keyboard Replacement, Battery: step 1, image 2 of 2
    • Make sure the laptop is turned off before you start.

    • Push and hold the release tab on the right and left toward the center.

  2. HP ProBook 440 G1 Keyboard Replacement: step 2, image 1 of 2 HP ProBook 440 G1 Keyboard Replacement: step 2, image 2 of 2
    • Pull the battery out.

  3. HP ProBook 440 G1 Keyboard Replacement, Backplate: step 3, image 1 of 3 HP ProBook 440 G1 Keyboard Replacement, Backplate: step 3, image 2 of 3 HP ProBook 440 G1 Keyboard Replacement, Backplate: step 3, image 3 of 3
    • Push and hold the release tabs on the right and left toward the center again.

  4. HP ProBook 440 G1 Keyboard Replacement: step 4, image 1 of 1
    • Slide the backplate off.

  5. HP ProBook 440 G1 Keyboard Replacement, Keyboard: step 5, image 1 of 2 HP ProBook 440 G1 Keyboard Replacement, Keyboard: step 5, image 2 of 2
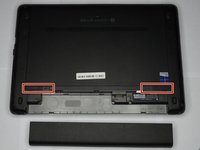
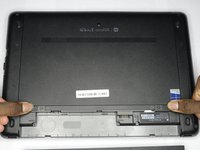
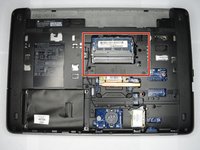
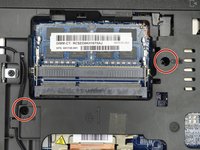
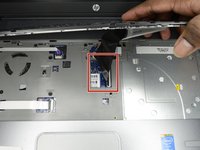
    • Locate the two screws on the back of the laptop, holding the keyboard.

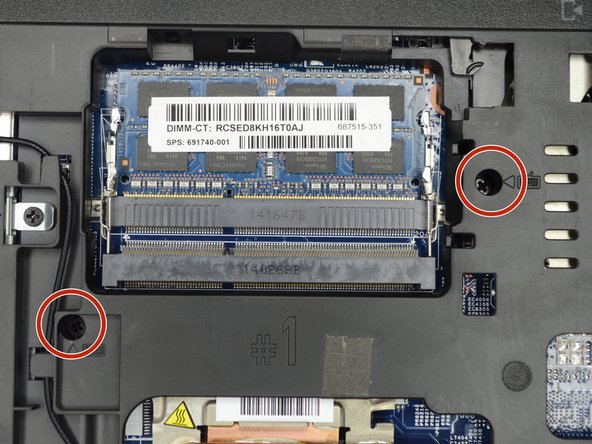
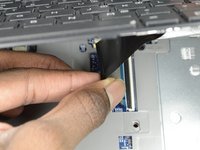
    • Remove the two screws using a Phillips #00 screwdriver.

  6. HP ProBook 440 G1 Keyboard Replacement: step 6, image 1 of 1
    • Flip the computer over so as to see the keyboard.

  7. HP ProBook 440 G1 Keyboard Replacement: step 7, image 1 of 2 HP ProBook 440 G1 Keyboard Replacement: step 7, image 2 of 2
    • Place both hands on the keyboard and slide it back.

    • The keyboard will only slide back a small amount.

  8. HP ProBook 440 G1 Keyboard Replacement: step 8, image 1 of 2 HP ProBook 440 G1 Keyboard Replacement: step 8, image 2 of 2
    • Using a plastic opening tool, pull the keyboard up.

  9. HP ProBook 440 G1 Keyboard Replacement: step 9, image 1 of 3 HP ProBook 440 G1 Keyboard Replacement: step 9, image 2 of 3 HP ProBook 440 G1 Keyboard Replacement: step 9, image 3 of 3
    • Locate the connector strip between the keyboard and the laptop.

    • Pull the strip away from the connector until it unplugs.

    • It may take some force to make the strip disconnect.

Conclusion

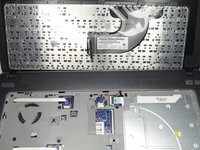
To reassemble your device, follow these instructions in reverse order.

2 other people completed this guide.

1 Guide Comment

thanks for that

sir i want original keyboard 440 G1

if u dont mine suggest me

karun kumar - Reply

Add Comment

View Statistics:

Past 24 Hours: 0

Past 7 Days: 5

Past 30 Days: 21

All Time: 2,540