Introduction
Laptop cooking your lap? This guide will walk you through replacing your fan.
For help applying thermal paste, you can reference the iFixit Thermal Paste Application guide.
-
-
The battery is held in by a latch in the front and tabs in the back.
-
Slide the lock switch left, towards the center of the computer.
-
Lift up the battery, rotating it up and away from you, then pull it out.
-
-
-
Unscrew one Phillips #1 screw from the back panel.
-
-
-
Using the black tab on the connect and/or a prying tool, lift up to disconnect the black hard drive cable from the green circuit board.
-
Pull the black cable up and out of the back panel. This will make taking the hard drive out much easier.
-
-
-
Gently pull up on the plastic tab attached to the hard drive.
-
Pull the hard drive up and to the right to remove it completely from the laptop.
-
-
-
Use your fingers, plastic opening tools, or pliers to pull the silver brackets away from the RAM.
-
-
-
Use a Phillips #1 screw driver to unscrew the black 4 mm Phillips #1 screw on the wireless card.
-
-
-
Carefully pry up one of the top corners of the keyboard with a prying tool. Slide the tool along the top of the keyboard to release it from the housing. Pull the top of the keyboard towards you an inch or two.
-
Pull the keyboard up and away from you, as it is held in by clips in the front. It is not yet disconnected.
-
-
-
Using a prying tool, flip the black clip up and to the right. Pull the silver cable out and to the left, the keyboard is now detached from the laptop.
-
-
-
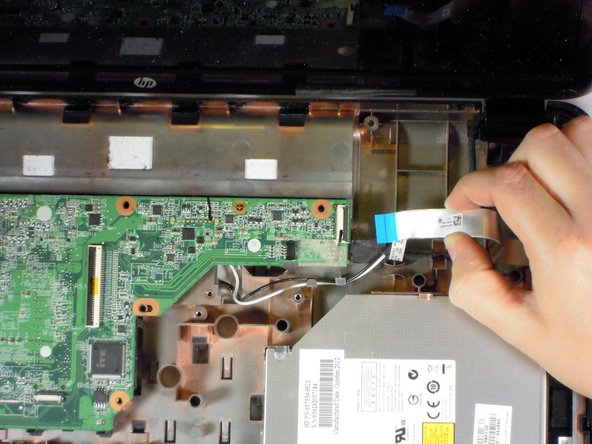
Use a plastic opening tool to lift the white clip up, towards the screen.
-
Pull the white cable with blue head, away from the clip.
-
-
-
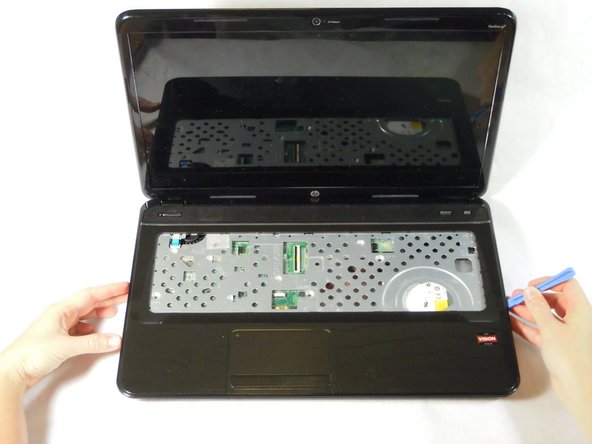
With a plastic opening tool, pry open a side or corner of the top panel. Slide the tool around the rest of the panel to release it from the clips.
-
-
-
Rotate the top panel away from you, keeping the back near the hinge of the laptop to avoid damaging the speaker cable.
-
-
-
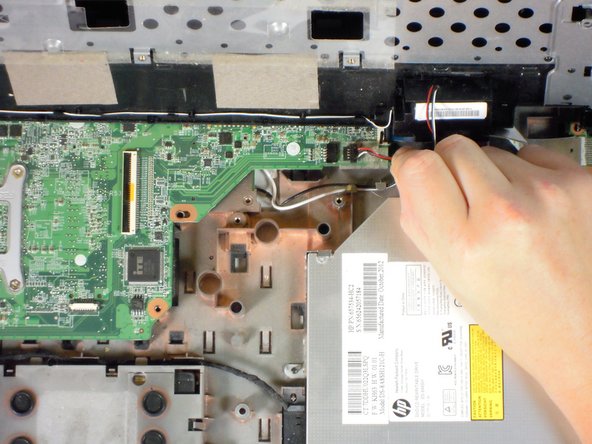
Using a plastic opening tool, disconnect the black speaker connector from the top right of the motherboard.
-
Set aside the top panel until your are ready to reassemble your laptop.
-
-
-
Lift black tab for the CD drive cable in the bottom left of the motherboard.
-
Disconnect it from the motherboard with your fingers or a plastic opening tool.
-
-
-
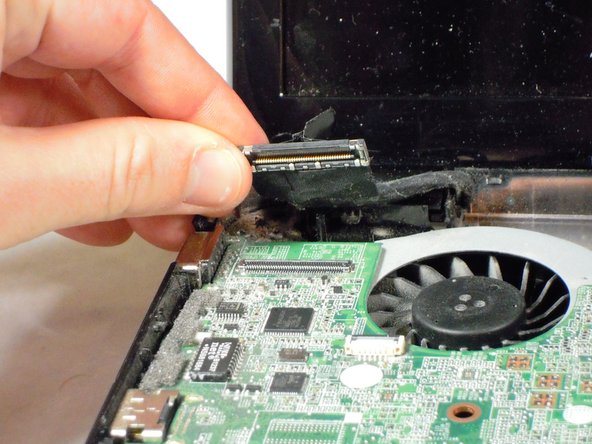
Lift, with your fingers or a plastic opening tool, the large black monitor cable at the top of the left hand corner of the motherboard.
-
-
-
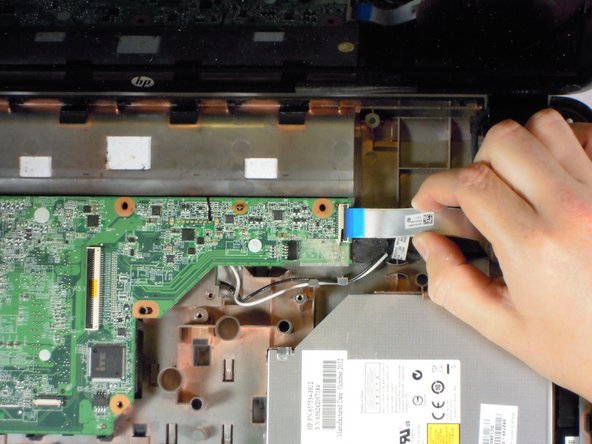
Use a plastic opening tool to lift the black clip up from the silver cable that's in the upper right hand corner of the computer.
-
Pull the silver cable away from the motherboard.
-
-
-
Using a small amount of force pull the black cable, below the silver cable we just removed, to the right and out of the way.
-
-
-
Lift the right side of the motherboard up at roughly a 45 degree angle and pull to the right to remove it.
-
-
-
Now that the motherboard is out, flip it over and begin working on the back side.
-
Remove the red, blue, and yellow set of wires from the motherboard.
-
-
-
Using a Phillips #1 screw driver unscrew the four screws on the heat sink.
-
Lift the bracket up from the motherboard.
-
-
-
Since the fan is held on with adhesives, you will likely need a prying tool and a small amount of force to lift the fan up and off of the motherboard.
-


Team

Cal Poly, Team 11-51, Amido Spring 2014 Member of Cal Poly, Team 11-51, Amido Spring 2014
CPSU-AMIDO-S14S11G51
4 Members
21 Guides authored