Introduction
If your HP Pavilion dm4-1265dx laptop no longer connects to wireless networks, use this guide to replace the Wi-Fi card.
The Wi-Fi card allows the laptop to connect to wireless networks. A faulty Wi-Fi will not connect to wireless networks.
Before using this guide, make sure your network drives are up to date and be sure there is nothing on the software side preventing you from using the Wi-Fi card.
Before beginning, make sure to power off your laptop completely and disconnect from any external power source.
What you need
-
-
Orient the device so that the empty battery port is closest to you.
-
Loosen the two captive screws holding the back panel in place using a Phillips #0 screwdriver.
-
-
-
-
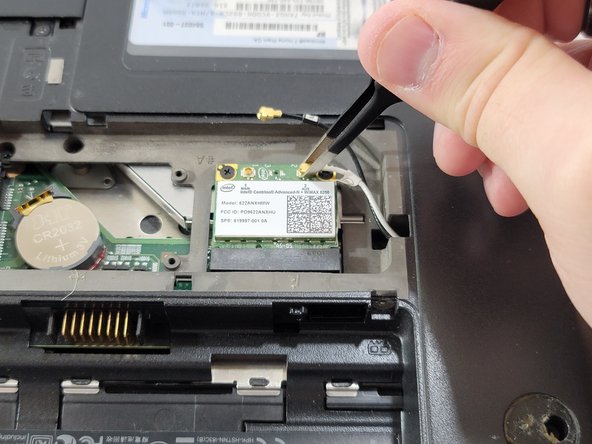
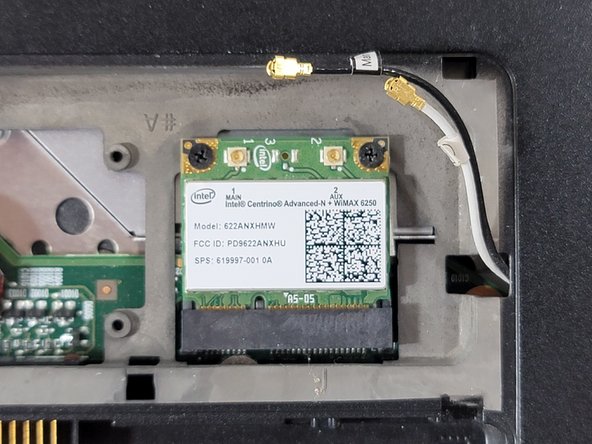
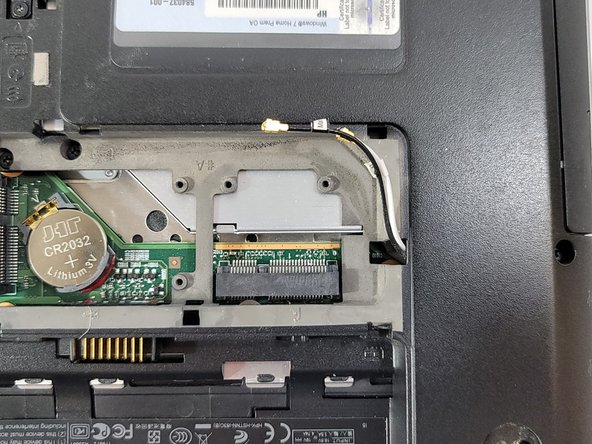
Using ESD safe tweezers, gently disconnect the black and white wires connecting the Wi-Fi card to the device.
-
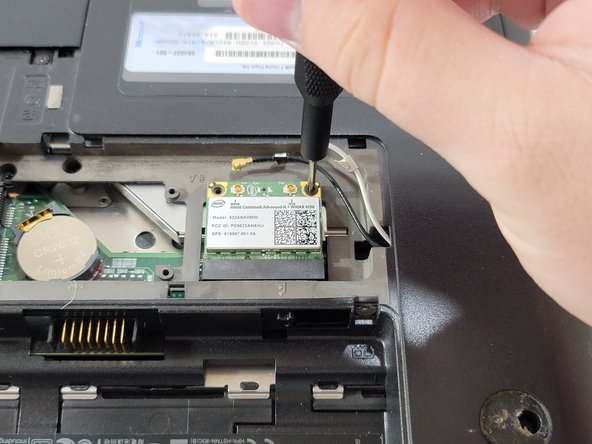
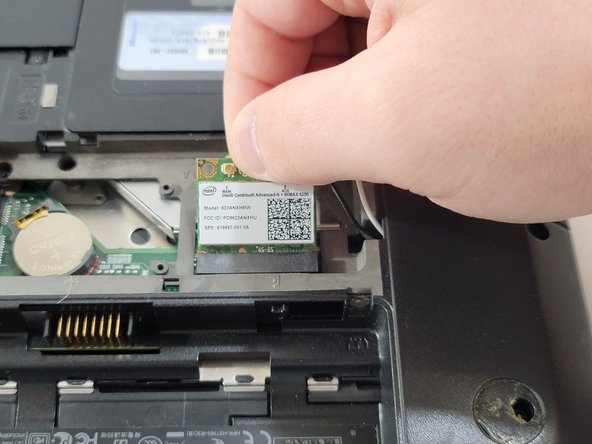
Move the wires out of the way to allow the Wi-Fi card to spring up without obstructions.
-


To reassemble your device, follow these instructions in reverse order.
To reassemble your device, follow these instructions in reverse order.

Team

Casper College, Team 1-1, Lareau Spring 2022 Member of Casper College, Team 1-1, Lareau Spring 2022
CASC-LAREAU-S22S1G1
4 Members
5 Guides authored