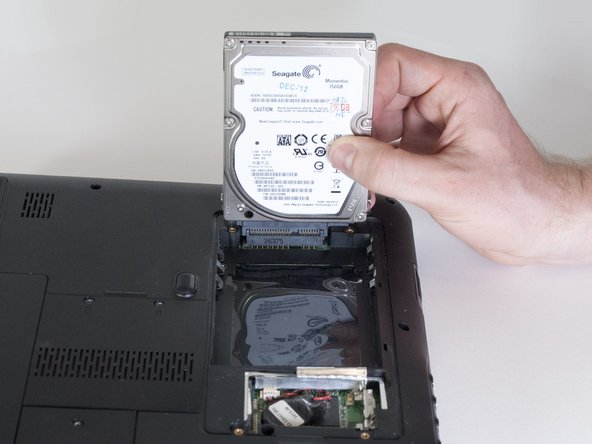
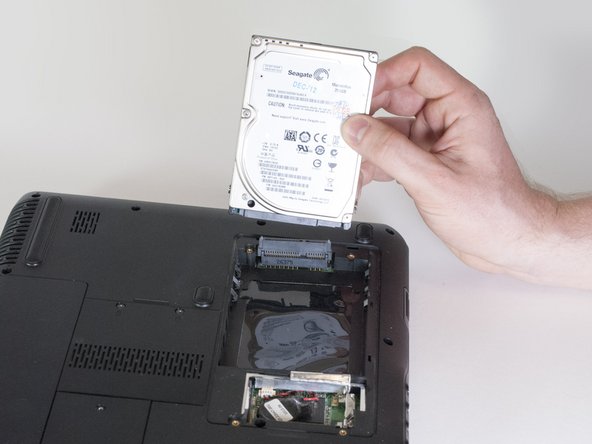
HP Pavilion DV2160BR Hard Drive Replacement

What you need

  1. HP Pavilion DV2160BR Hard Drive Replacement, Hard Drive: step 1, image 1 of 2 HP Pavilion DV2160BR Hard Drive Replacement, Hard Drive: step 1, image 2 of 2
    • Start with the bottom of the laptop facing up.

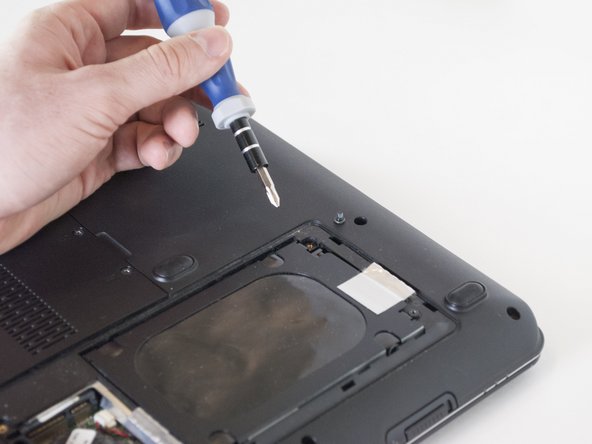
    • Locate the panel covering the hard drive compartment.

    • Unscrew the two 5mm Phillips #0 screws.

  2. HP Pavilion DV2160BR Hard Drive Replacement: step 2, image 1 of 1
    • Lift up this external panel by the end with the screws and set it aside.

    • Be careful about the four plastic tabs holding the panel on the device.

  3. HP Pavilion DV2160BR Hard Drive Replacement: step 3, image 1 of 2 HP Pavilion DV2160BR Hard Drive Replacement: step 3, image 2 of 2
    • Locate the second plastic panel covering the hard drive.

    • Unscrew the two 4mm Phillips #0 screws holding it in.

  4. HP Pavilion DV2160BR Hard Drive Replacement: step 4, image 1 of 1
    • Lift up this internal panel using the plastic white tab and set it aside.

  5. HP Pavilion DV2160BR Hard Drive Replacement: step 5, image 1 of 3 HP Pavilion DV2160BR Hard Drive Replacement: step 5, image 2 of 3 HP Pavilion DV2160BR Hard Drive Replacement: step 5, image 3 of 3
    • Grab the end of the hard drive and pull it up to a vertical position.

    • Gently slide the Hard Drive off of the SATA connector.

    • Warning: Don’t wiggle the SATA connector or the top piece will come off. If it does, reconnect it vertically.

Conclusion

To reassemble your device, follow these instructions in reverse order.

One other person completed this guide.

Shannon

Member since: 04/11/13

55 Reputation

6 Guides authored

Team

Cal Poly, Team 13-66, Johann Spring 2013 Member of Cal Poly, Team 13-66, Johann Spring 2013

CPSU-JOHANN-S13S13G66

3 Members

6 Guides authored

0 Comments

Add Comment

View Statistics:

Past 24 Hours: 3

Past 7 Days: 6

Past 30 Days: 6

All Time: 521