Introduction
WARNING: The computer should be off (no power running), unplugged and the battery must be removed to prevent electrical shock.
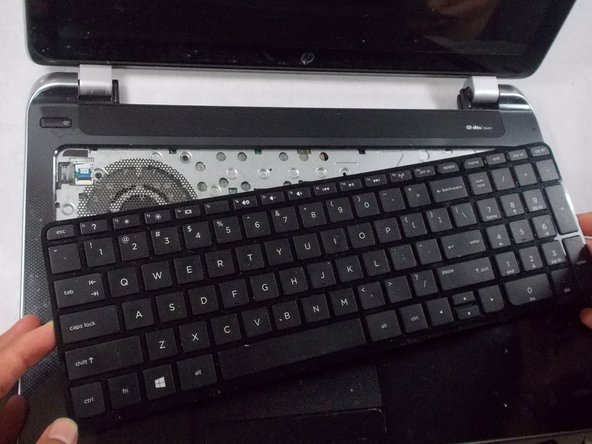
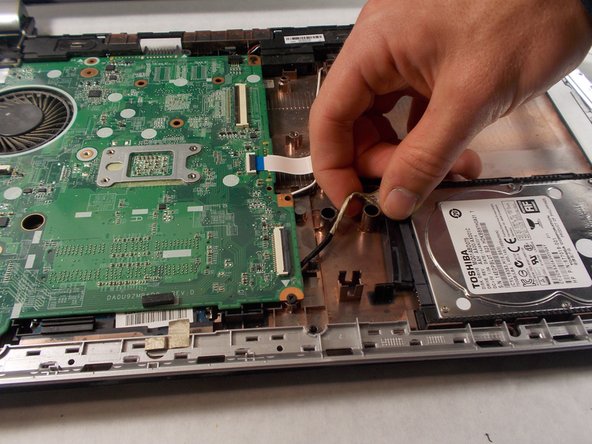
If the hard drive needs to be replaced in the HP Pavilion 15-n210dx use this guide. The keyboard needs to be removed before opening up the laptop to get to the hard drive.
The hard drive, also known as hard drive disk (HDD) or solid state drive (SSD), is a hardware component of a computer that stores files and programs. If a lack of storage is causing hardware problems, make sure the new one has a larger storage capacity when you are replacing the old one. Other indications that the hard drive needs to be replaced, is the emitting of noises, crashes, or frequent error messages.
Back up the hard drive before starting the replacement to ensure files are safe. Once the new hard drive is installed, restore the files.
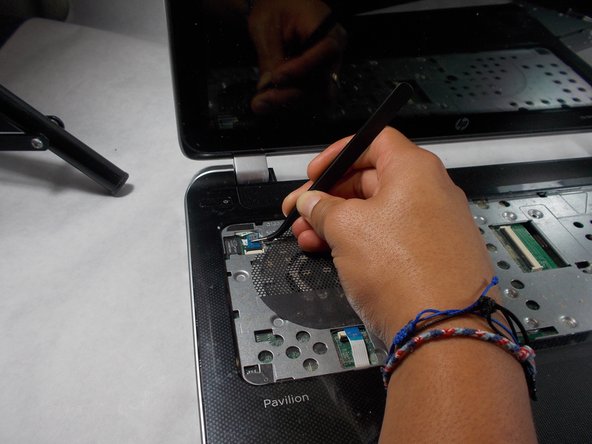
Tools that are needed is a Y0 screwdriver and a metal spudger.
What you need
-
-
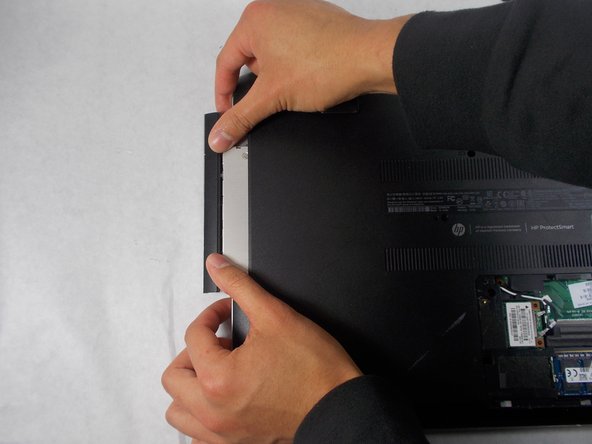
Turn over the laptop and remove the single screw using a Tri-point Y0 screwdriver.
-
-
-
-
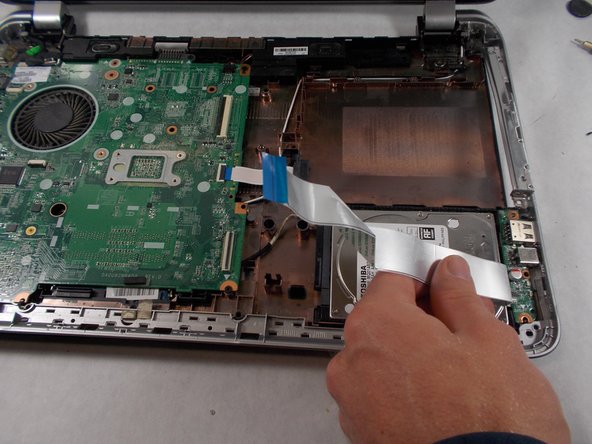
Use the Tri-point Y0 screwdriver to remove all screws on the metal sheet, then remove the metal sheet.
-


To reassemble your device, follow these instructions in reverse order.
To reassemble your device, follow these instructions in reverse order.
Cancel: I did not complete this guide.
One other person completed this guide.
Team

UMass Dartmouth, Team 3-8, Sinclaire Fall 2021 Member of UMass Dartmouth, Team 3-8, Sinclaire Fall 2021
UMASSD-SINCLAIRE-F21S3G8
4 Members
6 Guides authored