Introduction
This guide will show you how to remove your HP Pavilion 15-eg0025nr screen if you need to replace it.
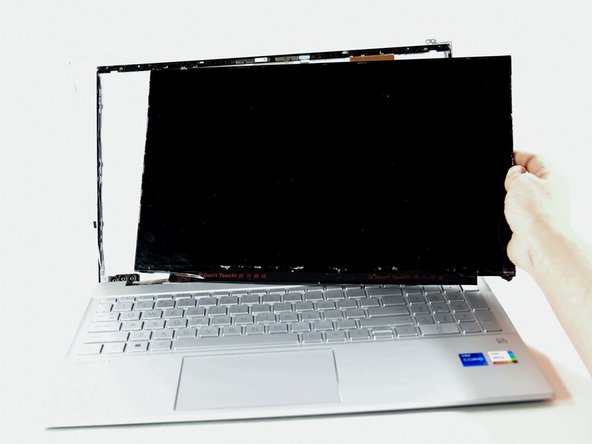
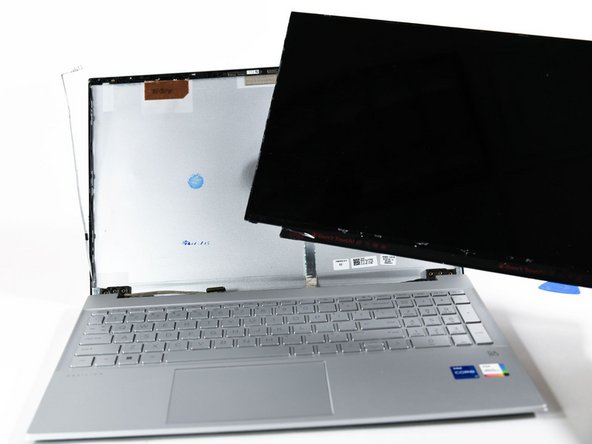
The screen is also known as the display panel, and is the part of the laptop that emits light and shows you pictures and websites. The screen is held together by the display bezel, the frame surrounding the screen.
You may need to replace your screen if it is cracked or if there are large, black spots on your screen. Try our troubleshooting page for the HP Pavilion 15-eg0025nr to find out if your screen needs to be replaced.
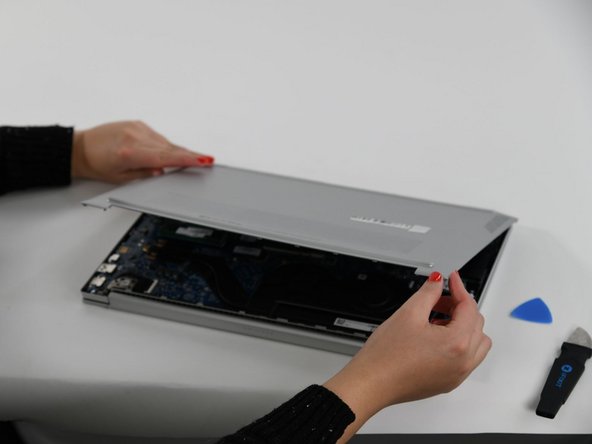
Removing the screen is difficult. Be careful to not bend or snap the screen as you remove it, and always make sure the laptop is unplugged and powered off before repairing.
What you need
-
-
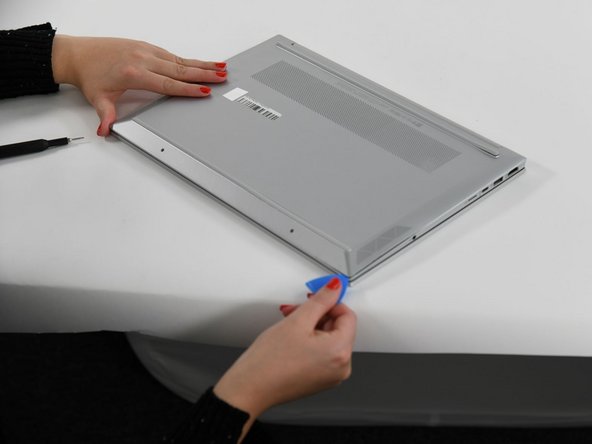
Flip over the computer so that the back panel is facing upwards.
-
Remove the two silver screws on the bottom of the laptop using a Phillips #00 screwdriver.
-
-
-
-
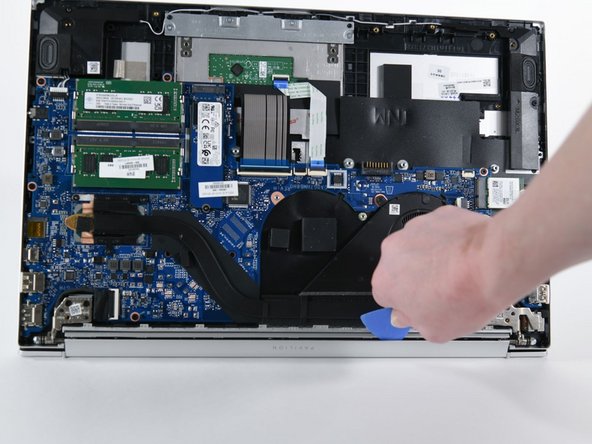
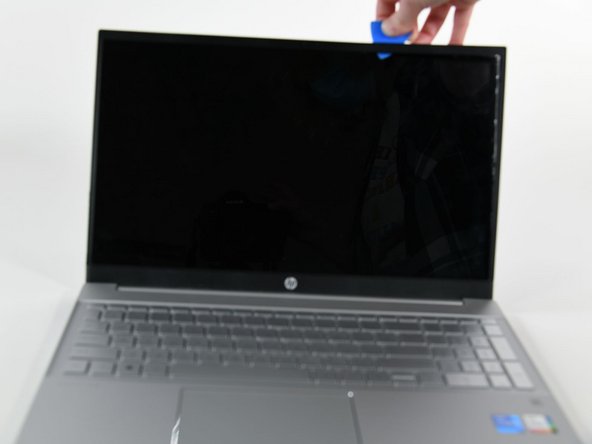
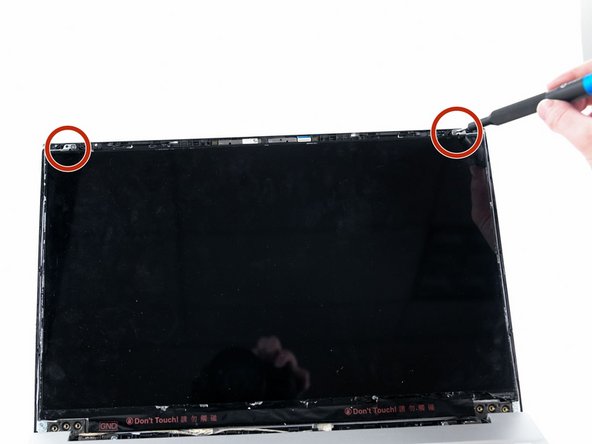
Find the hinge bezel where the display bezel meets the back panel.
-
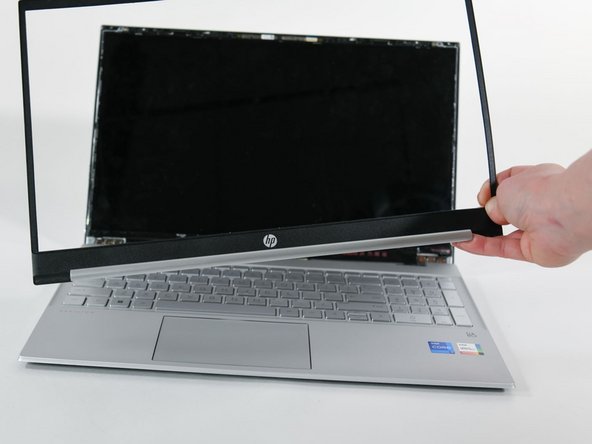
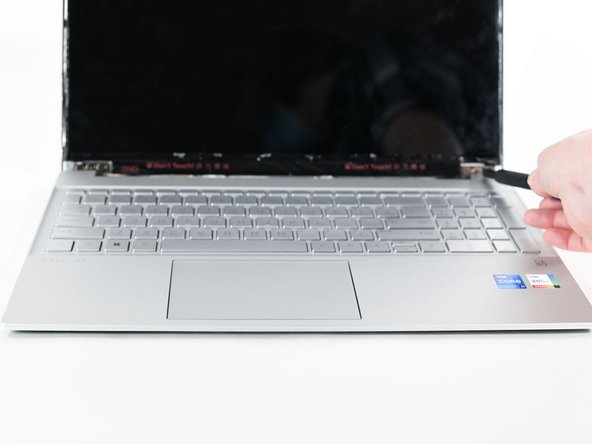
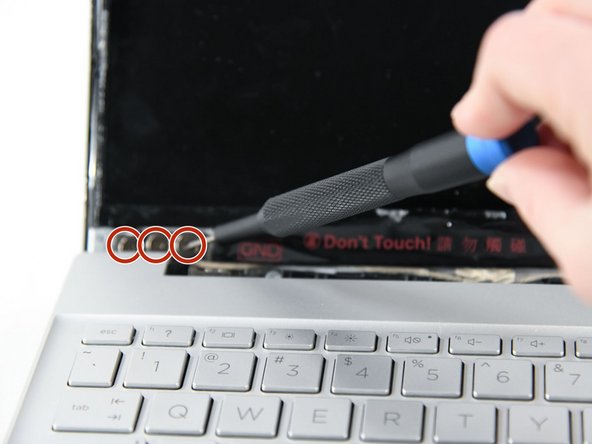
Using an opening pick, unclip the hinge bezel by sliding the pick along the hinge.
-


To reassemble your device, follow these instructions in reverse order.
To reassemble your device, follow these instructions in reverse order.

Team

University of Colorado Denver, Team 1-1, Campeau Fall 2022 Member of University of Colorado Denver, Team 1-1, Campeau Fall 2022
UCDENVER-CAMPEAU-F22S1G1
4 Members
3 Guides authored