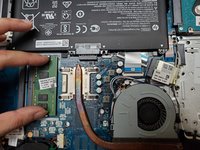
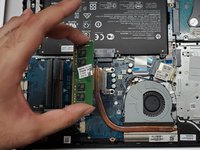
HP Notebook 15-db003ca RAM Replacement

What you need

  1. HP Notebook 15-db003ca RAM Replacement, RAM: step 1, image 1 of 1
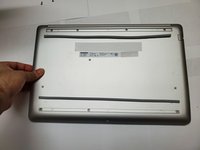
    • Place the powered-off laptop on a clean workspace.

  2. HP Notebook 15-db003ca RAM Replacement: step 2, image 1 of 1
    • Flip the laptop over such that the backside of it is facing you.

    • Grab a Phillips #1 screwdriver.

  3. HP Notebook 15-db003ca RAM Replacement: step 3, image 1 of 1
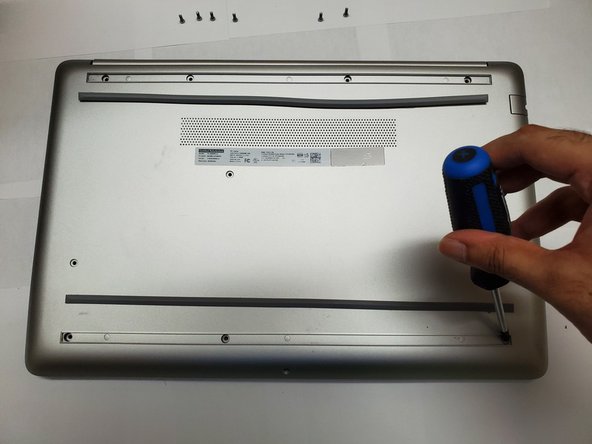
    • Remove the four 9 mm screws from the back panel using a Phillips #1 screwdriver.

  4. HP Notebook 15-db003ca RAM Replacement: step 4, image 1 of 3 HP Notebook 15-db003ca RAM Replacement: step 4, image 2 of 3 HP Notebook 15-db003ca RAM Replacement: step 4, image 3 of 3
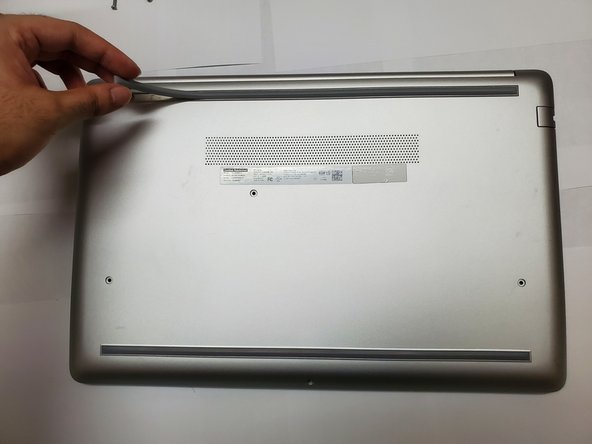
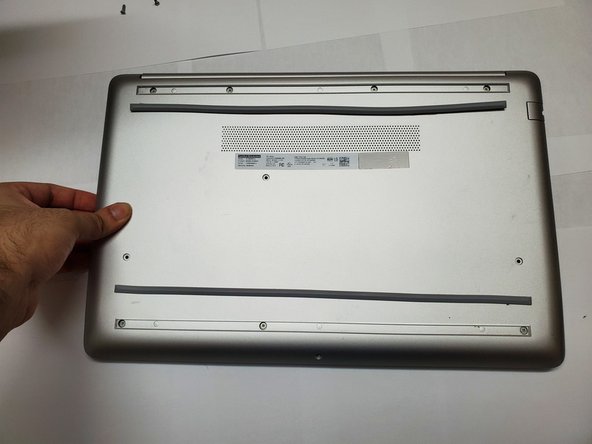
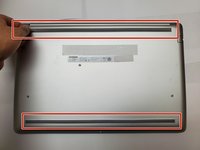
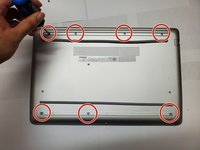
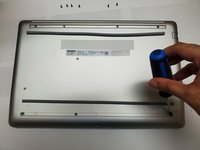
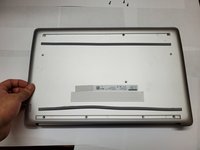
    • Peel the two strips to uncover more screws.

    • Place the strips near where they were removed.

  5. HP Notebook 15-db003ca RAM Replacement: step 5, image 1 of 2 HP Notebook 15-db003ca RAM Replacement: step 5, image 2 of 2
    • Remove the remaining seven 9 mm screws using a Phillips #1 screwdriver.

  6. HP Notebook 15-db003ca RAM Replacement: step 6, image 1 of 3 HP Notebook 15-db003ca RAM Replacement: step 6, image 2 of 3 HP Notebook 15-db003ca RAM Replacement: step 6, image 3 of 3
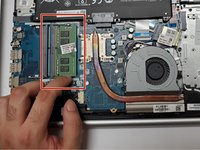
    • Remove the back panel and locate the RAM stick.

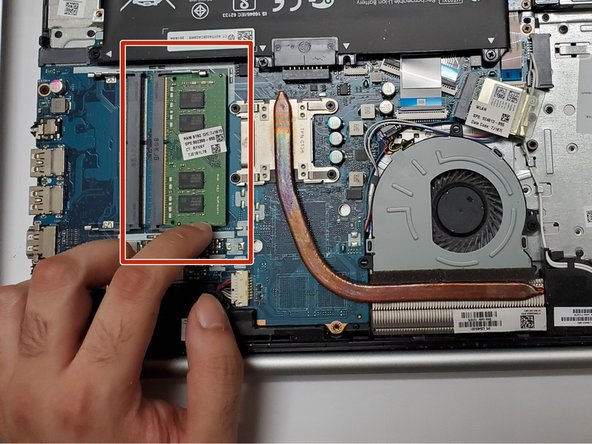
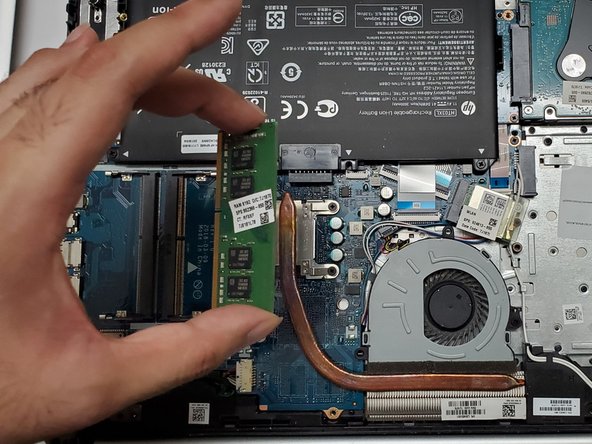
  7. HP Notebook 15-db003ca RAM Replacement: step 7, image 1 of 2 HP Notebook 15-db003ca RAM Replacement: step 7, image 2 of 2
    • Push the RAM to remove it from its slot like shown in the picture.

    • When reassembling, ensure the memory is inserted into the slot and pushed until it clicks into place.

Conclusion

To reassemble your device, follow these instructions in reverse order.

One other person completed this guide.
Srivatsan Talkad

Member since: 01/17/23

145 Reputation

1 Guide authored

Team

0 Comments

Add Comment

View Statistics:

Past 24 Hours: 1

Past 7 Days: 9

Past 30 Days: 20

All Time: 210