HP Mini 311 Keyboard Replacement

What you need

  1. HP Mini 311 Keyboard Replacement, Battery: step 1, image 1 of 3 HP Mini 311 Keyboard Replacement, Battery: step 1, image 2 of 3 HP Mini 311 Keyboard Replacement, Battery: step 1, image 3 of 3
    • Lay the laptop on a flat surface, bottom side up and slide the two battery release latches toward the outside of the case.

  2. HP Mini 311 Keyboard Replacement: step 2, image 1 of 2 HP Mini 311 Keyboard Replacement: step 2, image 2 of 2
    • Slide the battery away from the device to remove.

  3. HP Mini 311 Keyboard Replacement, Memory Shield: step 3, image 1 of 1
    • With the device still in a bottom side up position, proceed to unscrew the two 4.8mm Phillips 00 screws from the memory shield.

    • The screws will remain in the shied.

  4. HP Mini 311 Keyboard Replacement: step 4, image 1 of 2 HP Mini 311 Keyboard Replacement: step 4, image 2 of 2
    • Lift the memory shield up and remove from the laptop.

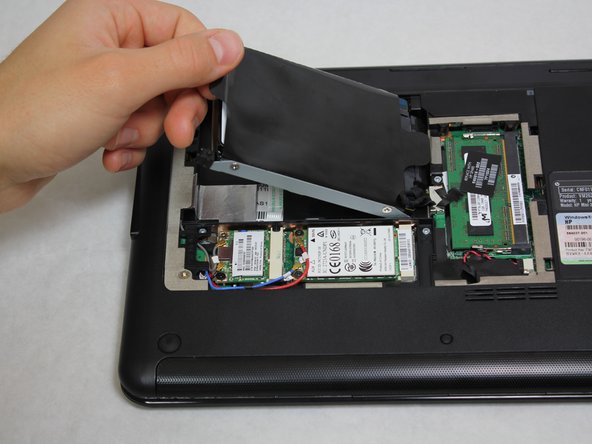
  5. HP Mini 311 Keyboard Replacement, Hard Drive: step 5, image 1 of 3 HP Mini 311 Keyboard Replacement, Hard Drive: step 5, image 2 of 3 HP Mini 311 Keyboard Replacement, Hard Drive: step 5, image 3 of 3
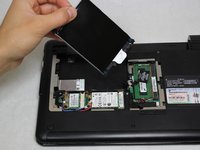
    • Grab the left black, plastic tab and carefully pull upward.

    • Be sure to pull carefully. Pulling too forcefully may damage the tab.

  6. HP Mini 311 Keyboard Replacement: step 6, image 1 of 3 HP Mini 311 Keyboard Replacement: step 6, image 2 of 3 HP Mini 311 Keyboard Replacement: step 6, image 3 of 3
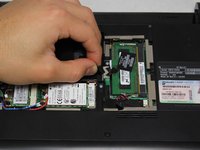
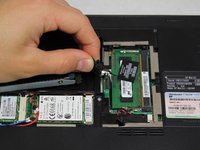
    • Grab a hold of the wire connecting the hard drive and the device.

    • Pull upward, perpendicular to the surface of the laptop, releasing the connector tethering the hard drive to the motherboard.

  7. HP Mini 311 Keyboard Replacement, Keyboard: step 7, image 1 of 1
    • Unscrew the four Phillip 00 5.6 mm screws located around the wireless card and RAM.

  8. HP Mini 311 Keyboard Replacement: step 8, image 1 of 1
    • Open the laptop so that the screen and front of the keyboard are both facing the ground.

    • Push on the opening on the back side of the device until the keyboard partially pops out.

    • This opening is located where the original hard drive was set.

  9. HP Mini 311 Keyboard Replacement: step 9, image 1 of 3 HP Mini 311 Keyboard Replacement: step 9, image 2 of 3 HP Mini 311 Keyboard Replacement: step 9, image 3 of 3
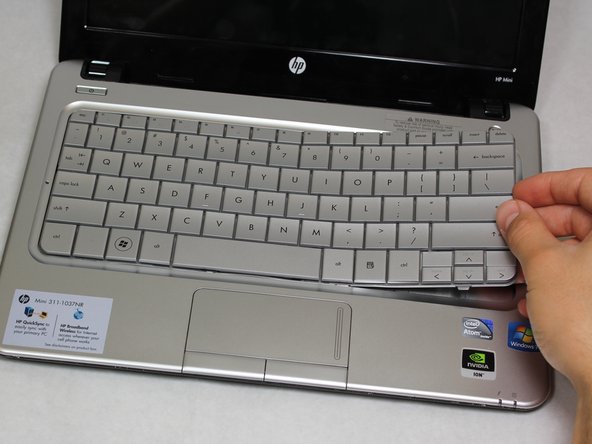
    • Flip the device around and orient it so that the screen and keyboard are facing you.

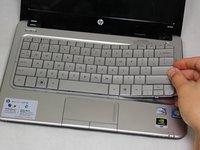
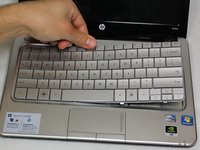
    • Starting at the right side, work your way towards the left end and remove the keyboard by unhinging the latches attaching it to the base of the device.

    • The right side of the keyboard should be unattached.

    • Be gentle and patient. You don't want to pull the entire keyboard at once, but rather pull by sections.

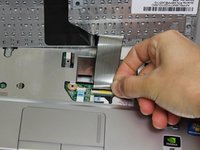
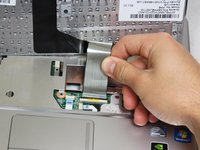
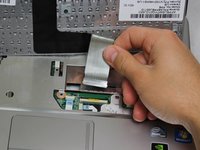
  10. HP Mini 311 Keyboard Replacement: step 10, image 1 of 3 HP Mini 311 Keyboard Replacement: step 10, image 2 of 3 HP Mini 311 Keyboard Replacement: step 10, image 3 of 3
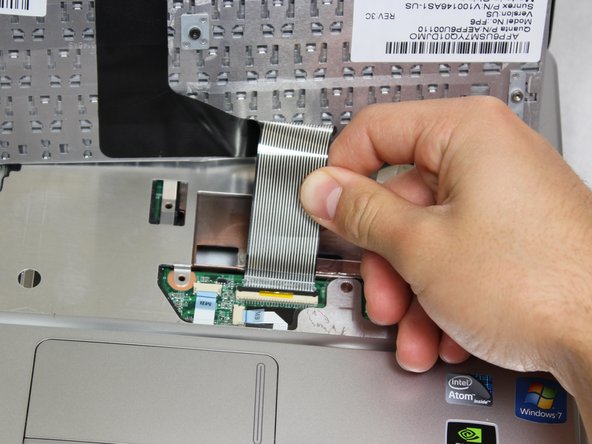
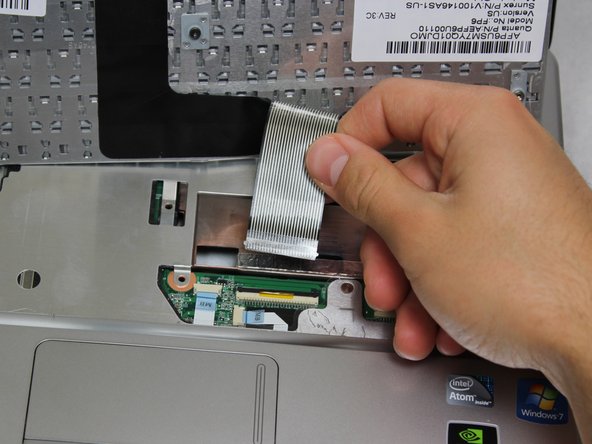
    • Carefully pull the ribbon cable connecting the keyboard and the laptop to remove from the device.

Conclusion

To reassemble your device, follow these instructions in reverse order.

4 other people completed this guide.

Christian Santoyo

Member since: 01/31/13

495 Reputation

6 Guides authored

Team

Cal Poly, Team 20-4, Maness Winter 2013 Member of Cal Poly, Team 20-4, Maness Winter 2013

CPSU-MANESS-W13S20G4

4 Members

6 Guides authored

0 Comments

Add Comment

View Statistics:

Past 24 Hours: 0

Past 7 Days: 1

Past 30 Days: 5

All Time: 2,539