Free Shipping on Domestic Orders $75+

HP Mini 1000 Motherboard Replacement

Prerequisite Only
This is a prerequisite-only guide! This guide is part of another procedure and isn’t meant to be used alone.

What you need

    1. HP Mini 1000 Motherboard Replacement, Motherboard: step 1, image 1 of 1
      • If present, remove the large piece of black adhesive film covering the area around the fan.

      Ask FixBot

      Add Comment

    2. HP Mini 1000 Motherboard Replacement: step 2, image 1 of 2 HP Mini 1000 Motherboard Replacement: step 2, image 2 of 2
      • If present, remove the pieces of black cloth tape securing the antenna cables to the motherboard.

      Ask FixBot

      Add Comment

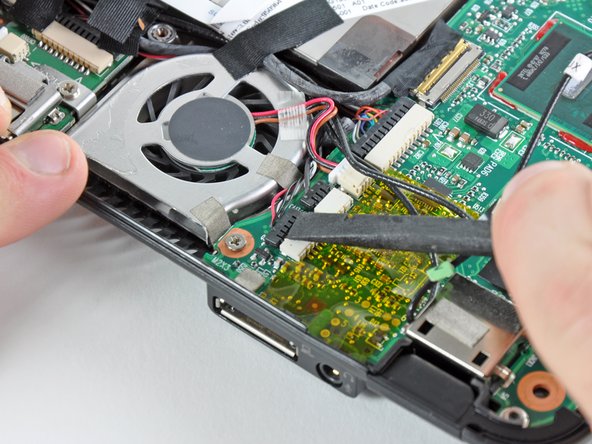
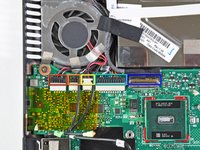
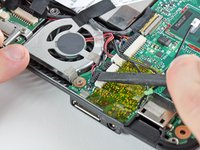
    3. HP Mini 1000 Motherboard Replacement: step 3, image 1 of 2 HP Mini 1000 Motherboard Replacement: step 3, image 2 of 2
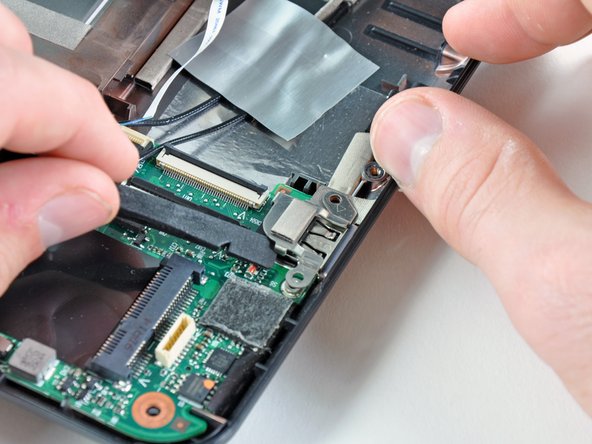
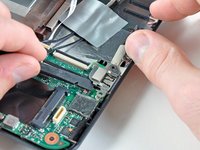
      • Use the flat end of a spudger or your fingers to disconnect the following cables:

      • Speaker cable

      • Microphone cable

      • Fan cable

      • Power cable

      • Display data cable

      • Do not lift the connectors up as you disconnect them from the motherboard. Push the connectors out of their sockets parallel to the face of the logic board toward the display assembly. Use extra care when disconnecting the display data cable, as its connector and socket are fragile.

      Ask FixBot

      Add Comment

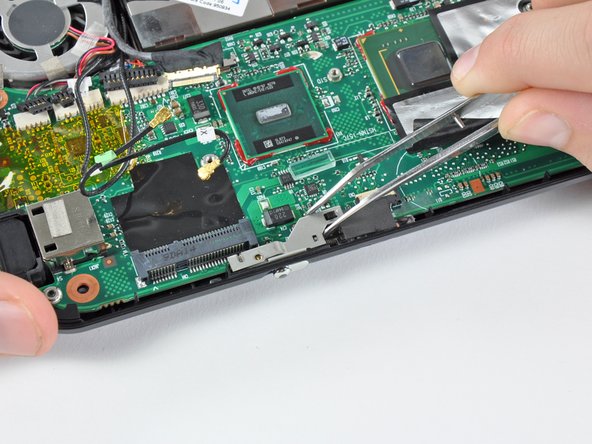
    4. HP Mini 1000 Motherboard Replacement: step 4, image 1 of 2 HP Mini 1000 Motherboard Replacement: step 4, image 2 of 2
      Tool used on this step:
      Tweezers
      $4.99
      Buy
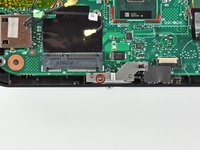
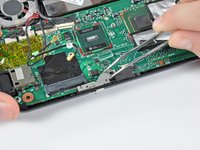
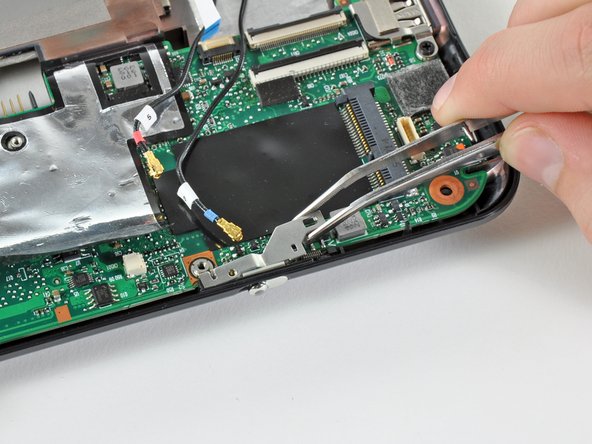
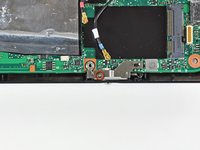
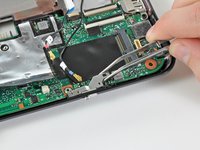
      • Remove the 2.5 mm Phillips screw securing the power switch lever to the lower case.

      • Use a pair of tweezers or your fingers to lift the power switch lever out of the Mini 1000.

      Ask FixBot

      Add Comment

    5. HP Mini 1000 Motherboard Replacement: step 5, image 1 of 2 HP Mini 1000 Motherboard Replacement: step 5, image 2 of 2
      • Remove the 2.5 mm Phillips screw securing the wireless on/off switch lever to the lower case.

      • Use tweezers or your fingers to remove the wireless on/off switch lever from the Mini 1000.

      Ask FixBot

      Add Comment

    6. HP Mini 1000 Motherboard Replacement: step 6, image 1 of 2 HP Mini 1000 Motherboard Replacement: step 6, image 2 of 2
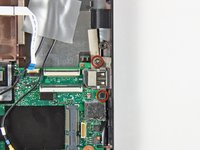
      • Remove the two 3 mm Phillips screws securing the USB bracket to the lower case.

      • Pry up the USB bracket and remove it from the motherboard.

      Ask FixBot

      Add Comment

    7. HP Mini 1000 Motherboard Replacement: step 7, image 1 of 1
      • Remove the single 4.5 mm Phillips screw securing the motherboard to the lower case near the fan.

      Ask FixBot

      Add Comment

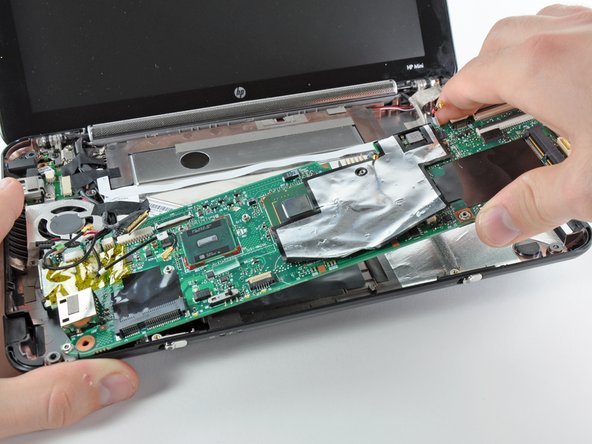
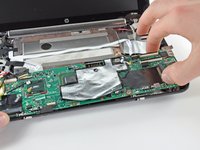
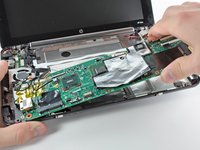
    8. HP Mini 1000 Motherboard Replacement: step 8, image 1 of 2 HP Mini 1000 Motherboard Replacement: step 8, image 2 of 2
      • Carefully lift the motherboard from its right edge and remove it from the lower case, minding any cables that may get caught.

      Ask FixBot

      Add Comment

Conclusion

To reassemble your device, follow these instructions in reverse order.

Cancel: I did not complete this guide.

0 Guide Comments

Add Comment

View Statistics:

Past 24 Hours: 2

Past 7 Days: 10

Past 30 Days: 17

All Time: 349