Free Shipping on Domestic Orders $75+

HP LaserJet P1102w Left Side Panel Replacement

What you need

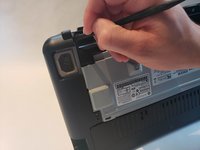
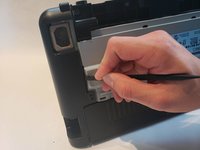
    1. HP LaserJet P1102w Left Side Panel Replacement, Left Side Panel: step 1, image 1 of 3 HP LaserJet P1102w Left Side Panel Replacement, Left Side Panel: step 1, image 2 of 3 HP LaserJet P1102w Left Side Panel Replacement, Left Side Panel: step 1, image 3 of 3
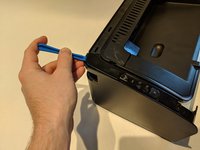
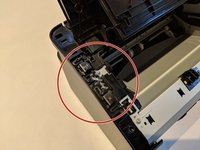
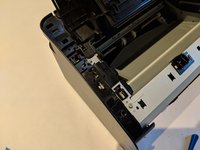
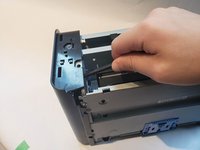
      • Flip printer on it's back. Using the plastic spudger, pry off front panel. There will be two main points to focus as shown.

      • Pry carefully to not break any plastic.

      Ask FixBot

      Add Comment

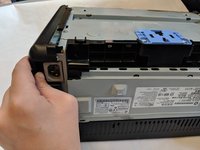
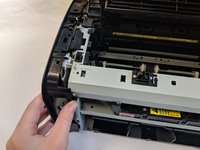
    2. HP LaserJet P1102w Left Side Panel Replacement: step 2, image 1 of 2 HP LaserJet P1102w Left Side Panel Replacement: step 2, image 2 of 2
      • Now that the pry points are free lift up the front panel.

      Ask FixBot

      Add Comment

    3. HP LaserJet P1102w Left Side Panel Replacement: step 3, image 1 of 2 HP LaserJet P1102w Left Side Panel Replacement: step 3, image 2 of 2
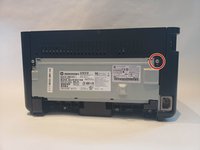
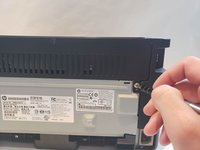
      • Unscrew the #1 Phillips screw 6mm on the back of the printer.

      Ask FixBot

      Add Comment

    4. HP LaserJet P1102w Left Side Panel Replacement: step 4, image 1 of 3 HP LaserJet P1102w Left Side Panel Replacement: step 4, image 2 of 3 HP LaserJet P1102w Left Side Panel Replacement: step 4, image 3 of 3
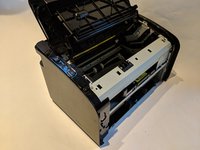
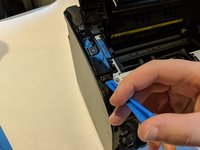
      • Using the plastic spudger, remove the button housing from the top left of printer.

      • Pry carefully to not break any plastic.

      Ask FixBot

      Add Comment

    5. HP LaserJet P1102w Left Side Panel Replacement: step 5, image 1 of 2 HP LaserJet P1102w Left Side Panel Replacement: step 5, image 2 of 2
      • Once the housing is removed, remove the three buttons.

      Ask FixBot

      Add Comment

    6. HP LaserJet P1102w Left Side Panel Replacement: step 6, image 1 of 3 HP LaserJet P1102w Left Side Panel Replacement: step 6, image 2 of 3 HP LaserJet P1102w Left Side Panel Replacement: step 6, image 3 of 3
      • Use the plastic spudger to remove the side panel. There are three main prying points as shown.

      • Pry carefully to not break any plastic.

      Ask FixBot

      Add Comment

    7. HP LaserJet P1102w Left Side Panel Replacement: step 7, image 1 of 2 HP LaserJet P1102w Left Side Panel Replacement: step 7, image 2 of 2
      • With all pry points free, remove the side panel.

      Ask FixBot

      Add Comment

Conclusion

To reassemble your device, follow these instructions in reverse order.

Cancel: I did not complete this guide.

3 other people completed this guide.

Jerome Etten

Member since: 10/04/18

784 Reputation

4 Guides authored

Team

UW Stout, Team S6-G4, Ogden Fall 2018 Member of UW Stout, Team S6-G4, Ogden Fall 2018

UWSTOUT-OGDEN-F18S6G4

4 Members

12 Guides authored

1 Guide Comment

How to replace the HP 2055 motherboard

Wale - Reply Share

Add Comment

View Statistics:

Past 24 Hours: 1

Past 7 Days: 16

Past 30 Days: 65

All Time: 2,915