Introduction
If the screen on your HP G62-234DX laptop is cracked or broken, use this guide to replace the screen.
This guide will highlight the necessary steps for the screen replacement process. Following the steps of this guide will help you to replace a broken screen on your laptop.
A screen displays every image you see on your computer. A broken screen can make it almost impossible to use your laptop.
Before using this guide, inspect your laptop screen for any visible cracks, breaks, or pixel disparity (stuck, or dead pixels). Typically, visible breaks or cracks on a laptop screen call for replacement, because it hinders the usability.
Before you begin, turn off your laptop and unplug it from the charger.
What you need
-
-
-
Place your laptop on a clean, flat surface with the bottom facing up.
-
Slide the battery lock to the left.
-
Slide the battery out from the laptop while holding the lock to the left.
-
Remove the battery.
 Ask FixBot
-
-
-
Flip over the laptop and open the laptop.
-
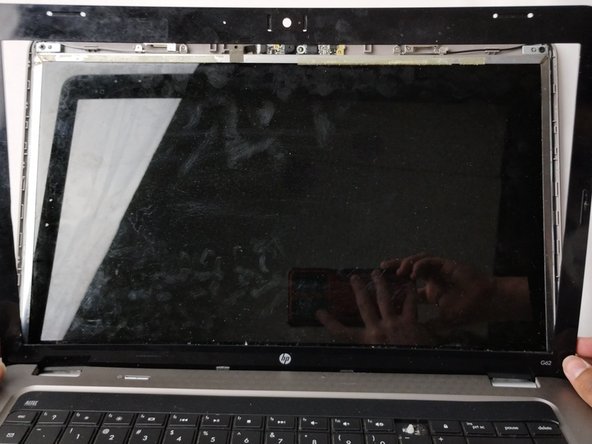
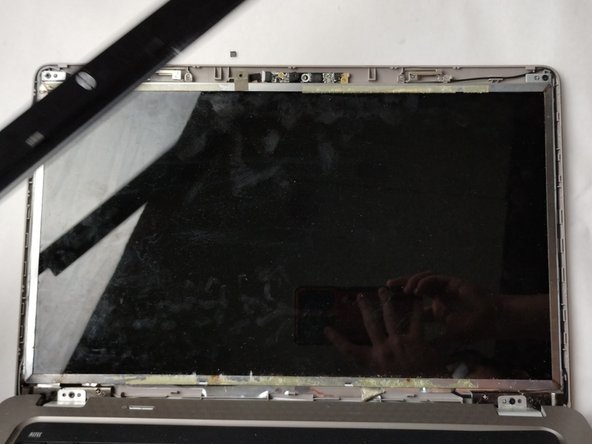
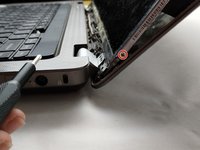
Using a spudger and opening picks, loosen the screen bezel (outer frame).
-
Start from one side of the bezel and work your way around to the other side.
-
-
-
-
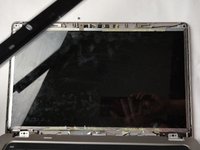
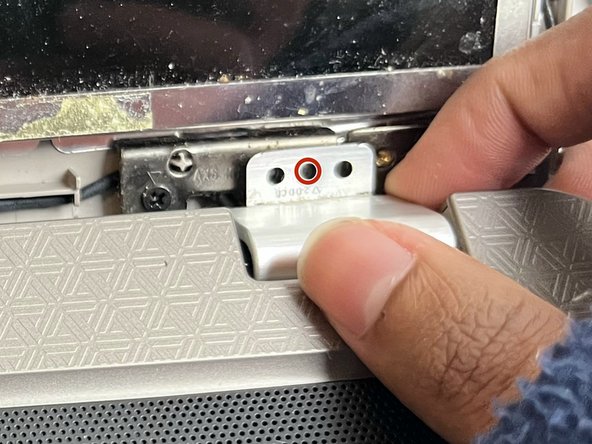
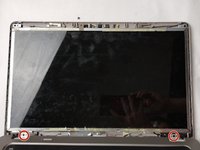
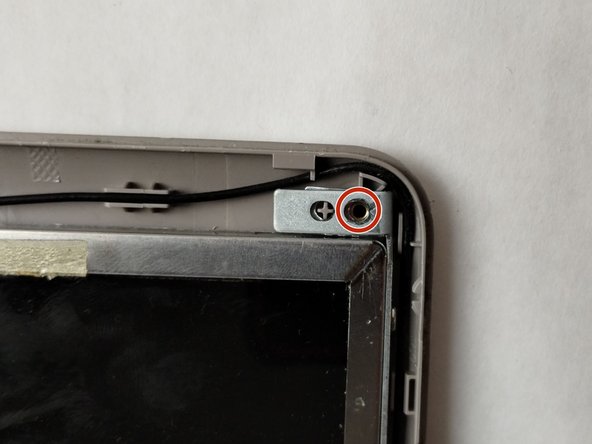
Use a Phillips #0 screwdriver to remove one 4.0 mm screw on the left and right hinges.
-
Lift the hinges with your fingers.
-
-
-
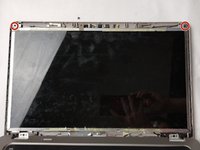
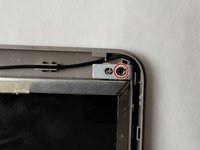
Use a Phillips #0 screwdriver to remove the two 3.0 mm screws on the top of the display.
-
-
-
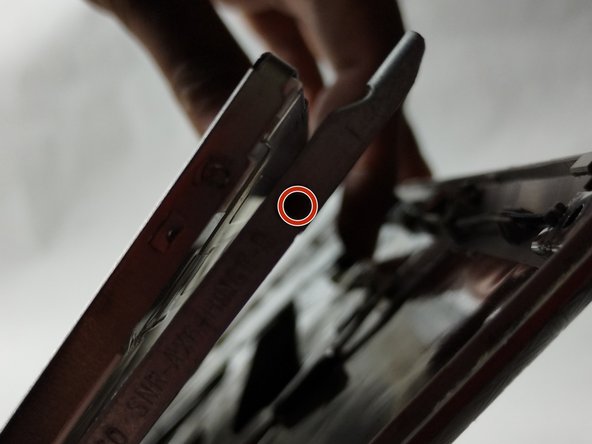
Use a Phillips #0 screwdriver to remove a total of four 3.0 mm screws along the edge of both sides of the screen.
-
-
-
Carefully loosen the adhesive under the screen unit using your spudger.
-
Pull off the screen unit using your fingers.
-
-
-
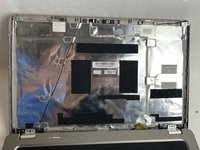
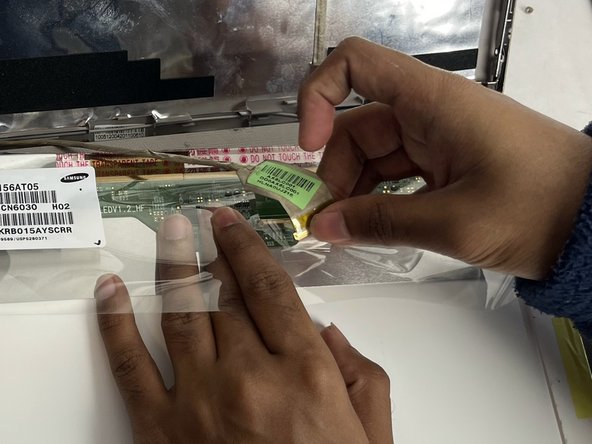
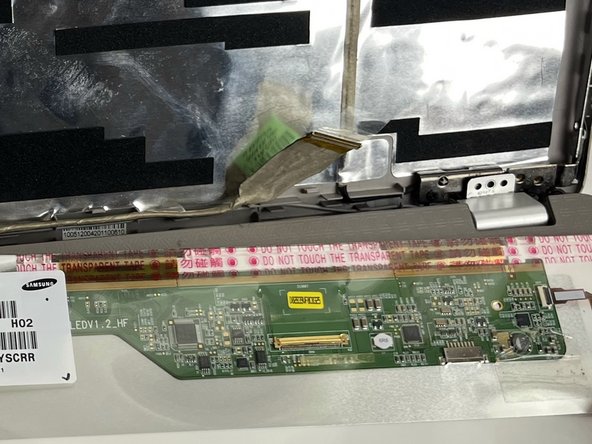
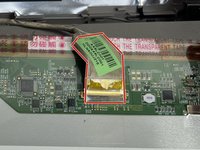
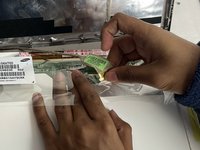
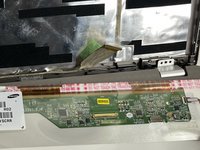
To disconnect the display cable connector, gently push the tip of a spudger under the clip. Then, swing the clip over to the other side of the socket, so that it lays flat against the cable.
-
Lift the protective film slightly and, holding the clip and cable together, gently pull in the direction of the cable to remove the connector from its socket.
-
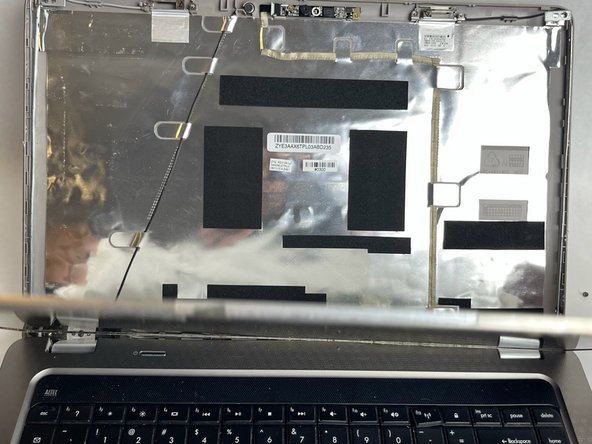
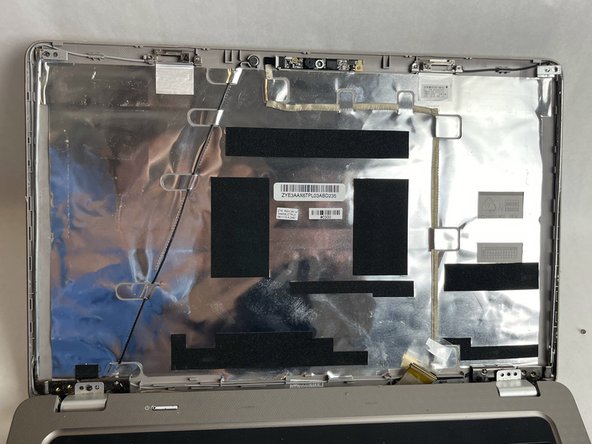
Safely remove the screen.
-
-









To reassemble your device, follow these instructions in reverse order.
Cancel: I did not complete this guide.
One other person completed this guide.

Team

UMass Dartmouth, Team 1-1, Petersen Fall 2023 Member of UMass Dartmouth, Team 1-1, Petersen Fall 2023
UMASSD-PETERSEN-F23S1G1
4 Members
72 Guides authored
