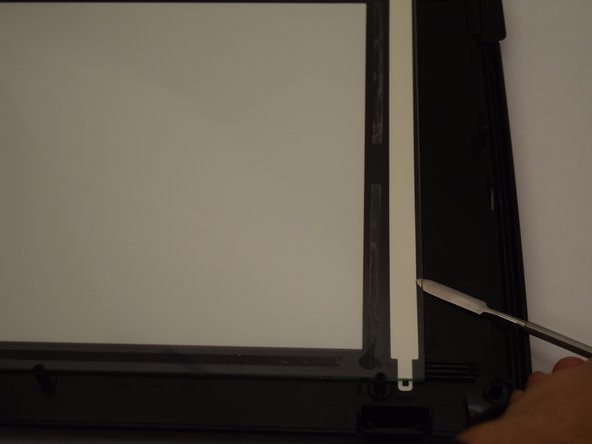
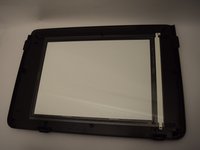
HP Envy 5660 Scanner Glass Replacement

What you need

  1. HP Envy 5660 Scanner Glass Replacement, Scanner Glass: step 1, image 1 of 1
    • Open the cartridge access area.

  2. HP Envy 5660 Scanner Glass Replacement: step 2, image 1 of 1
    • Remove the three 11.5 mm screws with a T10 bit.

  3. HP Envy 5660 Scanner Glass Replacement: step 3, image 1 of 3 HP Envy 5660 Scanner Glass Replacement: step 3, image 2 of 3 HP Envy 5660 Scanner Glass Replacement: step 3, image 3 of 3
    • Locate the cover hinge on the right side of the printer.

    • Pull the hinge off of the scanner to allow the scanner to open to 90 degress.

  4. HP Envy 5660 Scanner Glass Replacement: step 4, image 1 of 2 HP Envy 5660 Scanner Glass Replacement: step 4, image 2 of 2
    • Remove the 12 mm screws on the left side of the printer with a T10 bit.

  5. HP Envy 5660 Scanner Glass Replacement: step 5, image 1 of 2 HP Envy 5660 Scanner Glass Replacement: step 5, image 2 of 2
    • Remove the 11.5 mm screw with a T10 bit to release the spring-loaded hinge.

    • Since this is a compression spring, the hinge will snap downwards as soon as it is loosened.

  6. HP Envy 5660 Scanner Glass Replacement: step 6, image 1 of 3 HP Envy 5660 Scanner Glass Replacement: step 6, image 2 of 3 HP Envy 5660 Scanner Glass Replacement: step 6, image 3 of 3
    • Pull the plastic side cover off of the printer.

    • You may need to lift the printer and push the cover downwards as it is latched onto the bottom of the printer.

    • Plastic opening tools or a metal spudger may also be used.

  7. HP Envy 5660 Scanner Glass Replacement: step 7, image 1 of 1
    • Remove the five 11.5 mm screws located at the bottom of the scanner.

    • Steps 3-6 were intended to create easier access to these screws. However, they will still be difficult to reach.

    • The top of the scanner will now easily pull off.

  8. HP Envy 5660 Scanner Glass Replacement: step 8, image 1 of 2 HP Envy 5660 Scanner Glass Replacement: step 8, image 2 of 2
    • Pry the old scanning glass up with a metal spudger.

    • There are adhesives under the scanning glass. Be careful not to break the glass while removing it.

Conclusion

To reassemble your device, follow these instructions in reverse order.

2 other people completed this guide.

Ryan Steakley

Member since: 01/23/18

781 Reputation

5 Guides authored

Team

Cal Poly, Team S1-G6, Livingston Winter 2018 Member of Cal Poly, Team S1-G6, Livingston Winter 2018

CPSU-LIVINGSTON-W18S1G6

4 Members

10 Guides authored

One Comment

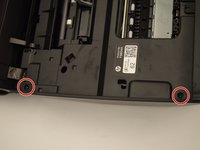
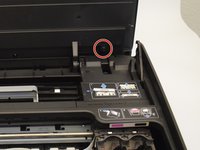
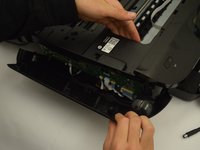
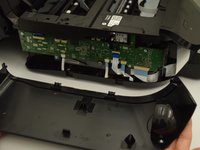
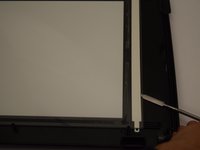
Remove an additional three 11.5 mm torx head screws in the same plane as step #4 photo, but near the hinges. This allows the cover hinges to be raised a bit for easier access to the screws removed in step #7. It also makes it easier to remove and reinstall the side cover.

My scanner glass was not broken, but inside surface had a dirty haze that was effecting my scans and needed cleaning. Thanks, I was ready to buy a new scanner.

Rich Monell - Reply

Add Comment

View Statistics:

Past 24 Hours: 1

Past 7 Days: 6

Past 30 Days: 13

All Time: 1,370