Introduction
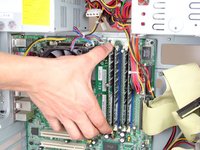
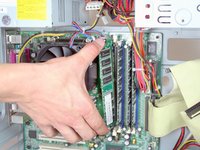
RAM, or random access memory, is short-term storage for your Compaq dx2000MT. RAM is used by your processor for immediate use as-needed, unlike long-term files written to a hard disk drive. If your computer has slowed considerably or you’re looking for a boost, replacing/upgrading the RAM is a fairly simple and inexpensive first step. The Compaq dx2000MT laptop comes standard with 4GB of RAM and can be upgraded to a maximum of 8GB with its two (DDRSD) slots.
What you need
-
-
-
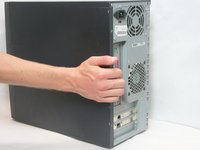
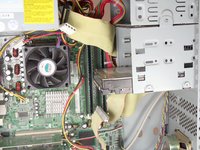
Turn off your computer and remove the power cable by pulling it straight out of its socket.
 Ask FixBot
-
-
-
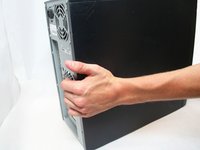
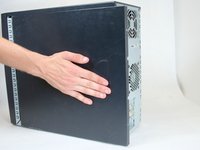
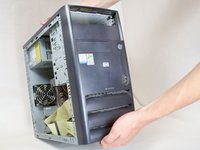
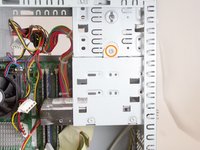
Remove the side case door by pushing towards the rear of the device with your hand.
-
Once you slide the door back, remove it by pulling it outwards from the device.
-
-
-
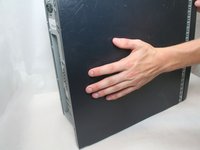
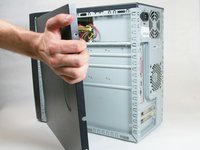
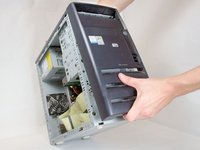
Remove the side case door by pushing towards the rear of the device with your hand.
-
Once you slide the door back, remove it by pulling it outwards from the device.
-
-
-
-
-
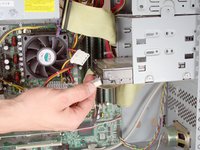
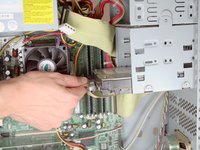
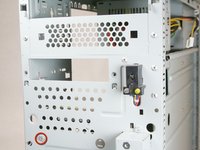
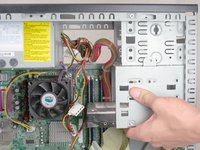
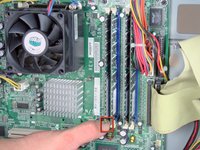
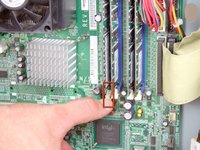
Remove the IDE data and power cables from the hard drive.
-
-
-
-
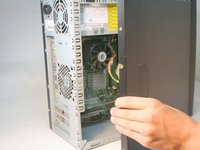
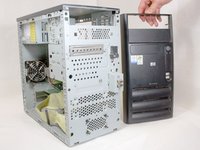
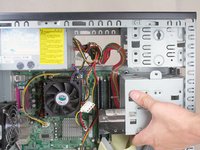
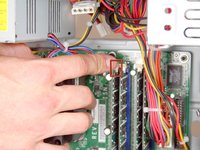
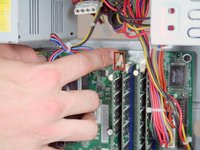
Remove the front bezel by pulling upwards and out from below the lowest air vent.
-
-
-
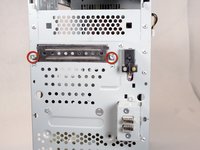
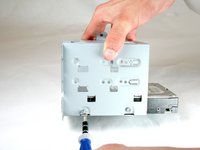
Remove the following screws:
-
Front Torx T15.
-
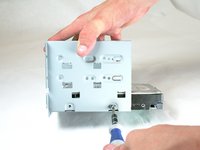
Torx T15 mounting the hard drive cage to the optical drive bay.
-
-
-
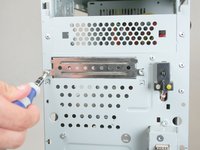
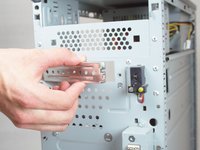
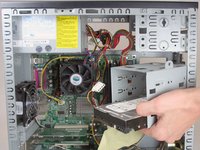
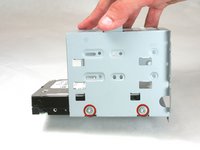
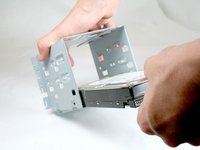
Fully remove the hard drive cage by sliding it towards the back of the device and pulling down.
-
-
-
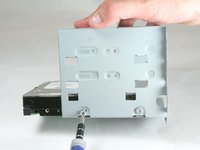
Remove the two Torx T15 screws holding this side of the hard drive in place.
-
-
-
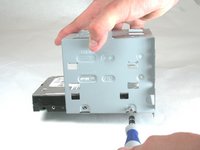
Proceed to the other side of the hard drive cage.
-
Remove the two Torx T15 screws holding this side of the hard drive in place.
-
-
-
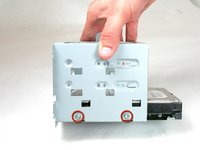
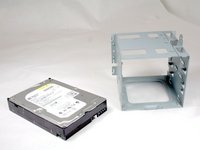
Remove the hard drive from the hard drive cage by pulling it outward from the cage.
-
-
-


To reassemble your device, follow these instructions in reverse order.
Cancel: I did not complete this guide.
One other person completed this guide.
Team

Cal Poly, Team 17-16, Regan Fall 2011 Member of Cal Poly, Team 17-16, Regan Fall 2011
CPSU-REGAN-F11S17G16
4 Members
27 Guides authored