Shop the Holiday Gift Guide
Free Shipping on Domestic Orders $75+

HP Chromebook 14-Q010DX Fan Replacement

Views: 4.6K

View statistics:

Past 24 Hours:
4
Past 7 Days:
21
Past 30 Days:
94
All Time:
4,578
Comments: 3

2 comments on steps, 1 guide comment.

Go to guide comments
Completed: 5

5 people have marked this guide "completed." Will you be next?

Favorites: 1

1 person has favorited (and subscribed to) this guide. Will you be next?

Time Required: 10 - 15 minutes
Difficulty: Moderate
HP Chromebook 14-Q010DX Fan Replacement

Introduction

Go to step 1 ↓

This guide requires removal of 3x3mm screws from the fan assembly.

What you need

Parts

Tools

    1. HP Chromebook 14-Q010DX Fan Replacement, Keyboard and Touchpad: step 1, image 1 of 2 HP Chromebook 14-Q010DX Fan Replacement, Keyboard and Touchpad: step 1, image 2 of 2
      • Flip the laptop so the base of the laptop is facing you.

      • Using the #00 screwdriver, unscrew the 13 screws.

      Ask FixBot

      Add Comment

    2. HP Chromebook 14-Q010DX Fan Replacement: step 2, image 1 of 3 HP Chromebook 14-Q010DX Fan Replacement: step 2, image 2 of 3 HP Chromebook 14-Q010DX Fan Replacement: step 2, image 3 of 3
      • Warning! When prying open a laptop it could require some force, but it also has fragile connectors underneath. Use caution so as to avoid breaking these connectors.

      • Start from the top right corner of the laptop and work clockwise with an iFixit opening tool or spudger to pry the keyboard from the frame of the laptop.

      Ask FixBot

      Add Comment

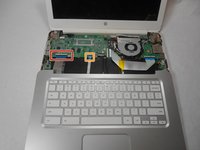
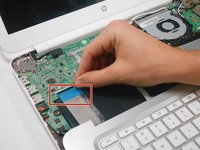
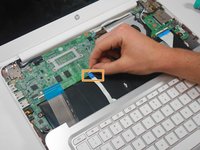
    3. HP Chromebook 14-Q010DX Fan Replacement: step 3, image 1 of 3 HP Chromebook 14-Q010DX Fan Replacement: step 3, image 2 of 3 HP Chromebook 14-Q010DX Fan Replacement: step 3, image 3 of 3
      • Warning! Handle the flaps and ribbon cables with care to prevent damage.

      • Gently pull the keyboard in the opposite direction of the screen, so the wires beneath are exposed.

      • Lift the black flap and pull the blue ribbon gently towards you until it is disconnected.

      • Lift the white flap and pull the blue ribbon towards you until it is disconnected.

      Ask FixBot

      Add Comment

    4. HP Chromebook 14-Q010DX Fan Replacement: step 4, image 1 of 1
      • Lift keyboard slightly and remove the strip gently to prevent damaging any parts.

      • The tape has no function other than to keep the wire tucked away.

      Ask FixBot

      Add Comment

    5. HP Chromebook 14-Q010DX Fan Replacement: step 5, image 1 of 1
      • Set aside the detached keyboard.

      Ask FixBot

      Add Comment

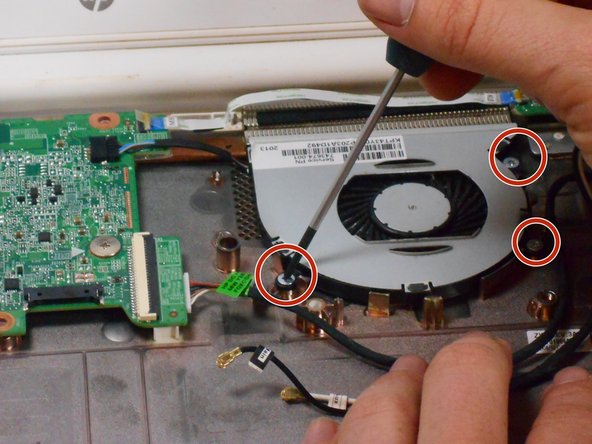
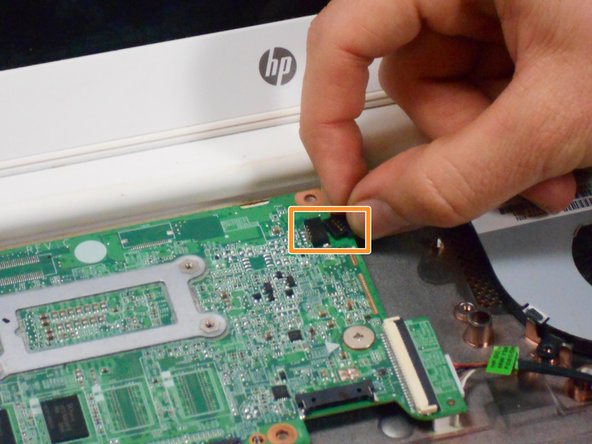
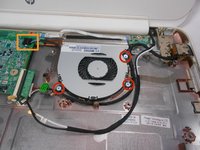
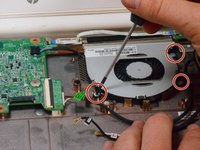
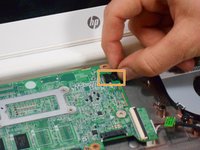
    1. HP Chromebook 14-Q010DX Fan Replacement, Fan replacement for a HP Chromebook: step 6, image 1 of 3 HP Chromebook 14-Q010DX Fan Replacement, Fan replacement for a HP Chromebook: step 6, image 2 of 3 HP Chromebook 14-Q010DX Fan Replacement, Fan replacement for a HP Chromebook: step 6, image 3 of 3
      • Remove the 3 screws around the fan.

      • Using your fingers or the spudger, disconnect the cable connecting the fan to the motherboard.

      Ask FixBot

      Add Comment

    2. HP Chromebook 14-Q010DX Fan Replacement: step 7, image 1 of 1
      • Once the cable connecting the fan to the motherboard is revomed gently remove fan with hands.

      Ask FixBot

      Add Comment

Conclusion

To reassemble your device, follow these instructions in reverse order.

Cancel: I did not complete this guide.

5 other people completed this guide.

Author

with

Kevin Piper

Member since: 01/16/15

1,602 Reputation

6 Guides authored

Team

USF Tampa, Team 17-2, Watkins Winter 2015 Member of USF Tampa, Team 17-2, Watkins Winter 2015

USFT-WATKINS-W15S17G2

4 Members

96 Guides authored

1 Guide Comment

Add Comment:

Akshit Fnu - Reply Share

Add Comment

View Statistics:

Past 24 Hours: 4

Past 7 Days: 21

Past 30 Days: 94

All Time: 4,578