Introduction
This guide will require removal of 1x5mm screws. Be careful removing the wires, be sure to release them as instructed before pulling on them.
What you need
-
-
Flip the laptop with the base of the laptop is facing you.
-
Using the #00 screwdriver, unscrew these screws.
-
-
-
Start from the top right corner of the laptop and work clockwise with an iFixit opening tool or spudger to pry the keyboard from the frame of the laptop.
-
-
-
Gently pull the keyboard in the opposite direction of the screen, so the wires beneath are exposed.
-
Lift the black flap and pull the blue ribbon gently towards you until it is disconnected.
-
Lift the white flap and pull the blue ribbon towards you until it is disconnected.
-
-
-
Undo the black tape located on the bottom from the frame of the laptop.
-
Using fingers or the spudger, slide out the black connector indicated on the left.
-
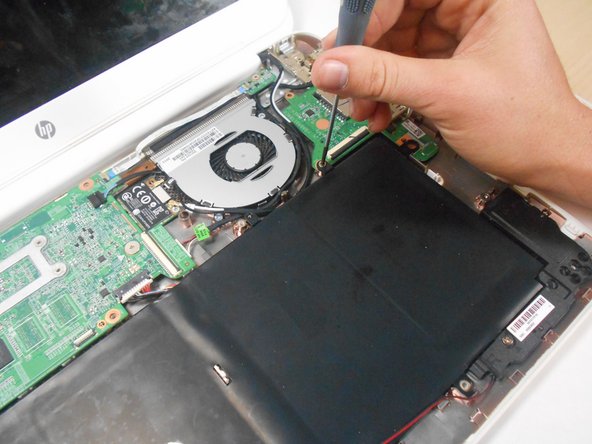
Use a #00 screwdriver to remove the two screws.
-
-
-
For both parts indicated in the photo by the red rectangles, lift the black flaps and gently pull the strip out. Set the strip aside. Note the shape that this wire strip is resting at and that the blue tip of the strip goes into the right connector for reassembly.
-
-
-
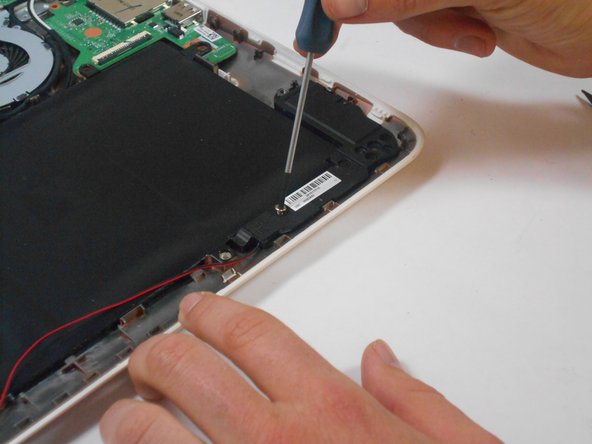
Remove screw shown by red circle on the right.
-
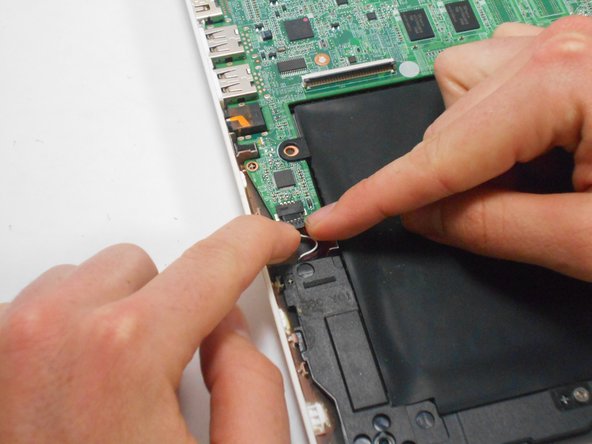
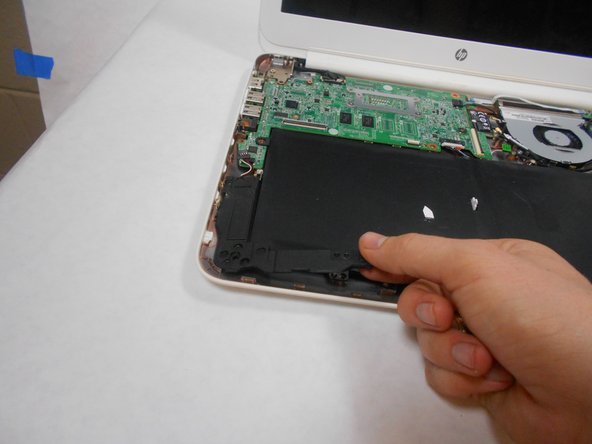
Use your fingers to pull the white tab out of the black slot above the battery, shown by the orange rectangle.
-


Team

USF Tampa, Team 17-2, Watkins Winter 2015 Member of USF Tampa, Team 17-2, Watkins Winter 2015
USFT-WATKINS-W15S17G2
4 Members
8 Guides authored