Introduction
Use this guide to replace the screen on the HP Chromebook 11-v002dx.
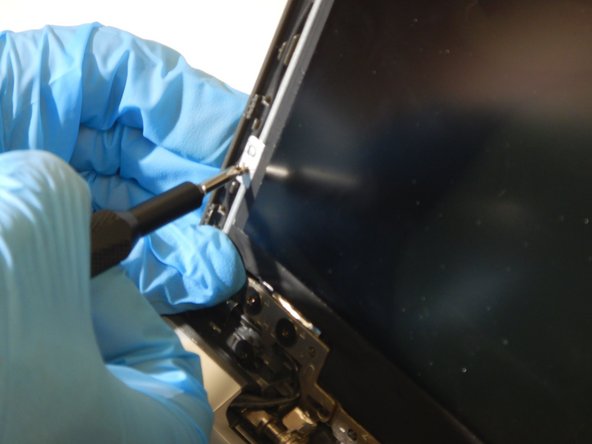
The screen is an easily damaged component and can be costly to replace at a repair shop. Indications that your laptop screen is failing include, visible damage, pixels not working leading to dark areas on the screen, as well as the screen not displaying colors properly.
Take care when replacing the screen as it can shatter if dropped or if damaged previously and could create a potential hazard during the removal process.
Ensure proper safety gear is worn as the screen has the potential to break into pieces.
What you need


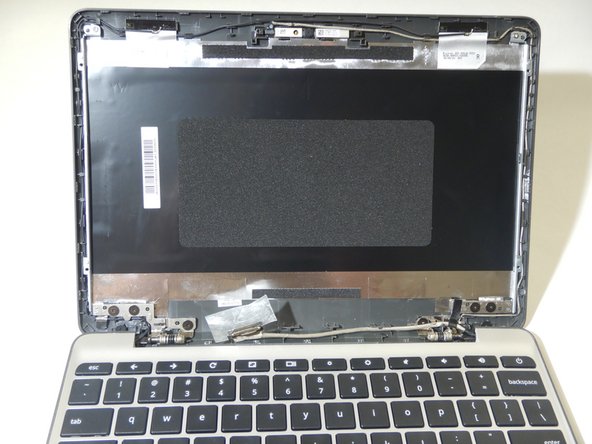
To reassemble your device, follow these instructions in reverse order.
To reassemble your device, follow these instructions in reverse order.
Team

The Citadel Military College of South Carolina, Team S3-G7, Eggleston Spring 2021 Member of The Citadel Military College of South Carolina, Team S3-G7, Eggleston Spring 2021
CMCSC-EGGLESTON-S21S3G7
1 Member
3 Guides authored