
HP Chromebook 11 G8 EE Speaker Replacement

What you need

  1. HP Chromebook 11 G8 EE Speaker Replacement, Keyboard & Touchpad Assembly: step 1, image 1 of 1
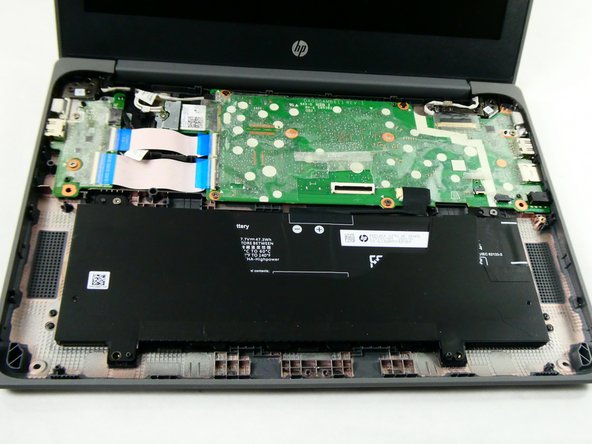
    • Use a Phillips #1 screwdriver to remove:

    • Four 7 mm screws.

    • Two 8 mm screws.

  2. HP Chromebook 11 G8 EE Speaker Replacement: step 2, image 1 of 2 HP Chromebook 11 G8 EE Speaker Replacement: step 2, image 2 of 2
    • Flip the device over and open the lid.

    • Use a plastic opening tool to pry the keyboard assembly away from the bottom case, prying around the perimeter until it fully separates.

    • Lift the keyboard assembly from the laptop towards you, away from the screen.

  3. HP Chromebook 11 G8 EE Speaker Replacement: step 3, image 1 of 3 HP Chromebook 11 G8 EE Speaker Replacement: step 3, image 2 of 3 HP Chromebook 11 G8 EE Speaker Replacement: step 3, image 3 of 3
    Tool used on this step:
    Tweezers
    $4.99
    Buy
    • Lift the keyboard ribbon lock bar and use tweezers to disconnect the keyboard ribbon from the motherboard.

    • Lift the lock bar and use tweezers to remove the touchpad ribbon.

    • Remove the keyboard.

  4. HP Chromebook 11 G8 EE Speaker Replacement, Speaker: step 4, image 1 of 2 HP Chromebook 11 G8 EE Speaker Replacement, Speaker: step 4, image 2 of 2
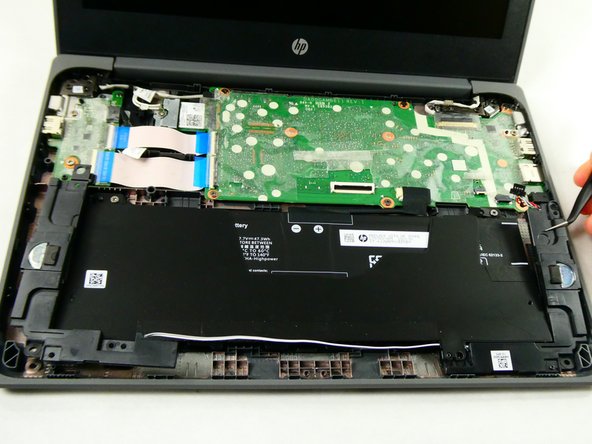
    • Peel back the film over the speaker's motherboard connector.

    • Disconnect the speaker cable from the connector on the motherboard.

  5. HP Chromebook 11 G8 EE Speaker Replacement: step 5, image 1 of 2 HP Chromebook 11 G8 EE Speaker Replacement: step 5, image 2 of 2
    • Unseat the speaker cable from the routing channel of the battery.

  6. HP Chromebook 11 G8 EE Speaker Replacement: step 6, image 1 of 1
    • Remove the four 3.5 mm screws from the base enclosure with a Phillips #1 screwdriver.

  7. HP Chromebook 11 G8 EE Speaker Replacement: step 7, image 1 of 3 HP Chromebook 11 G8 EE Speaker Replacement: step 7, image 2 of 3 HP Chromebook 11 G8 EE Speaker Replacement: step 7, image 3 of 3
    • Lift the speakers off the base alignment pins to remove.

Conclusion

To reassemble your device, follow these instructions in reverse order.

2 other people completed this guide.

Julia Latura

Member since: 10/25/22

328 Reputation

3 Guides authored

Team

UMass Dartmouth, Team 4-2, Sinclaire Fall 2022 Member of UMass Dartmouth, Team 4-2, Sinclaire Fall 2022

UMASSD-SINCLAIRE-F22S4G2

5 Members

13 Guides authored

0 Comments

Add Comment

View Statistics:

Past 24 Hours: 0

Past 7 Days: 0

Past 30 Days: 8

All Time: 159