Introduction
The HP c010 series features socketed RAM, leaving the end-user the ability to upgrade to a max of 8GBs using DDR3 SODIMM sticks. This can provide a significant performance boost, especially if the PC is struggling with browsing the web or tasks that require significant memory usage.
This guide is meant to guide end-users when upgrading the RAM of the system
Before starting, please ensure the computer is powered off and unplugged from its power source
What you need
-
-
-
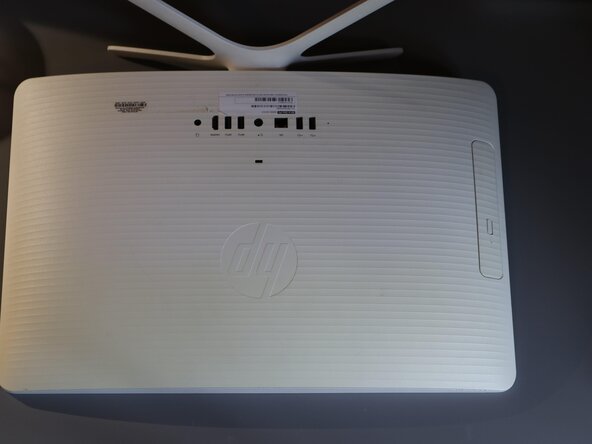
Carefully rotate unit so that its "foot" assembly is facing up, as shown in the photo
-
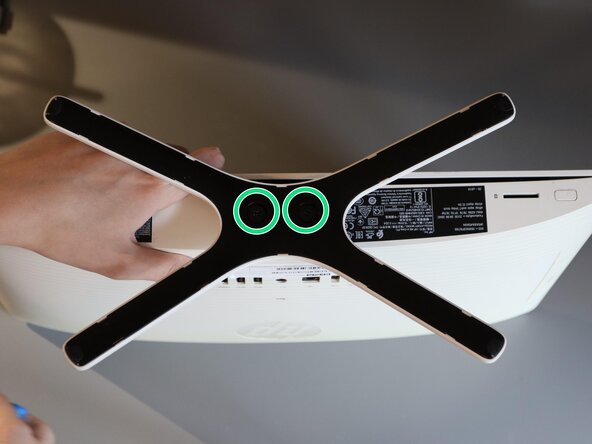
Unscrew the two #2 philips screws with a screwdriver
-
Remove the foot from the unit
 Ask FixBot
-
-
-
Remove the Philips screw where the foot assembly was
-
This screw secures the display bezel assembly
-
-
-
-
Carefully use a guitar pick or similar opening device to separate the two halves of the display assembly at the seam
-
-
-
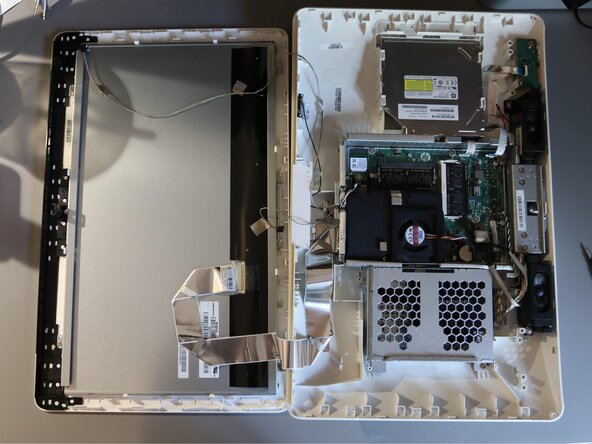
Remove the display from the other half of the computer, set to the side
-
-
-
Locate the RAM slots near the CPU cooling assembly on the motherboard
-
Press in the retaining tabs to release the memory for removal
-
Slot in a new stick at a 45° angle, and press down until a click is heard
-
-




To reassemble your device, follow these instructions in reverse order.

