HP 17-x116dx RAM Replacement

What you need

  1. HP 17-x116dx RAM Replacement, RAM: step 1, image 1 of 2 HP 17-x116dx RAM Replacement, RAM: step 1, image 2 of 2
    • Turn off your computer before starting, and remove the battery.

    • Locate all 8mm screws on the back of the computer and remove them with the Phillips #1 screwdriver.

  2. HP 17-x116dx RAM Replacement: step 2, image 1 of 3 HP 17-x116dx RAM Replacement: step 2, image 2 of 3 HP 17-x116dx RAM Replacement: step 2, image 3 of 3
    • Remove the optical drive by pushing it in and then it will pop out.

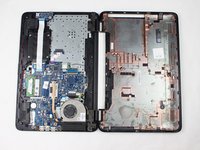
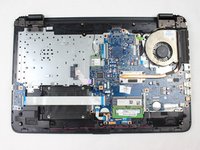
  3. HP 17-x116dx RAM Replacement: step 3, image 1 of 3 HP 17-x116dx RAM Replacement: step 3, image 2 of 3 HP 17-x116dx RAM Replacement: step 3, image 3 of 3
    • Use a spudger to remove the back panel.

  4. HP 17-x116dx RAM Replacement: step 4, image 1 of 3 HP 17-x116dx RAM Replacement: step 4, image 2 of 3 HP 17-x116dx RAM Replacement: step 4, image 3 of 3
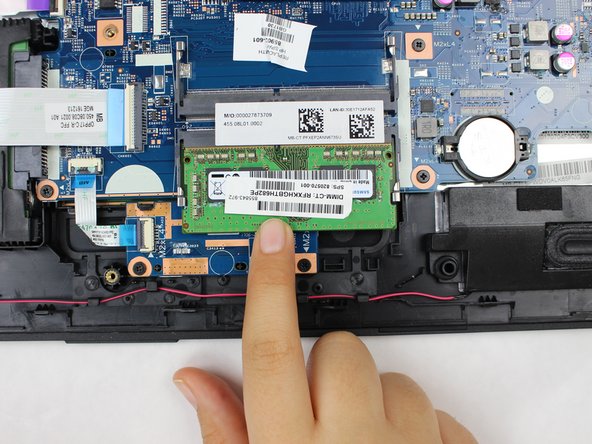
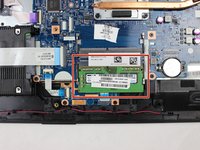
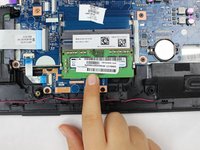
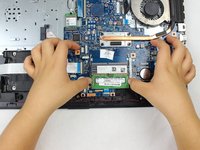
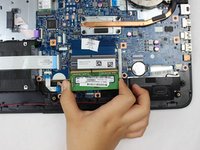
    • Once you remove the back panel, locate the RAM.

    • Use your fingernails to release the clips holding the memory by pulling them away from the RAM.

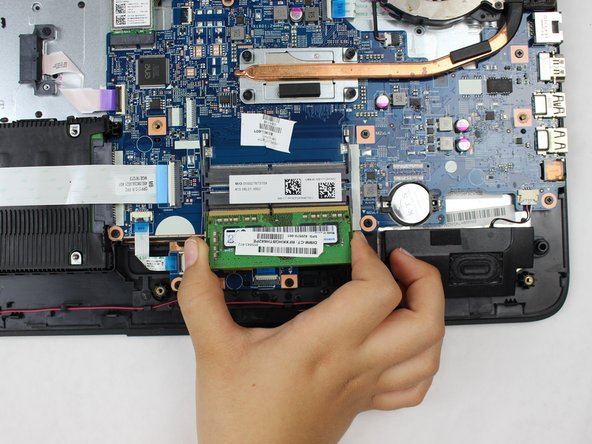
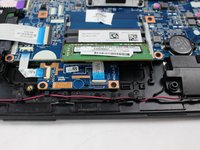
  5. HP 17-x116dx RAM Replacement: step 5, image 1 of 2 HP 17-x116dx RAM Replacement: step 5, image 2 of 2
    • The RAM will pop out, and you can remove it.

Conclusion

To reassemble your device, follow these instructions in reverse order.

4 other people completed this guide.

Sarah Coral

Member since: 03/22/18

346 Reputation

2 Guides authored

0 Comments

Add Comment

View Statistics:

Past 24 Hours: 0

Past 7 Days: 1

Past 30 Days: 11

All Time: 2,382