Free Shipping on Domestic Orders $75+

HP 17-bs049dx Hard Drive Replacement

What you need

    1. HP 17-bs049dx Hard Drive  Replacement, Battery: step 1, image 1 of 1
      • To remove the battery, simply push the tabs towards each other.

      • The battery will come out with force, be sure to keep anything fragile away from the laptop during this process.

      Ask FixBot

      Add Comment

    1. HP 17-bs049dx Hard Drive  Replacement, Back Panel: step 2, image 1 of 1
      • Remove the four screws (13.7mm) with a Phillips #0 screwdriver.

      • Be sure to lift all four rubber tabs to access screws (7.51mm) underneath.

      • Rubber tabs will require force to access screws.

      Ask FixBot

      Add Comment

    2. HP 17-bs049dx Hard Drive  Replacement: step 3, image 1 of 1
      • Use the Philips 0 screwdriver to unscrew the screws (7.51mm) that were underneath the battery.

      Ask FixBot

      Add Comment

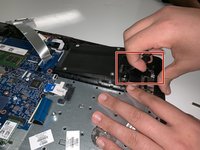
    3. HP 17-bs049dx Hard Drive  Replacement: step 4, image 1 of 2 HP 17-bs049dx Hard Drive  Replacement: step 4, image 2 of 2
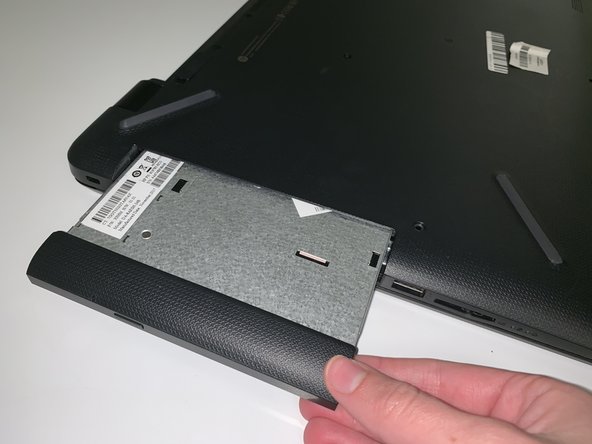
      • Pull outwards on the disk reader to remove from main frame.

      • This removal will require force.

      • All screws must be removed before removing disk reader.

      Ask FixBot

      Add Comment

    4. HP 17-bs049dx Hard Drive  Replacement: step 5, image 1 of 1
      • Lift back panel to access internal components.

      • You will need to use force to pry it open.

      Ask FixBot

      Add Comment

    1. HP 17-bs049dx Hard Drive  Replacement, Hard Drive: step 6, image 1 of 1
      • Remove screw (7.51mm) on USB port with "Phillips 0 Screwdriver".

      • Lift the USB port over and away from hard drive.

      Ask FixBot

      Add Comment

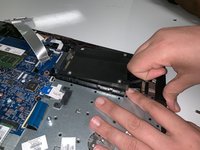
    2. HP 17-bs049dx Hard Drive  Replacement: step 7, image 1 of 2 HP 17-bs049dx Hard Drive  Replacement: step 7, image 2 of 2
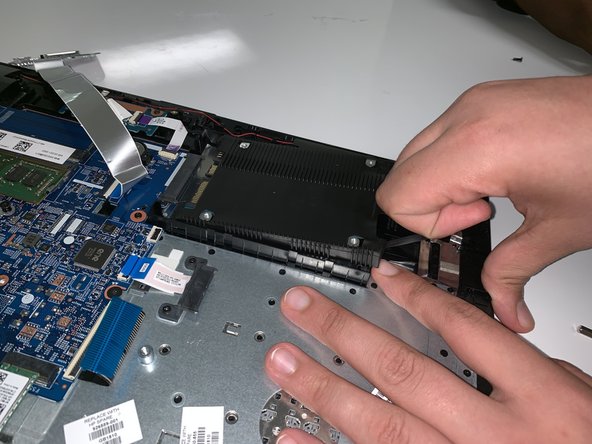
      • Lift rubber black tabs located on the hard drive upwards.

      • Disconnect hard drive from motherboard by pulling towards you.

      Ask FixBot

      Add Comment

Conclusion

To reassemble your device, follow these instructions in reverse order.

Cancel: I did not complete this guide.

12 other people completed this guide.

2 Guide Comments

This was SPOT ON! After searching high and low all over the fricken INTERWEBS for a decent manual, I landed here on your guide and am VERY thankful! KUDOS to you for sharing it!

John Hart - Reply Share

How much force am I required to put while lifting the back panel to access the internal components? I can go hulk on it but then I wouldn’t have a laptop later…

Stephanie Rose Brown - Reply Share

Add Comment

View Statistics:

Past 24 Hours: 3

Past 7 Days: 12

Past 30 Days: 41

All Time: 4,852