HP 15-ef Rubber Feet Replacement

What you need

  1. HP 15-ef Rubber Feet Replacement, Flip your laptop over: step 1, image 1 of 1
    • Flip your laptop over so the rubber feet are facing up.

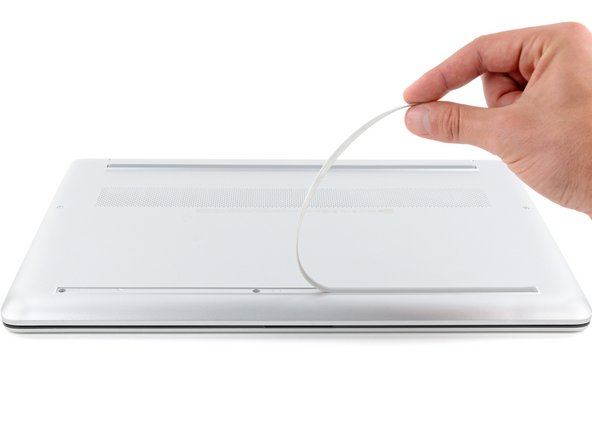
  2. HP 15-ef Rubber Feet Replacement, Peel up an end of the front foot: step 2, image 1 of 3 HP 15-ef Rubber Feet Replacement, Peel up an end of the front foot: step 2, image 2 of 3 HP 15-ef Rubber Feet Replacement, Peel up an end of the front foot: step 2, image 3 of 3
    • The rubber feet cover a total of six back cover screws.

    • Use an opening pick to peel up an end of the front rubber foot until you can grip it with your fingers.

    • Make sure both the foot and its adhesive peel up together, as they need to be removed as one piece.

  3. HP 15-ef Rubber Feet Replacement, Remove the front foot: step 3, image 1 of 3 HP 15-ef Rubber Feet Replacement, Remove the front foot: step 3, image 2 of 3 HP 15-ef Rubber Feet Replacement, Remove the front foot: step 3, image 3 of 3
    • Peel the front foot away from the back cover and remove it.

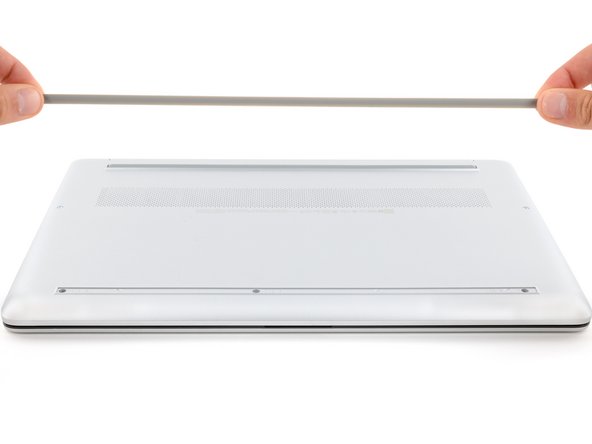
  4. HP 15-ef Rubber Feet Replacement, Remove the rear foot: step 4, image 1 of 3 HP 15-ef Rubber Feet Replacement, Remove the rear foot: step 4, image 2 of 3 HP 15-ef Rubber Feet Replacement, Remove the rear foot: step 4, image 3 of 3
    • Use an opening pick to peel up an end of the rear rubber foot until you can grip it with your fingers.

    • Peel the rear foot away from the back cover and remove it.

  5. HP 15-ef Rubber Feet Replacement, Reassembly information: step 5, image 1 of 3 HP 15-ef Rubber Feet Replacement, Reassembly information: step 5, image 2 of 3 HP 15-ef Rubber Feet Replacement, Reassembly information: step 5, image 3 of 3
    Tool used on this step:
    Tesa 61395 Tape
    $5.99
    Buy
    • Note that the rubber feet are different:

    • The rear foot is thicker, with a deeper recess.

    • The front foot is thinner, with a shallower recess.

    • During reassembly:

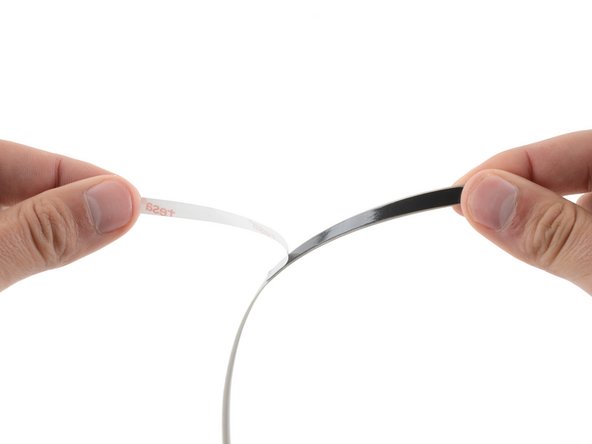
    • If you're reusing the rubber feet, the leftover adhesive should be tacky enough to reuse.

    • If the leftover adhesive isn't sticky enough or your replacement feet didn't come with adhesive, you can use double-sided tape such as Tesa Tape to secure the feet.

    • Make sure the strips of tape aren't wider than 6 mm, otherwise they may not fit.

    • To install a foot, remove its adhesive liner, lay the foot into its matching recess, and press down firmly along the entire length of the foot to secure it.

Conclusion

To reassemble your device, follow these instructions in reverse order.

Repair didn’t go as planned? Try some basic troubleshooting, or ask our Answers community for help.

Spencer Day

Member since: 09/14/22

55,203 Reputation

408 Guides authored

Team

iFixit Member of iFixit

Staff

136 Members

17,430 Guides authored

0 Comments

Add Comment

View Statistics:

Past 24 Hours: 2

Past 7 Days: 14

Past 30 Days: 79

All Time: 751