Introduction
A quick teardown of this HP laptop to show where the Wi-fi card, HDD, and RAM is located to replace, upgrade or repair. (This is my first guide, i’m sorry for any errors and the bad camera quality.)
What you need
-
-
First ensure the device is off and unplugged. And that you are wearing an ESD wristband, or have at least touched a grounded metal object to reduce static charge.
-
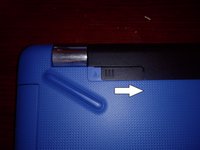
For the Battery; unlock the battery lock on the left side of the bottom of the device. Push the bar so that the unlocked symbol is shown. Then slide the bar on the right side to release the battery. Put the battery in a safe place.
-
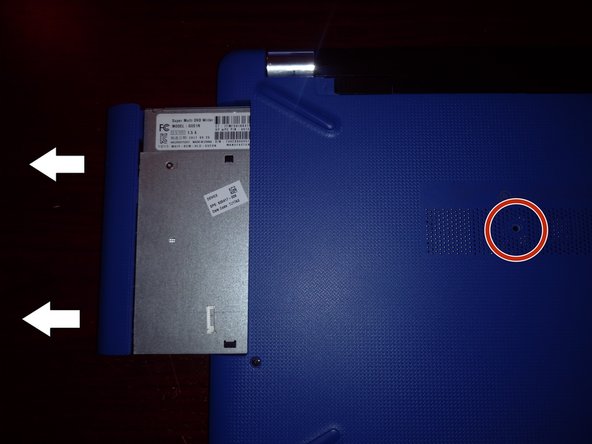
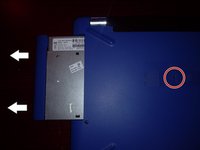
For the CD Drive; Remove the screw in the middle of the device (the one on the vent) And slide the entire CD drive out from the side of the laptop.
-
-
-
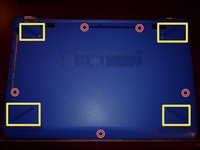
Remove the 9 screws on the bottom of the laptop using a Philips head screwdriver. (Yellow squares label screws underneath rubber feet, these can be pealed back with a pry tool)
-
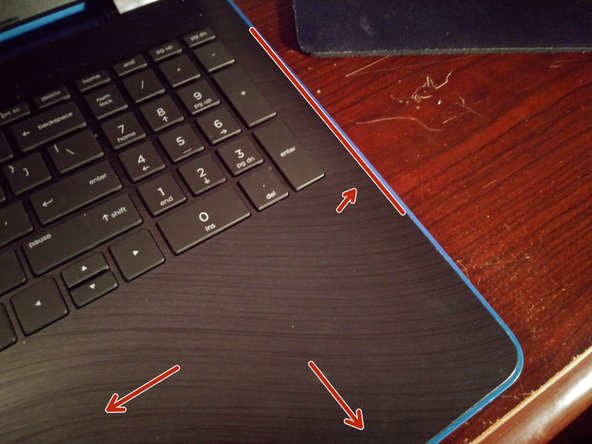
Flip the device over and open the lip. Along the edge where the keyboard meets the back panel is held together with plastic clips, these can be undone with a prying tool.
-
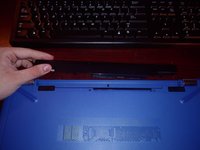
Once the back cover is separated from the keyboard you can flip the device back over a take off the back cover.
-
-
-
-
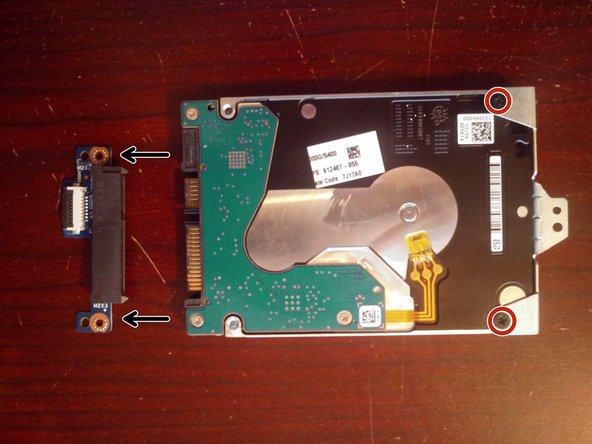
The HDD for this system is marked with a red box. it can be removed by unscrewing three screws and disconnecting a ribbon cable. I recommend disconnecting this ribbon cable first.
-
The 2.5" HDD will have a SATA connector and a small bracket connected to it, the SATA connector pulls off the drive, and the bracket comes off with two small Phillips head screws.
-
The HDD or new drive goes back on the same way it came off.
-
-
-
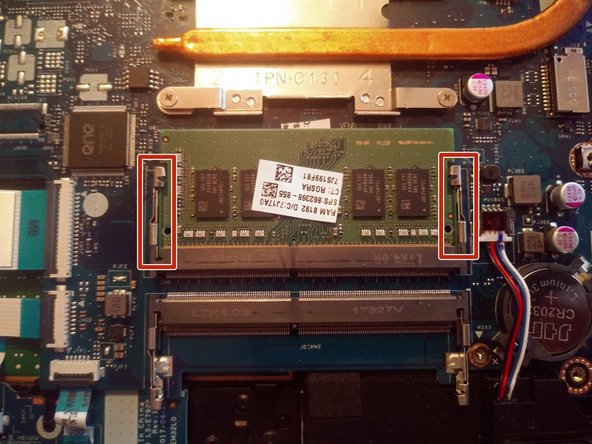
The RAM in this system is found next to the CPU, marked with a red box. It is held in with two little clips similar to other SODIMM's.
-
The memory can be removed by pulling back these two small clips and the stick will release upwards to be removed.
-
To install a new stick, simply insert it at the same angle it was removed from and push downwards until it is flat and clicked into place.
-
-
-
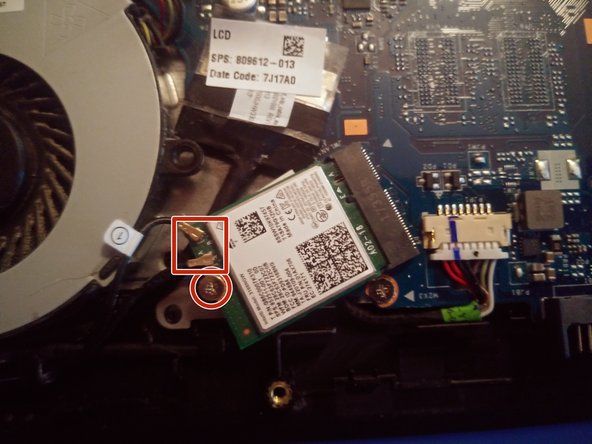
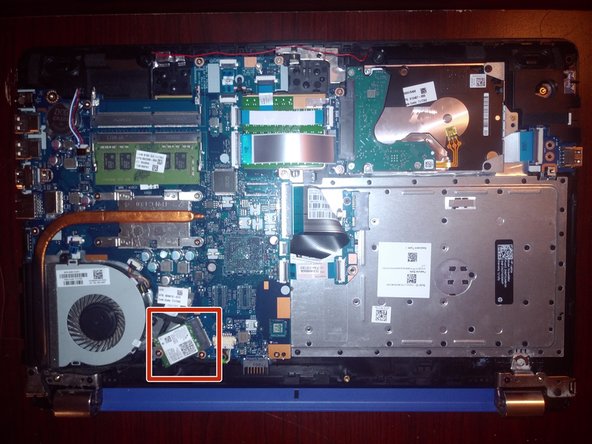
The Wi-Fi card can be found next to the CPU. It is held into place by two antennae and one screw. Once those are removed, the card can be removed and replaced very similarly to the RAM.
-


Cancel: I did not complete this guide.
3 other people completed this guide.
1 Guide Comment
Very nice guide. Might want to add replacing the thermal paste on the CPU.