HP 15-bs080wm Hard Drive Replacement

What you need

  1. HP 15-bs080wm Hard Drive Replacement, Hard Drive: step 1, image 1 of 3 HP 15-bs080wm Hard Drive Replacement, Hard Drive: step 1, image 2 of 3 HP 15-bs080wm Hard Drive Replacement, Hard Drive: step 1, image 3 of 3
    • Power off the laptop.

    • Do not proceed until both power lights are off.

  2. HP 15-bs080wm Hard Drive Replacement: step 2, image 1 of 3 HP 15-bs080wm Hard Drive Replacement: step 2, image 2 of 3 HP 15-bs080wm Hard Drive Replacement: step 2, image 3 of 3
    • Slide the battery lock to the unlock position..

    • Slide the battery release inwards to remove the battery.

  3. HP 15-bs080wm Hard Drive Replacement: step 3, image 1 of 3 HP 15-bs080wm Hard Drive Replacement: step 3, image 2 of 3 HP 15-bs080wm Hard Drive Replacement: step 3, image 3 of 3
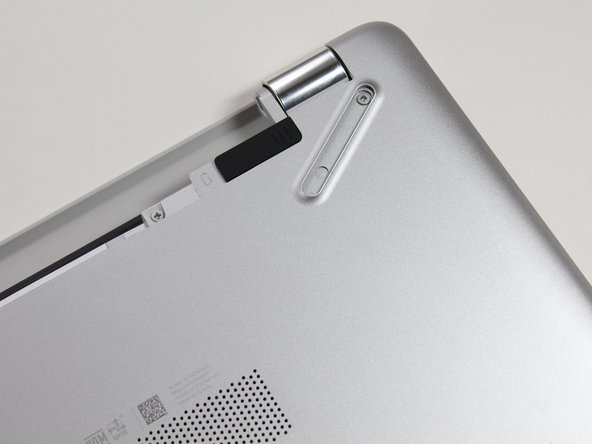
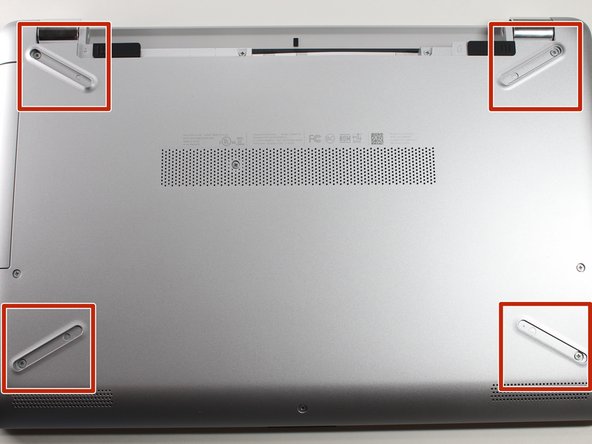
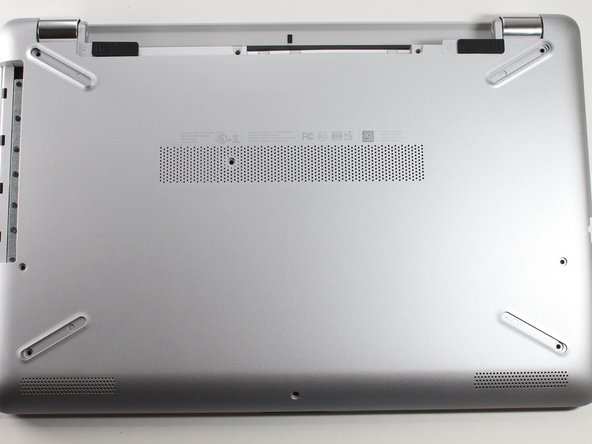
    • Use the plastic opening tool to remove the four rubber feet.

  4. HP 15-bs080wm Hard Drive Replacement: step 4, image 1 of 3 HP 15-bs080wm Hard Drive Replacement: step 4, image 2 of 3 HP 15-bs080wm Hard Drive Replacement: step 4, image 3 of 3
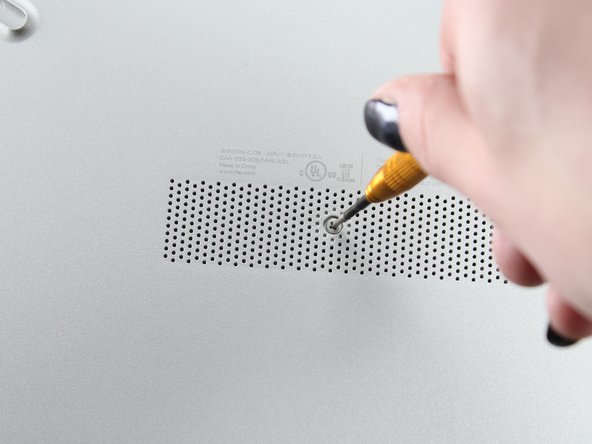
    • Remove the center screw from the back of the laptop using a Phillips #000 screwdriver.

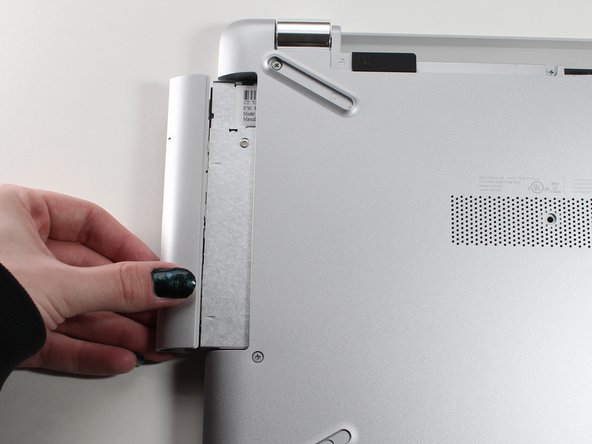
    • Remove the optical drive.

  5. HP 15-bs080wm Hard Drive Replacement: step 5, image 1 of 3 HP 15-bs080wm Hard Drive Replacement: step 5, image 2 of 3 HP 15-bs080wm Hard Drive Replacement: step 5, image 3 of 3
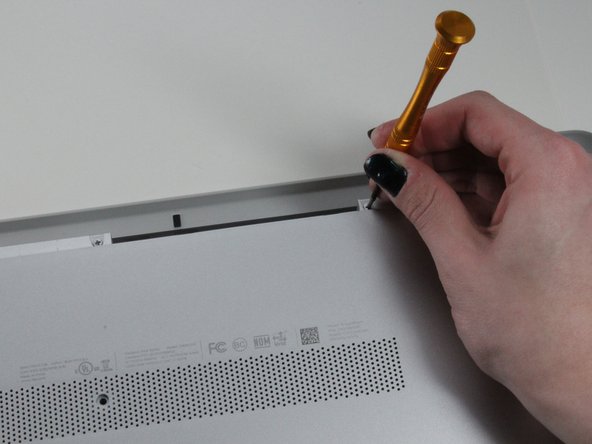
    • Remove the nine screws from the back of the laptop using a Phillips #000 screwdriver.

  6. HP 15-bs080wm Hard Drive Replacement: step 6, image 1 of 3 HP 15-bs080wm Hard Drive Replacement: step 6, image 2 of 3 HP 15-bs080wm Hard Drive Replacement: step 6, image 3 of 3
    • Use the plastic opening tool to wedge the back plate from the body of the laptop.

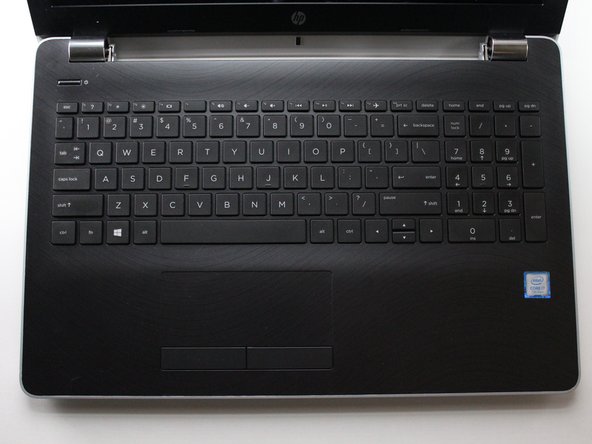
    • Flip the laptop over and remove the back plate.

    • Use the opening tool around the entire perimeter of the laptop's base.

  7. HP 15-bs080wm Hard Drive Replacement: step 7, image 1 of 3 HP 15-bs080wm Hard Drive Replacement: step 7, image 2 of 3 HP 15-bs080wm Hard Drive Replacement: step 7, image 3 of 3
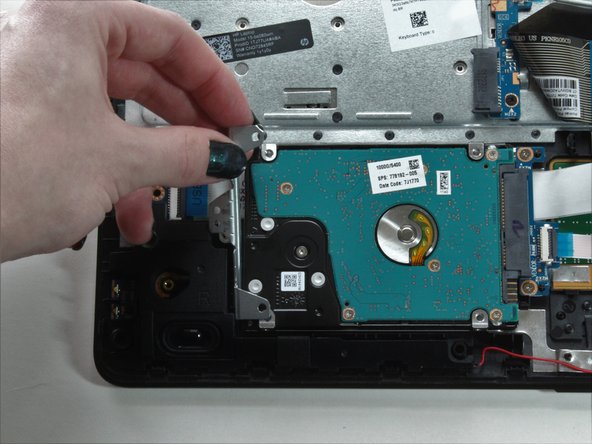
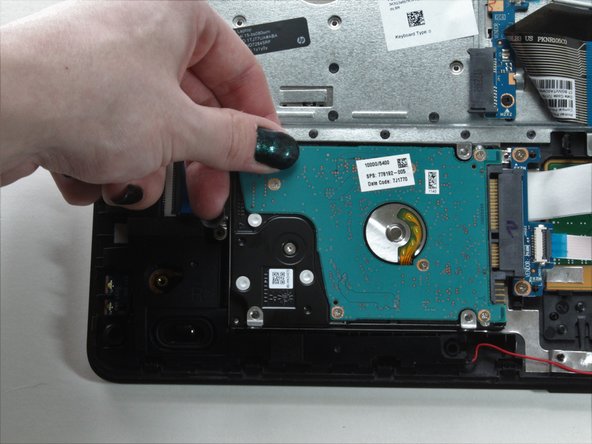
    • Remove the three screws from the hard drive bracket using a Phillips #000 screwdriver.

    • Remove the bracket.

    • Slide the hard drive the left to remove it from the socket.

Conclusion

To reassemble your device, follow these instructions in reverse order.

Landon Dickerson

Member since: 02/22/22

195 Reputation

1 Guide authored

0 Comments

Add Comment

View Statistics:

Past 24 Hours: 0

Past 7 Days: 3

Past 30 Days: 8

All Time: 592