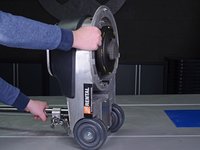
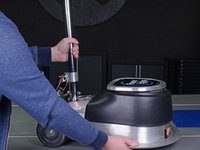
Free Shipping on Domestic Orders $75+

Clarke Floor Buffer 01278A 2016 Handle Replacement

What you need

    1. Clarke Floor Buffer 01278A 2016 Handle Replacement, Remove the Handle Enclosure: step 1, image 1 of 1
      • Before you begin, make sure the floor buffer is turned off and unplugged.

      • Use a 3/16" hex key or driver bit to remove the six 23.4 mm-long screws holding the two halves of the handle enclosure together.

      Ask FixBot

      Add Comment

    2. Clarke Floor Buffer 01278A 2016 Handle Replacement: step 2, image 1 of 3 Clarke Floor Buffer 01278A 2016 Handle Replacement: step 2, image 2 of 3 Clarke Floor Buffer 01278A 2016 Handle Replacement: step 2, image 3 of 3
      • The rear half of the enclosure is bolted to the handle tube, so you'll only need to remove the front half.

      • Pull the front half of the enclosure straight away from the rear half to separate the enclosure.

      • If the interlock assembly comes out with the front half of the enclosure, detach it and place it back into the rear half.

      • Remove the front half of the handle enclosure.

      Ask FixBot

      Add Comment

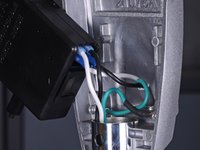
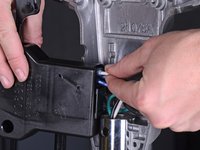
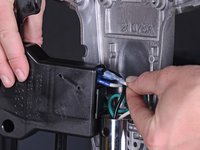
    3. Clarke Floor Buffer 01278A 2016 Handle Replacement, Remove the Interlock Assembly: step 3, image 1 of 3 Clarke Floor Buffer 01278A 2016 Handle Replacement, Remove the Interlock Assembly: step 3, image 2 of 3 Clarke Floor Buffer 01278A 2016 Handle Replacement, Remove the Interlock Assembly: step 3, image 3 of 3
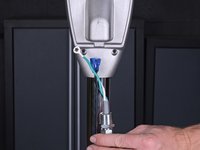
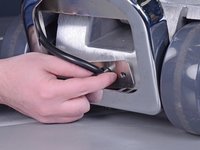
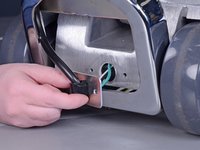
      • Pull the wires connected to the interlock assembly straight out of their connectors.

      • Keep track of where each wire connects to on the interlock assembly.

      Ask FixBot

      Add Comment

    4. Clarke Floor Buffer 01278A 2016 Handle Replacement: step 4, image 1 of 1
      • After all wires are disconnected from the interlock assembly, remove the interlock assembly from the handle.

      Ask FixBot

      Add Comment

    5. Clarke Floor Buffer 01278A 2016 Handle Replacement, Remove the Power Cord: step 5, image 1 of 1
      • Use a 3/16" hex key or driver bit to remove the 13.8 mm-long screw securing the power cord's green ground wire to the handle enclosure.

      • This screw is accompanied with a lock washer. Make sure to retain it for re-assembly.

      Ask FixBot

      Add Comment

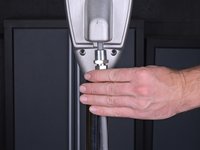
    6. Clarke Floor Buffer 01278A 2016 Handle Replacement: step 6, image 1 of 1
      • Use a 7/8" wrench to loosen the coupling securing the power cord to the handle enclosure.

      Ask FixBot

      Add Comment

    7. Clarke Floor Buffer 01278A 2016 Handle Replacement: step 7, image 1 of 2 Clarke Floor Buffer 01278A 2016 Handle Replacement: step 7, image 2 of 2
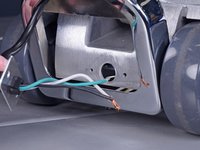
      • Pull the power cord straight down and out of the handle enclosure.

      • To avoid damaging the wires, remove the power cord slowly and make sure the wires don't snag on anything as they come out.

      Ask FixBot

      Add Comment

    1. Clarke Floor Buffer 01278A 2016 Handle Replacement, Handle: step 8, image 1 of 2 Clarke Floor Buffer 01278A 2016 Handle Replacement, Handle: step 8, image 2 of 2
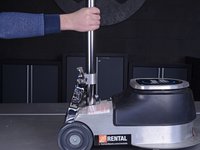
      • Make sure the handle tube is secured in place by checking that the cam lock is in the locked position.

      Ask FixBot

      Add Comment

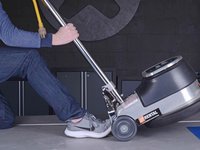
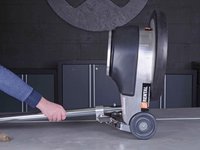
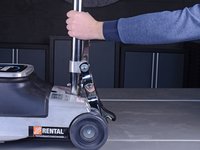
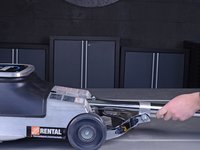
    2. Clarke Floor Buffer 01278A 2016 Handle Replacement, Reposition the Floor Buffer: step 9, image 1 of 3 Clarke Floor Buffer 01278A 2016 Handle Replacement, Reposition the Floor Buffer: step 9, image 2 of 3 Clarke Floor Buffer 01278A 2016 Handle Replacement, Reposition the Floor Buffer: step 9, image 3 of 3
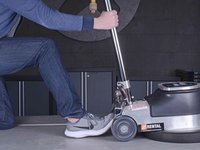
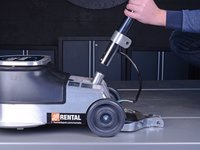
      • Brace the back of the floor buffer with your foot near the wheel axle and grasp the handle with both hands.

      • Slowly tilt the floor buffer back until the handle rests on your work surface.

      Ask FixBot

      Add Comment

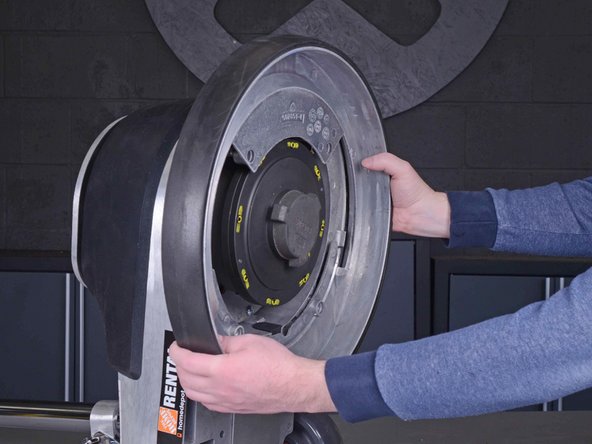
    3. Clarke Floor Buffer 01278A 2016 Handle Replacement, Remove the Shield Brush: step 10, image 1 of 1
      • Use a 3/16" hex key or driver bit to remove the four 18.6 mm-long screws securing the shield brush to the bottom of the floor buffer.

      Ask FixBot

      Add Comment

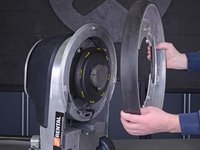
    4. Clarke Floor Buffer 01278A 2016 Handle Replacement: step 11, image 1 of 2 Clarke Floor Buffer 01278A 2016 Handle Replacement: step 11, image 2 of 2
      • Pull the shield brush straight off the bottom of the floor buffer.

      Ask FixBot

      Add Comment

    5. Clarke Floor Buffer 01278A 2016 Handle Replacement, Remove the Bottom Cover: step 12, image 1 of 1
      • Remove the three 12.6 mm-long Phillips #2 screws securing the bottom cover to the floor buffer.

      Ask FixBot

      Add Comment

    6. Clarke Floor Buffer 01278A 2016 Handle Replacement: step 13, image 1 of 1
      • Remove the bottom cover to reveal the wires on the inside.

      Ask FixBot

      Add Comment

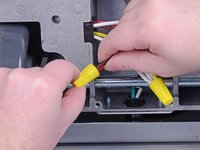
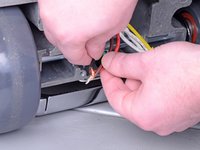
    7. Clarke Floor Buffer 01278A 2016 Handle Replacement, Disconnect the Handle Wires: step 14, image 1 of 2 Clarke Floor Buffer 01278A 2016 Handle Replacement, Disconnect the Handle Wires: step 14, image 2 of 2
      • Untwist and remove the yellow wire nuts from the black, brown, and red wires.

      Ask FixBot

      Add Comment

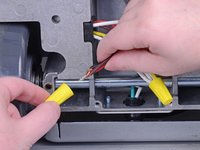
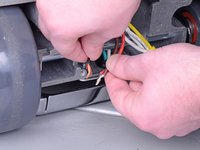
    8. Clarke Floor Buffer 01278A 2016 Handle Replacement: step 15, image 1 of 2 Clarke Floor Buffer 01278A 2016 Handle Replacement: step 15, image 2 of 2
      • Separate the black copper wire from the brown and red wires.

      Ask FixBot

      Add Comment

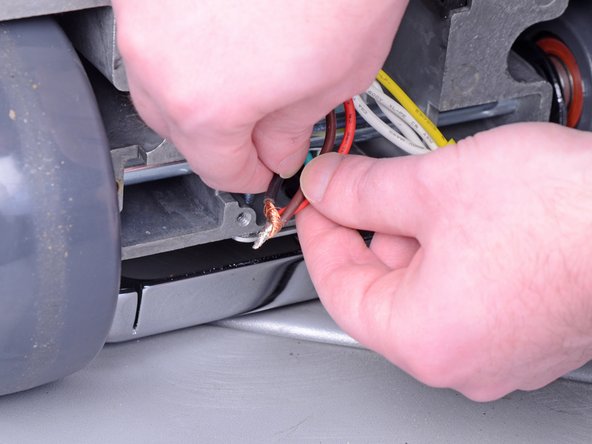
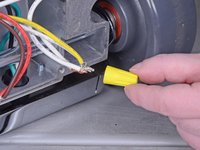
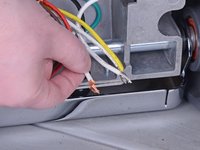
    9. Clarke Floor Buffer 01278A 2016 Handle Replacement: step 16, image 1 of 2 Clarke Floor Buffer 01278A 2016 Handle Replacement: step 16, image 2 of 2
      • Untwist and remove the other wire nut.

      • Separate the white copper wire from the other wires.

      • Re-assembly tip: It may help to reattach the wire nut after separating the appropriate wire to keep track of which wires stay together.

      Ask FixBot

      Add Comment

    10. Clarke Floor Buffer 01278A 2016 Handle Replacement: step 17, image 1 of 1
      • Remove the 12.4 mm-long Phillips #2 screw securing the ground wire to the floor buffer.

      Ask FixBot

      Add Comment

    11. Clarke Floor Buffer 01278A 2016 Handle Replacement: step 18, image 1 of 2 Clarke Floor Buffer 01278A 2016 Handle Replacement: step 18, image 2 of 2
      • Carefully tilt the floor buffer back to the upright position.

      Ask FixBot

      Add Comment

    12. Clarke Floor Buffer 01278A 2016 Handle Replacement: step 19, image 1 of 2 Clarke Floor Buffer 01278A 2016 Handle Replacement: step 19, image 2 of 2
      • The next two steps will provide easier access to the strain relief plate, which you will need to remove.

      • Lift up the cam lock handle to loosen the handle tube.

      Ask FixBot

      Add Comment

    13. Clarke Floor Buffer 01278A 2016 Handle Replacement: step 20, image 1 of 2 Clarke Floor Buffer 01278A 2016 Handle Replacement: step 20, image 2 of 2
      • Tilt the handle back to a 45-degree angle.

      • Be sure to tighten the cam lock to hold the handle in place.

      Ask FixBot

      Add Comment

    14. Clarke Floor Buffer 01278A 2016 Handle Replacement, Remove the Strain Relief Plate: step 21, image 1 of 1
      • Remove the two 12.4 mm-long Phillips #2 screws securing the strain relief plate to the floor buffer.

      Ask FixBot

      Add Comment

    15. Clarke Floor Buffer 01278A 2016 Handle Replacement: step 22, image 1 of 3 Clarke Floor Buffer 01278A 2016 Handle Replacement: step 22, image 2 of 3 Clarke Floor Buffer 01278A 2016 Handle Replacement: step 22, image 3 of 3
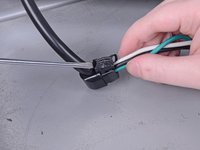
      • Grab the handle wire's strain relief clip and carefully remove the wires and strain relief plate.

      • To avoid damaging the wires, remove the strain relief plate slowly and make sure the wires don't snag on anything as they come out.

      Ask FixBot

      Add Comment

    16. Clarke Floor Buffer 01278A 2016 Handle Replacement: step 23, image 1 of 3 Clarke Floor Buffer 01278A 2016 Handle Replacement: step 23, image 2 of 3 Clarke Floor Buffer 01278A 2016 Handle Replacement: step 23, image 3 of 3
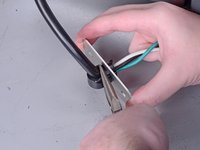
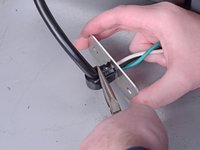
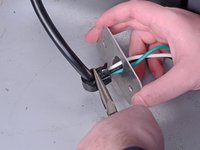
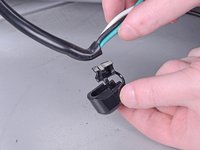
      • Use needle-nose pliers to squeeze the top and bottom of the strain relief clip together in order to create enough space for the strain relief plate to slide off the strain relief clip.

      • Remove the strain relief plate.

      Ask FixBot

      Add Comment

    17. Clarke Floor Buffer 01278A 2016 Handle Replacement: step 24, image 1 of 3 Clarke Floor Buffer 01278A 2016 Handle Replacement: step 24, image 2 of 3 Clarke Floor Buffer 01278A 2016 Handle Replacement: step 24, image 3 of 3
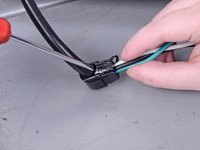
      • Use a flathead screwdriver to pry open the strain relief clip and remove it.

      • Be careful performing this step, as too much pressure applied may damage the wires.

      Ask FixBot

      Add Comment

    18. Clarke Floor Buffer 01278A 2016 Handle Replacement, Remove the Handle Tube: step 25, image 1 of 2 Clarke Floor Buffer 01278A 2016 Handle Replacement, Remove the Handle Tube: step 25, image 2 of 2
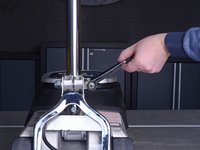
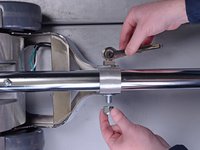
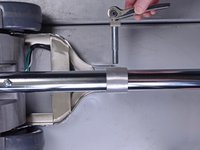
      • Loosen the cam lock and tilt the handle all the way back until it rests on your work surface.

      Ask FixBot

      Add Comment

    19. Clarke Floor Buffer 01278A 2016 Handle Replacement: step 26, image 1 of 1
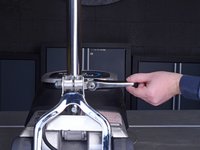
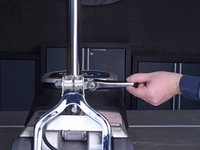
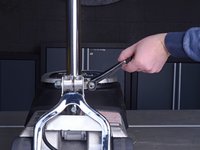
      • Use a 3/4" socket and socket wrench to remove the nut securing the cam lock to the handle tube.

      • You may need to use your other hand to hold the cam lock handle in place as you loosen the nut.

      Ask FixBot

      Add Comment

    20. Clarke Floor Buffer 01278A 2016 Handle Replacement: step 27, image 1 of 2 Clarke Floor Buffer 01278A 2016 Handle Replacement: step 27, image 2 of 2
      • Remove the nut from the cam lock bolt.

      • This nut has an accompanied washer. Be sure to retain it for re-assembly.

      • Pull the cam lock handle straight out. This will disconnect the adjusting arm from the handle tube.

      Ask FixBot

      Add Comment

    21. Clarke Floor Buffer 01278A 2016 Handle Replacement: step 28, image 1 of 2 Clarke Floor Buffer 01278A 2016 Handle Replacement: step 28, image 2 of 2
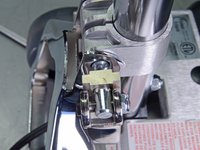
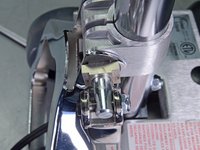
      • Re-assembly tip: The cam lock bolt includes a special square washer. During re-assembly, make sure it's lined up and sits inside the groove of the adjusting arm.

      Ask FixBot

      Add Comment

    22. Clarke Floor Buffer 01278A 2016 Handle Replacement: step 29, image 1 of 1
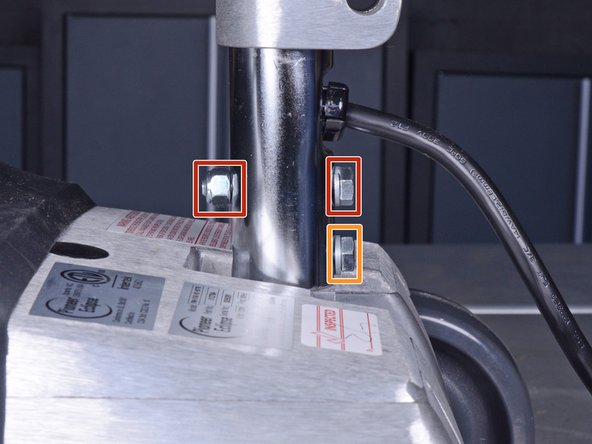
      • Tilt the handle back up and use a 1/2" socket and socket wrench to remove the two bolts and one nut securing the handle to the floor buffer:

      • 55.3 mm-long bolt and nut

      • 27.2 mm-long bolt

      • While the top bolt is secured with a nut, it's still threaded inside the handle tube and will need to be unscrewed.

      Ask FixBot

      Add Comment

    23. Clarke Floor Buffer 01278A 2016 Handle Replacement: step 30, image 1 of 2 Clarke Floor Buffer 01278A 2016 Handle Replacement: step 30, image 2 of 2
      • Pull the handle straight up to remove it from the floor buffer.

      • Twist the handle back and forth as you pull to help loosen it.

      Ask FixBot

      Add Comment

Conclusion

To reassemble your device, follow these instructions in reverse order.

Cancel: I did not complete this guide.

4 other people completed this guide.

Craig Lloyd

Member since: 02/10/16

43,160 Reputation

82 Guides authored

1 Guide Comment

The screws on my handle were 5/32"

KEVIN - Reply Share

Add Comment

View Statistics:

Past 24 Hours: 2

Past 7 Days: 17

Past 30 Days: 89

All Time: 4,808