Free Shipping on Domestic Orders $75+

HP 15-ac121dx Back Panel Replacement

What you need

    1. HP 15-ac121dx Back Panel Replacement, Back Panel: step 1, image 1 of 3 HP 15-ac121dx Back Panel Replacement, Back Panel: step 1, image 2 of 3 HP 15-ac121dx Back Panel Replacement, Back Panel: step 1, image 3 of 3
      • Locate the CD Compartment panel and gently slide it out.

      Ask FixBot

      Add Comment

    2. HP 15-ac121dx Back Panel Replacement: step 2, image 1 of 1
      • Remove the back of the laptop by unscrewing the screws shown.

      • Also remove the other 5 Phillips screws lining the back cover.

      Ask FixBot

      Add Comment

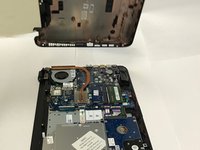
    3. HP 15-ac121dx Back Panel Replacement: step 3, image 1 of 3 HP 15-ac121dx Back Panel Replacement: step 3, image 2 of 3 HP 15-ac121dx Back Panel Replacement: step 3, image 3 of 3
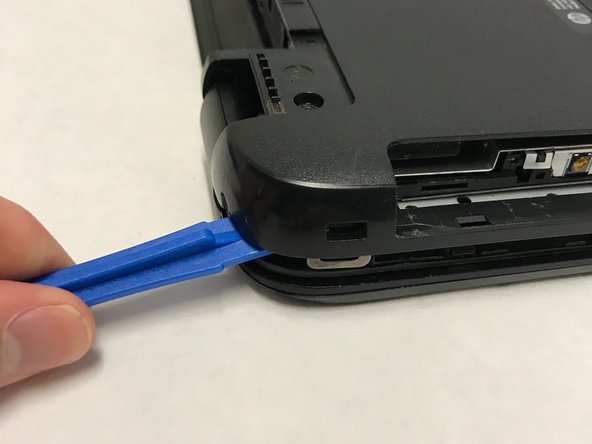
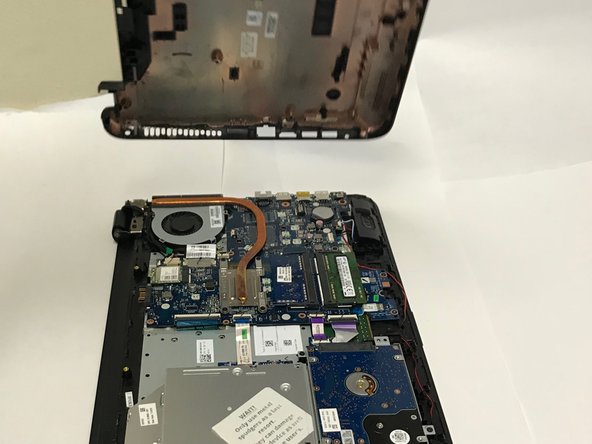
      • Using the prying tool, wedge it underneath the back of the laptop and do the same all around until the back comes off.

      • Dont forget to unscrew 2 screws under 2 plastic tabs (one on each hing). The lid will not come off without them being removed!

      Ask FixBot

      Add Comment

Conclusion

To reassemble your device, follow these instructions in reverse order.

Cancel: I did not complete this guide.

3 other people completed this guide.

Ashton Martin

Member since: 01/30/18

495 Reputation

2 Guides authored

Team

Baylor, Team S1-G2, Johnson Spring 2018 Member of Baylor, Team S1-G2, Johnson Spring 2018

BU-JOHNSON-S18S1G2

3 Members

48 Guides authored

0 Guide Comments

Add Comment

View Statistics:

Past 24 Hours: 0

Past 7 Days: 3

Past 30 Days: 44

All Time: 1,985