
HP 15-BA078DX Back Panel Replacement

Benjamin DosSantos Jr and 2 other contributors
Last updated on May 21, 2018
Views: 1.1K
View statistics:
- Past 24 Hours:
- 2
- Past 7 Days:
- 12
- Past 30 Days:
- 63
- All Time:
- 1,122
Comments: 1
1 guide comment.
Go to guide commentsCompleted: 2 3
2 people have marked this guide "completed." Will you be next?
3 people have marked this guide "completed." Including you — great job!
Favorites: 0 1
No one has favorited (and subscribed to) this guide. Will you be the first?
1 person has favorited (and subscribed to) this guide — and that's you!
Introduction
Go to step 1 ↓The guide will detail the replacement of the back panel of the HP 15-BA078DX.
What you need
Tools
-
Spudger4.9


-
-
-
Unclip the two latches on the bottom of the laptop.
-
Slide the battery straight out while holding the clip open.
 Ask FixBot
-
-
-
-
-
Using the Phillips #0 screwdriver, remove the 7.5mm screw from the underside of the plastic frame that holds the disc tray in place.
-
-
-
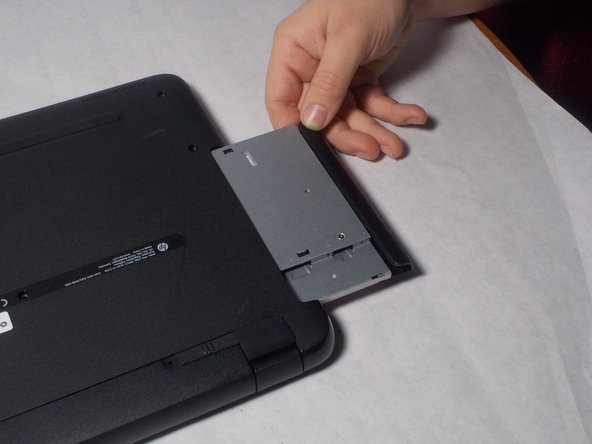
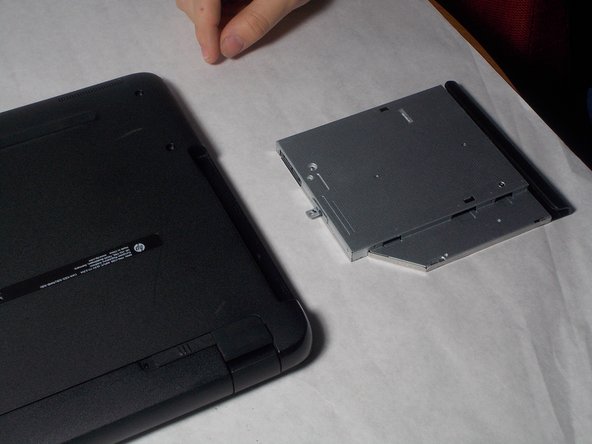
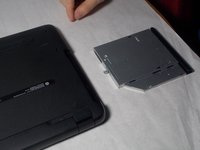
Remove the disk tray assembly by sliding it out from the side using the blue plastic opening tool.
-
-
-
-
-
Remove all of the remaining back panel screws with a #0 Phillips head screwdriver.
-
-
-
-
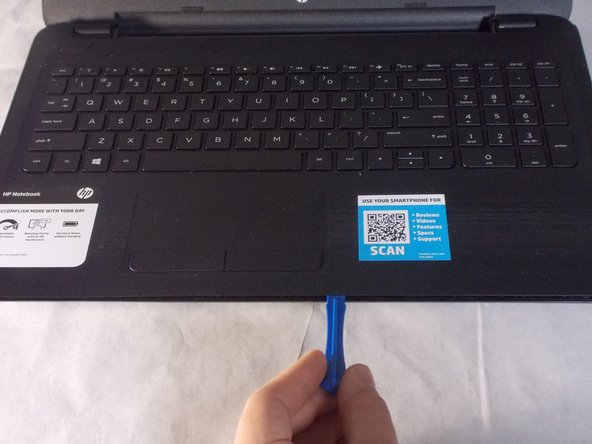
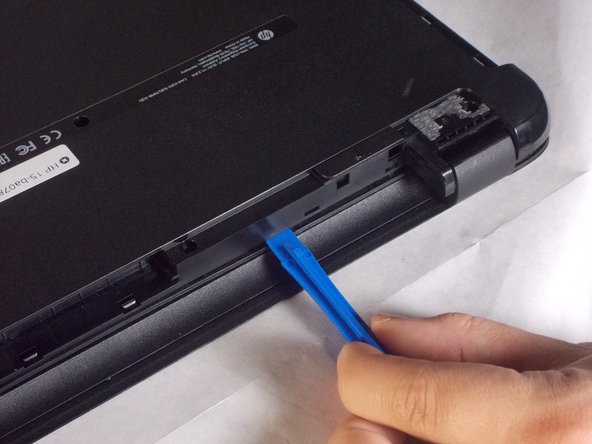
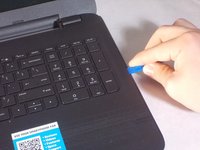
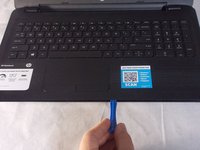
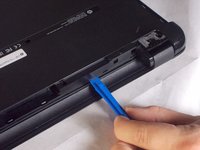
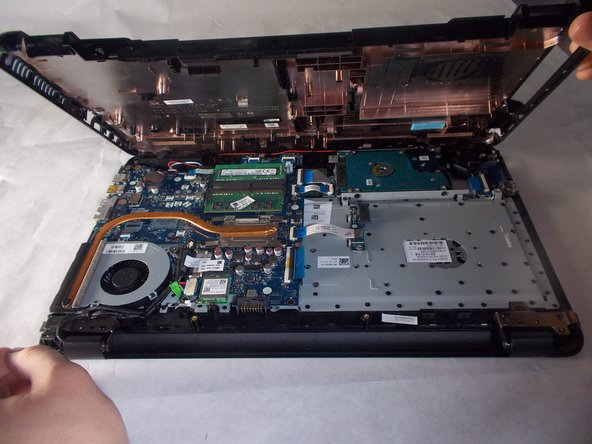
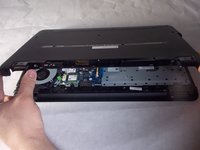
Carefully use the blue plastic opening tool to pry the clam shell of the laptop apart.
-
-






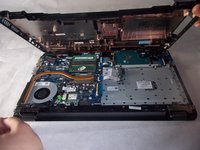
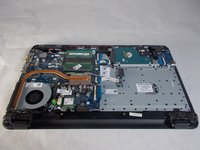
To reassemble your device, follow these instructions in reverse order.
Cancel: I did not complete this guide.
2 other people completed this guide.

Team

UMass Dartmouth, Team S3-G4, Peak Spring 2018 Member of UMass Dartmouth, Team S3-G4, Peak Spring 2018
UMASSD-PEAK-S18S3G4
3 Members
72 Guides authored
1 Guide Comment
Thank you so much! I know I am probably the only or one of the few people to write a comment for this specific laptop but I wanted to upgrade the RAM and HDD to SSD. Have a great day
