Free Shipping on Domestic Orders $75+

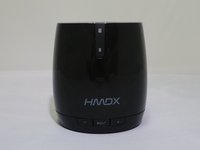
HMDX Chill Audio Port Replacement

What you need

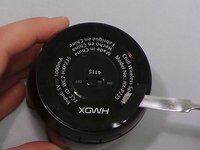
    1. HMDX Chill Audio Port Replacement, Remove Rubber Base: step 1, image 1 of 3 HMDX Chill Audio Port Replacement, Remove Rubber Base: step 1, image 2 of 3 HMDX Chill Audio Port Replacement, Remove Rubber Base: step 1, image 3 of 3
      • Insert a metal spudger under the rubber base.

      • Pry the rubber base off.

      Ask FixBot

      Add Comment

    2. HMDX Chill Audio Port Replacement: step 2, image 1 of 1
      • Use a Phillips #1 screwdriver to remove four 9 mm screws from the base of the device.

      Ask FixBot

      Add Comment

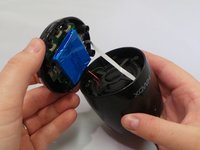
    3. HMDX Chill Audio Port Replacement: step 3, image 1 of 2 HMDX Chill Audio Port Replacement: step 3, image 2 of 2
      • Grip the base of the HMDX Chill.

      • Pull the base upwards.

      Ask FixBot

      Add Comment

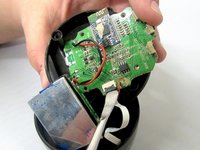
    1. HMDX Chill Audio Port Replacement, Motherboard: step 4, image 1 of 3 HMDX Chill Audio Port Replacement, Motherboard: step 4, image 2 of 3 HMDX Chill Audio Port Replacement, Motherboard: step 4, image 3 of 3
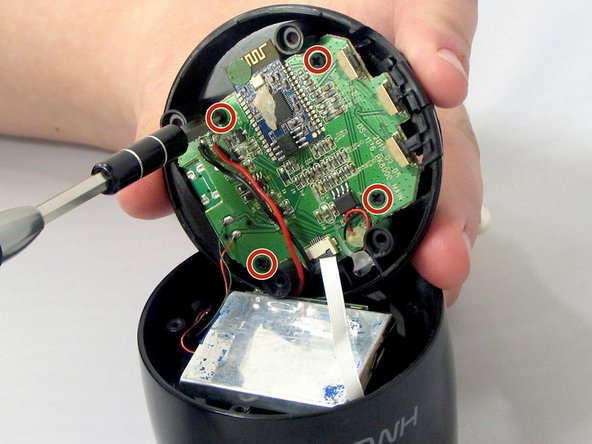
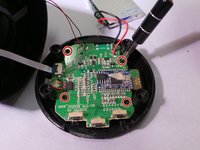
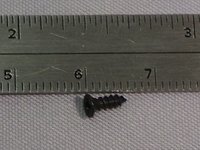
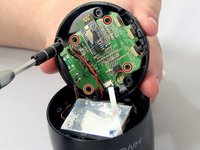
      • Use a Phillips #1 screwdriver to remove the four 6 mm screws that secure the motherboard to the base of the device.

      Ask FixBot

      Add Comment

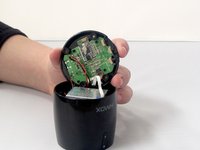
    2. HMDX Chill Audio Port Replacement: step 5, image 1 of 1
      • Pull the motherboard away from the base gently.

      • Do not pull too hard on the motherboard. It is still attached to the base by wires.

      Ask FixBot

      Add Comment

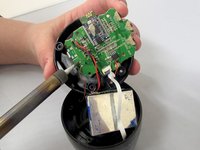
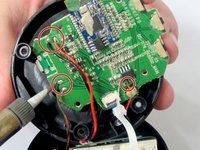
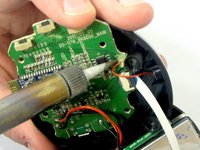
    3. HMDX Chill Audio Port Replacement: step 6, image 1 of 3 HMDX Chill Audio Port Replacement: step 6, image 2 of 3 HMDX Chill Audio Port Replacement: step 6, image 3 of 3
      • Use a soldering iron to desolder the wires connecting the motherboard to the case.

      Ask FixBot

      Add Comment

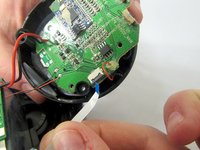
    4. HMDX Chill Audio Port Replacement: step 7, image 1 of 2 HMDX Chill Audio Port Replacement: step 7, image 2 of 2
      • Insert the spudger between the case and the wire and move the spudger upwards.

      • This will cause the case to prop open.

      • The wire behind the motherboard will now be visible. Pull this out from behind.

      Ask FixBot

      Add Comment

    5. HMDX Chill Audio Port Replacement: step 8, image 1 of 1
      • Use the soldering iron to desolder the wires connecting the motherboard to the base of the HMDX Chill.

      Ask FixBot

      Add Comment

    1. HMDX Chill Audio Port Replacement, Audio Jack: step 9, image 1 of 1
      • Desolder the audio jack from the motherboard using a soldering iron.

      Ask FixBot

      Add Comment

Conclusion

To reassemble your device, follow these instructions in reverse order.

Cancel: I did not complete this guide.

Jourdan Holubasch

Member since: 03/31/16

759 Reputation

7 Guides authored

Team

EWU-Giguere-S16S1G1 Member of EWU-Giguere-S16S1G1

Community

4 Members

35 Guides authored

0 Guide Comments

Add Comment

View Statistics:

Past 24 Hours: 0

Past 7 Days: 2

Past 30 Days: 22

All Time: 634