Introduction
The LCD screen is what projects information from the tablet. This is not to be confused with the digitizer (see digitizer replacement guide). On this tablet, the LCD screen is on the inside of the device.
What you need
-
-
-
Insert the flat end of the spudger into the side of the device
-
This will create a gap between the device and screen housing.
-
Insert the plastic opening tool into this gap and move it along this gap.
-
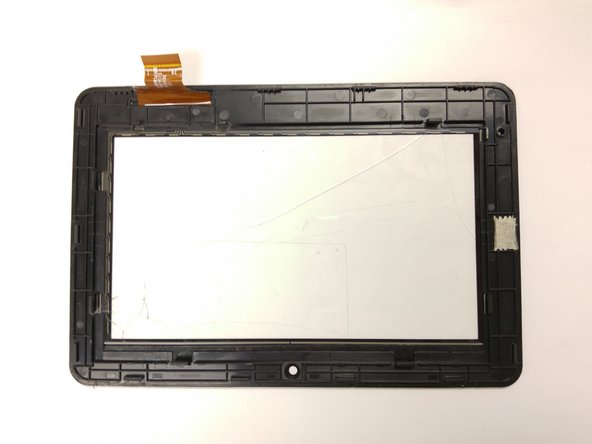
The screen housing and device will now be separated.
 Ask FixBot
-
-
Tool used on this step:Tweezers$4.99
-
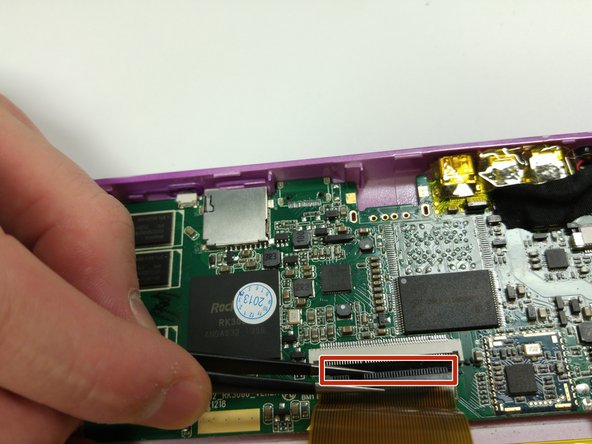
Once the digitizer has been been removed from the body, disconnect the digitizer band from the motherboard.
-
Two small black pins (circled in red) will need to be unlocked.
-
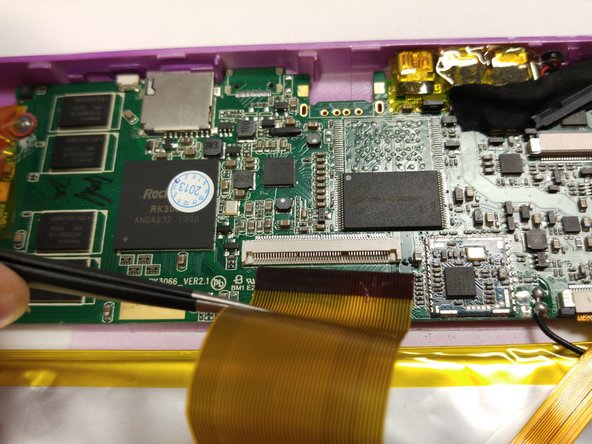
Unlock the pins by pulling them outward with the tweezers.
-
Remove the band using the tweezers.
-
-
-
-
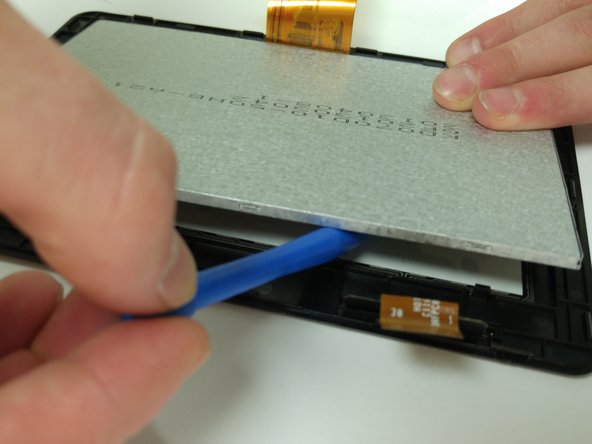
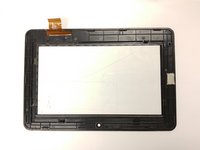
Once the digitizer has been disconnected from the motherboard, the LCD screen must be removed from the digitizer.
-
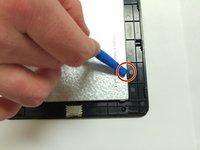
Push open the tabs (circled in red) using the flat end of the plastic spudger.
-
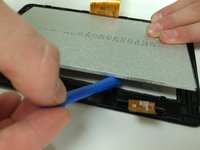
Continue to release all tabs while continuing to pry the LCD away from the digitizer.
-
-
-
-
Tool used on this step:Tweezers$4.99
-
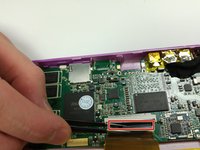
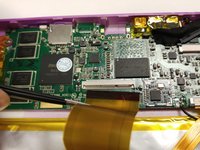
Once the digitizer has been removed, the LCD can be disconnected from the motherboard.
-
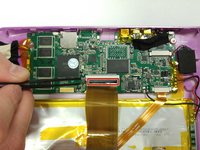
Use the tweezers to unlock the black pins (outlined in red) that connect the LCD band to the motherboard.
-
Once the pins have been removed, pull the band out using the tweezers.
-
-



To reassemble your device, follow these instructions in reverse order.
Cancel: I did not complete this guide.
One other person completed this guide.

Team

Montana Tech, Team 10-1, Shirk Fall 2015 Member of Montana Tech, Team 10-1, Shirk Fall 2015
MTUM-SHIRK-F15S10G1
4 Members
48 Guides authored
