Introduction
This guide demonstrates how to replace or upgrade the RAM in your HASEE Z6-SL7D1 laptop.
Firstly RAM, or random access memory, is a piece of hardware used for rapid data storage and access. With faulty or overworked RAM you might experience blue screens of death, freezes, reboots, or corrupted files. You might also notice that your computer is slower than usual, or that some applications or games don't run properly.
Before you begin this repair, shut down and disconnect your laptop from the charger.
What you need
-
-
-
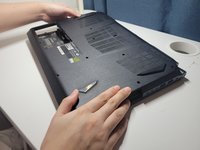
Flip your laptop over so the bottom is facing up and set it on a flat surface.
-
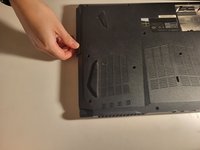
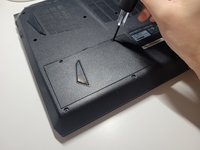
Use a Phillips #0 screwdriver to remove the two 6 mm screws that secure the battery.
 Ask FixBot
-
-
-
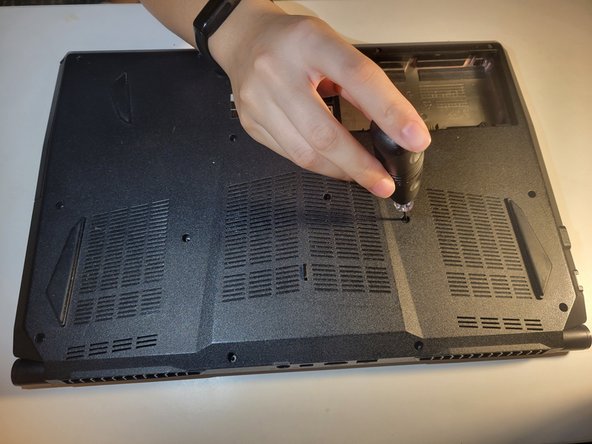
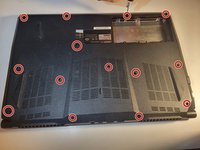
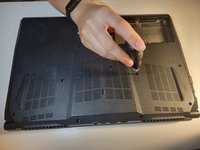
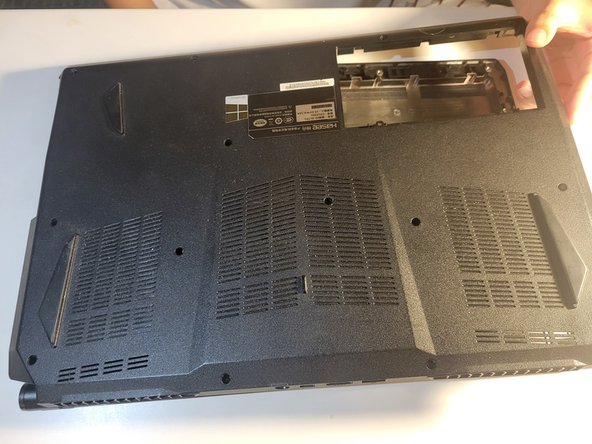
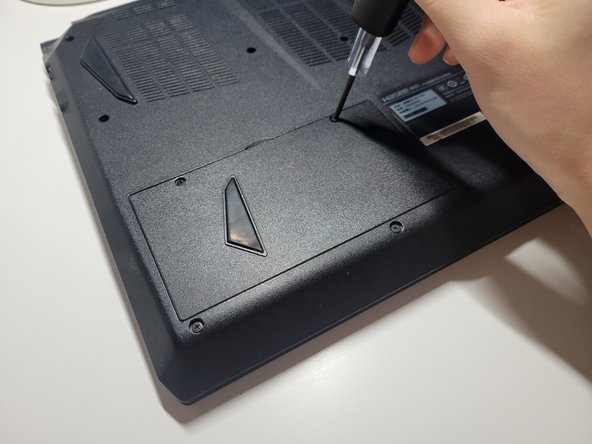
Use a Phillips #0 screwdriver to remove fourteen 6 mm screws from the back panel.
-
-
-
-
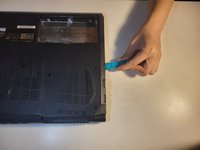
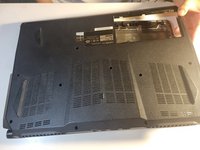
Carefully slide a plastic spudger or opening tool along the edges of the back panel.
-
Gradually lift the panel away from the laptop chassis, ensuring not to force it and risking damage to internal components.
-
-
-
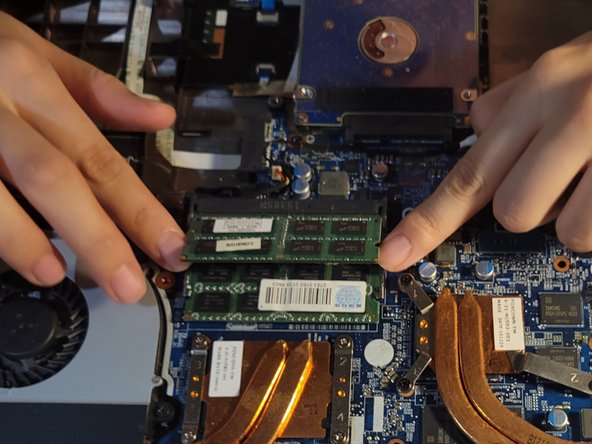
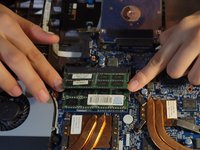
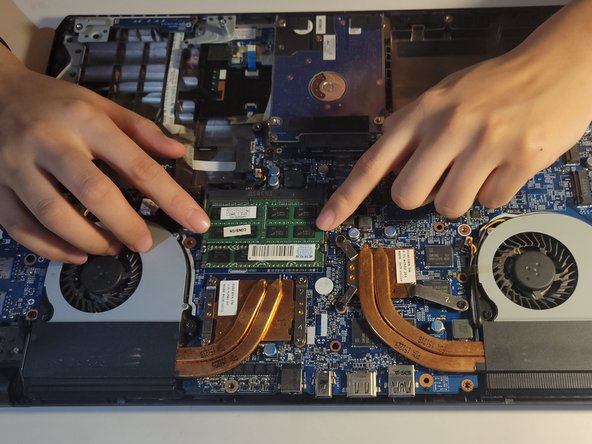
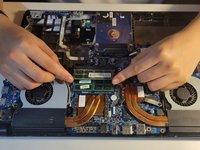
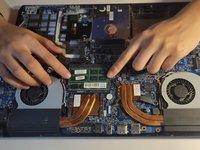
Use your fingers or a spudger to gently press the clips on the sides of the SO-DIMM slots outward to release the memory modules.
-
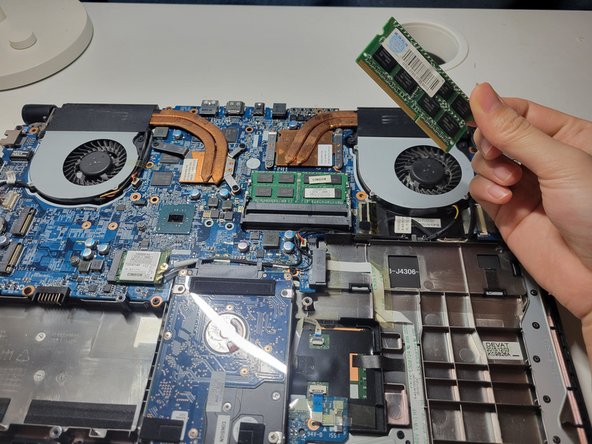
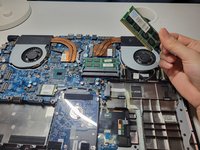
Once the RAM sticks disengage, carefully slide them out of the slot at the same angle.
-
-
-
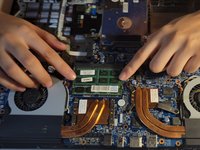
When installing new memory sticks, align them with the SO-DIMM slots at the same angle and gently press them downward.
-
-
-
Replace the back case.
-
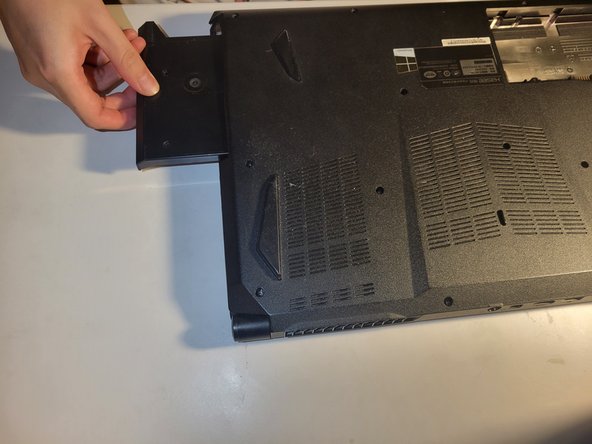
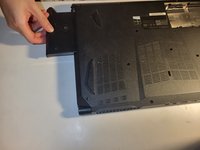
Insert the optical drive back into its designated slot.
-
Replace the battery.
-
Use a Phillips #0 screwdriver to secure the fourteen 6 mm screws on the back case.
-
Use a Phillips #0 screwdriver to replace the two 6 mm screws that secure the battery.
-
-







To reassemble your device, follow these instructions in reverse order.
Cancel: I did not complete this guide.
3 other people completed this guide.

Team

York University, Team M-7, Allen Winter 2024 Member of York University, Team M-7, Allen Winter 2024
YORK-ALLEN-W24SMG7
3 Members
12 Guides authored
