Introduction
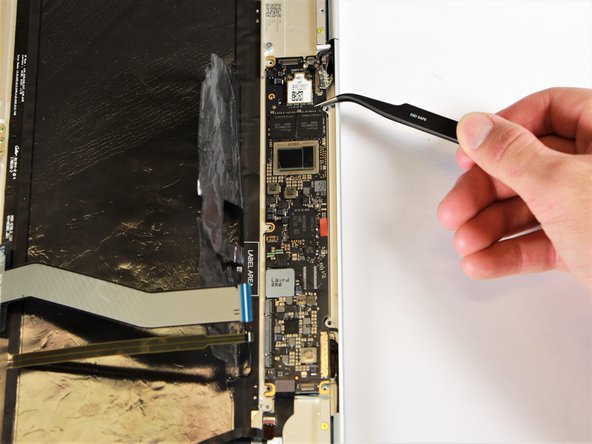
In this guide, you will learn how to remove the motherboard of the Google Pixelbook in order to fix a faulty motherboard, ram, storage, and or processor.
What you need
-
-
Use the iFixit opening tools or a metal spudger to pry the rubber covers off the back of your Pixelbook.
-
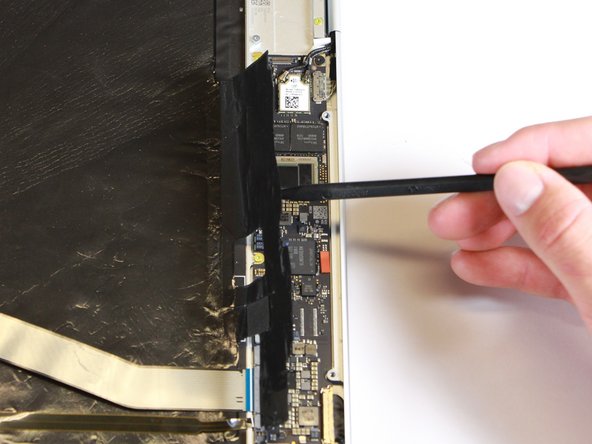
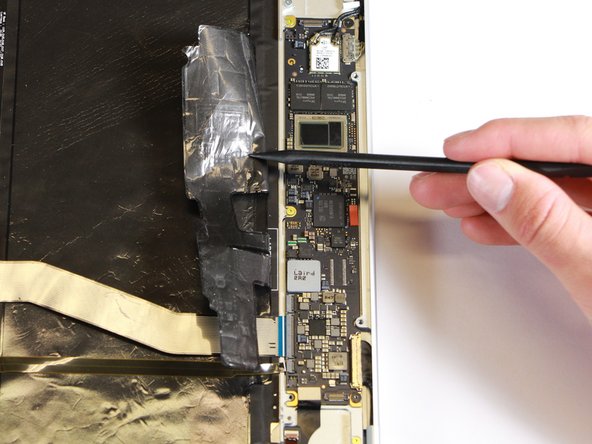
Peel the linings off completely until the back of the Pixelbook looks bare.
-
-
-
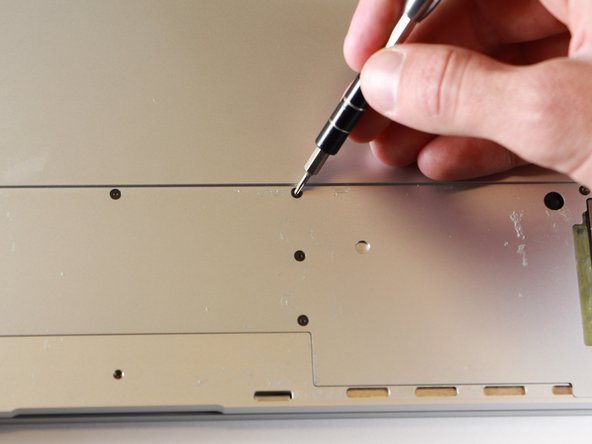
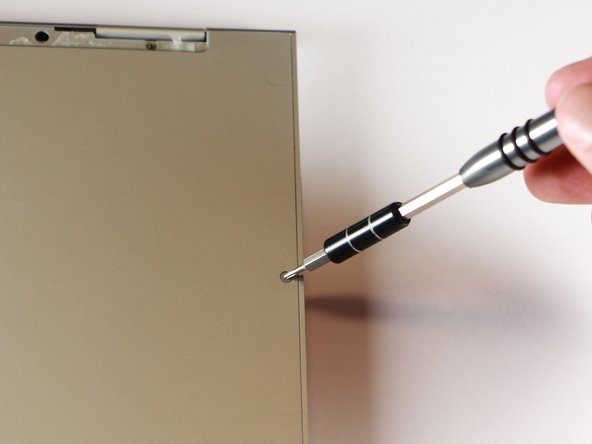
Remove the seventeen 3.0mm T5 Torx screws from the bottom panel.
Just a heads up on “Step 3”: (not sure if maybe mine is a newer model since I just got it about a week ago) But there are only 15 of the T5 Screws on mine… Not 17. There are only 2, instead of 4, screws at the top of the picture (located at the hinge) showing the back where they are all circled.
I had the same experience as Jeff.
-
-
-
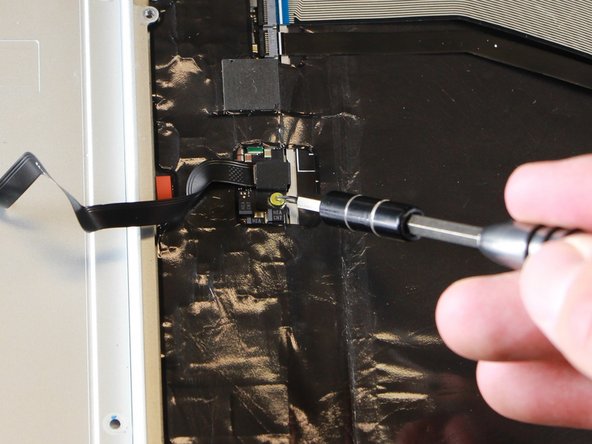
Remove the yellow 2.0mm screw from the middle of the panel by using the T3 Torx screwdriver to turn the screw counterclockwise.
For me, these were T4 and not T3 screws (everything labelled T3 was a T4 for me).
-
-
-
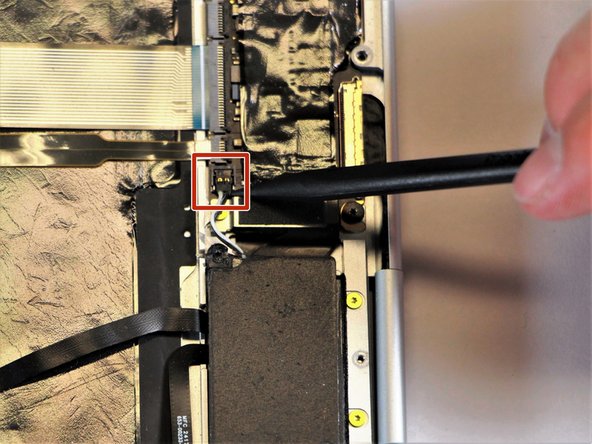
Remove the small, black casing by using the spudger to lift it up from its place.
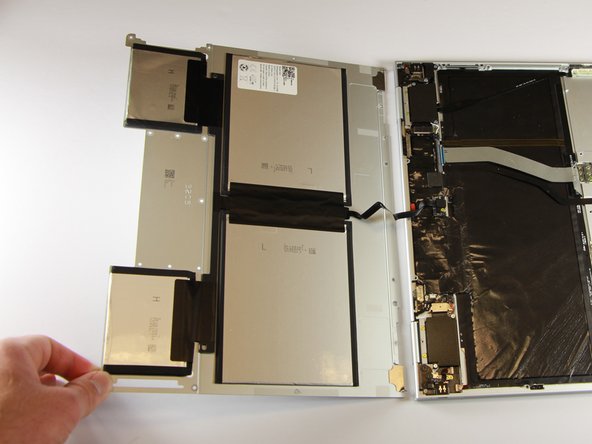
Does anyone know if I can get the cable shown in this image as its own part? It is the only thing wrong with my machine and I don't want to fork out £70 for an entire new battery and cable.
-
-
-
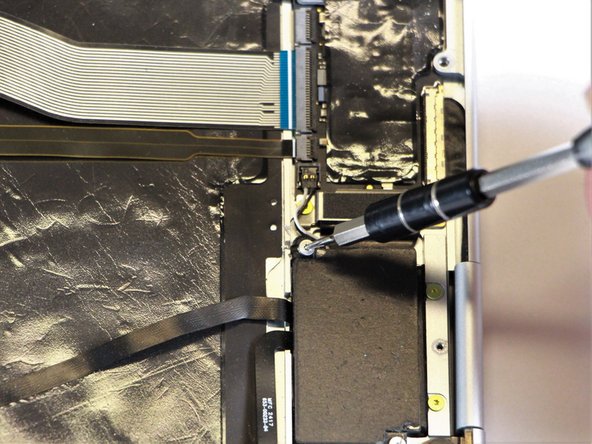
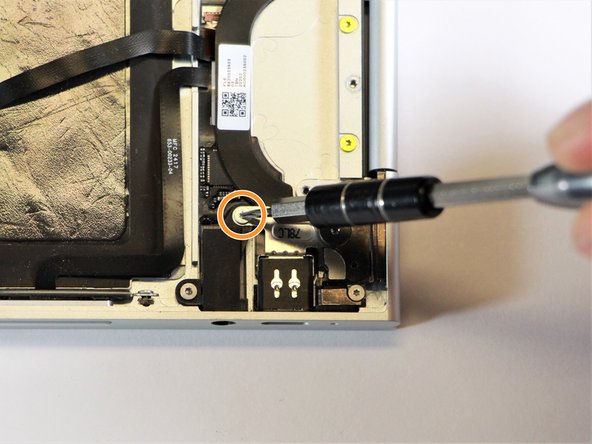
Remove the two 3.0mm silver screws from the thin, black component by using a T3 Torx screwdriver to turn the screws counterclockwise.
-
-
-
-
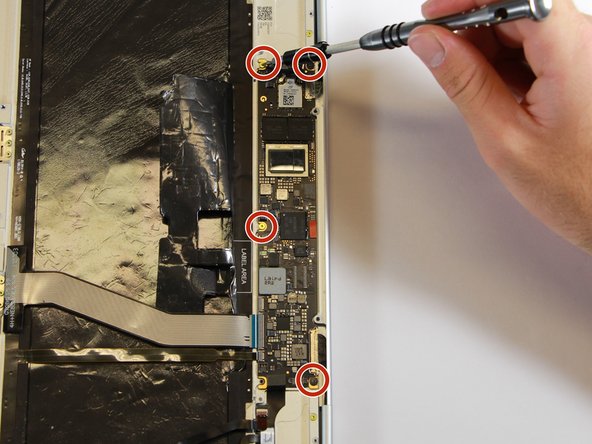
Remove the three 2.0mm black screws from the sound card by using a T5 Torx screwdriver to turn them counterclockwise.
-
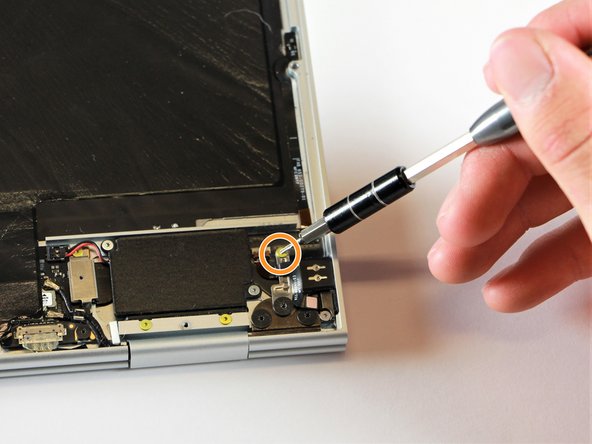
Remove the gold 3.0mm screw by using a T3 Torx screwdriver to turn it counterclockwise.
There is a step missing to remove the two silver 3mm screens from the black component.
-
-
-
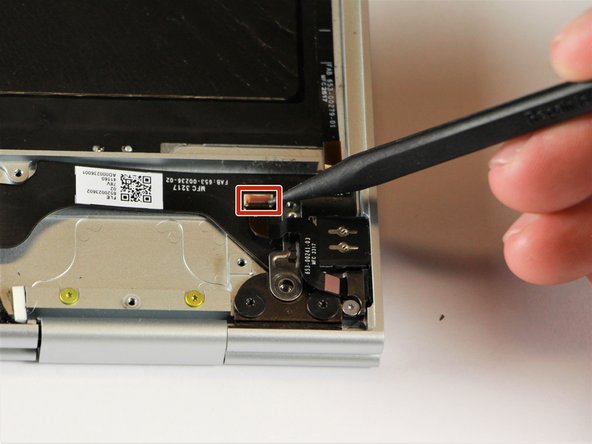
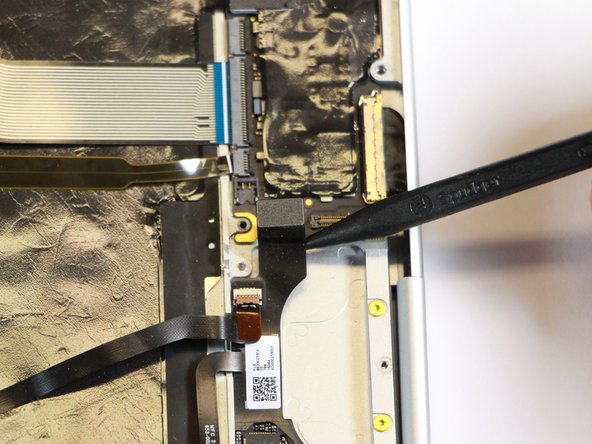
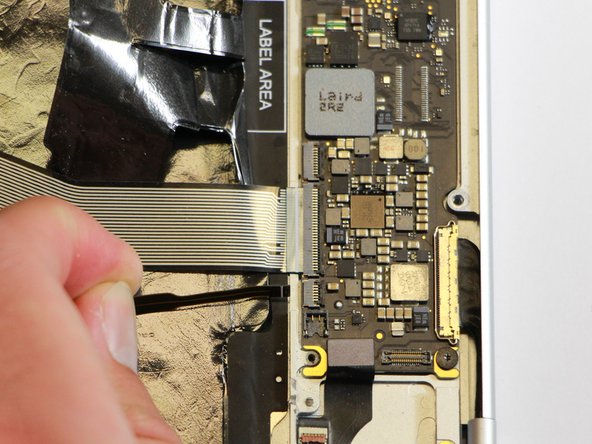
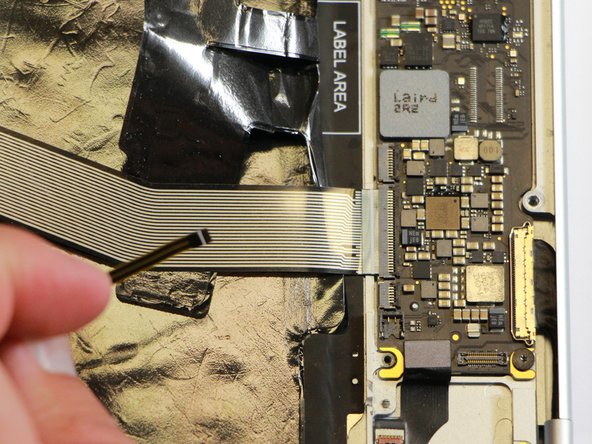
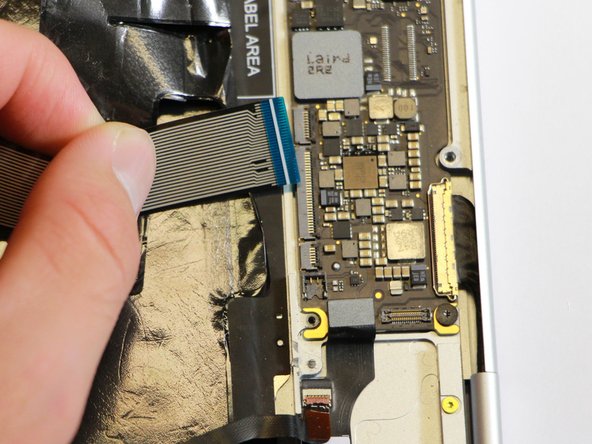
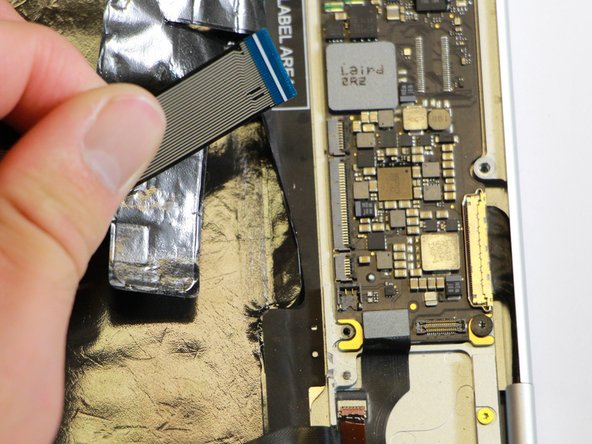
Disconnect the flat, black cord from the motherboard by using a spudger to push it upwards out of the slot, or by using your hand to carefully pull upward.
-
-
-
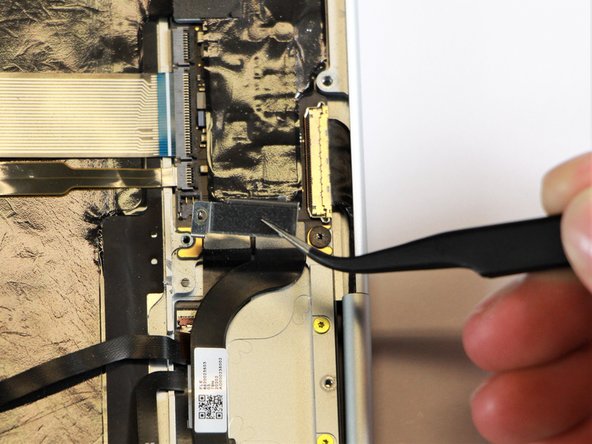
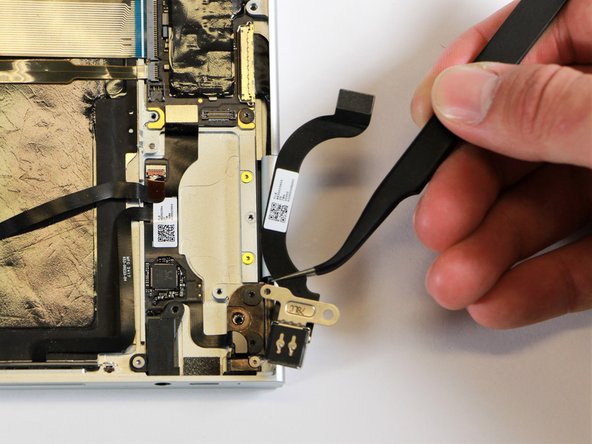
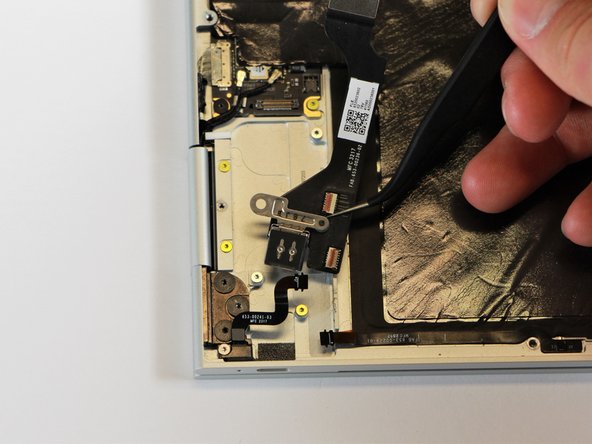
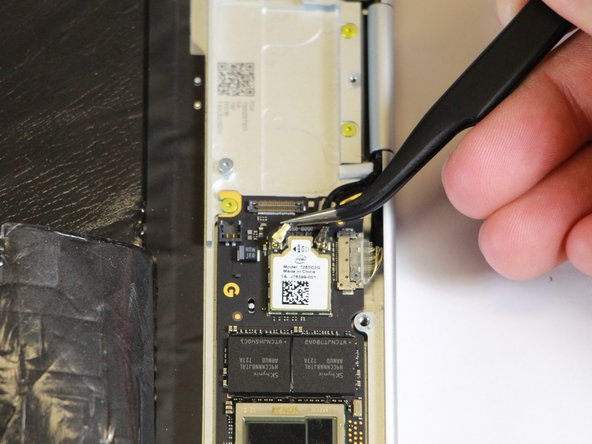
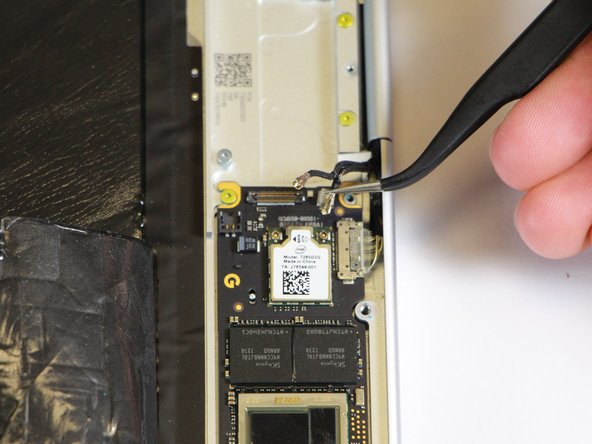
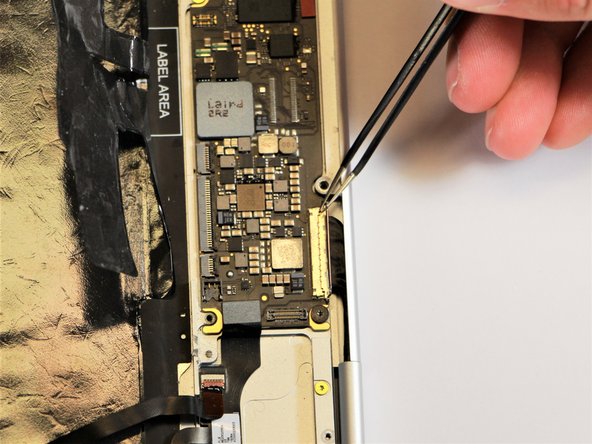
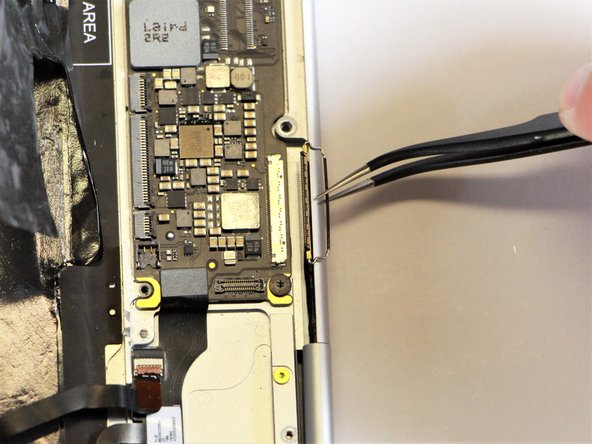
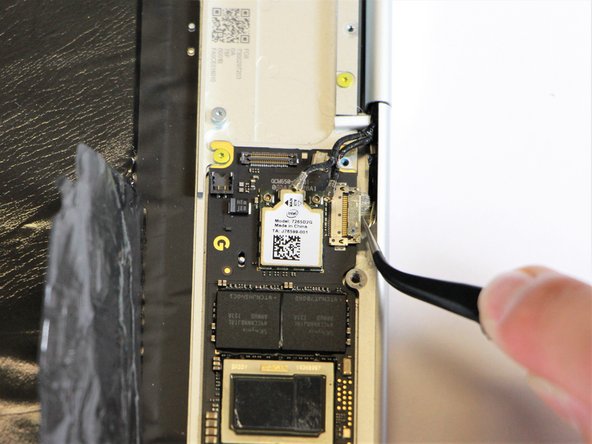
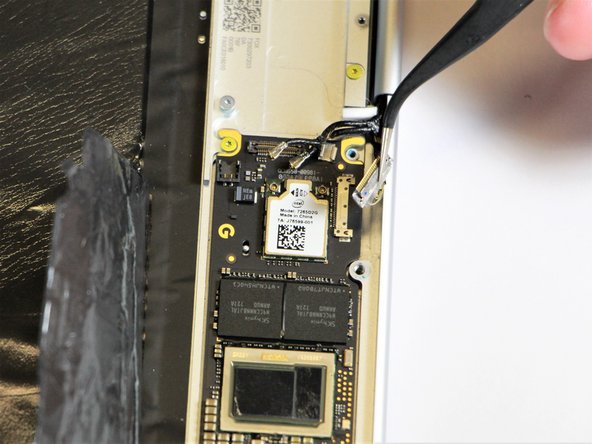
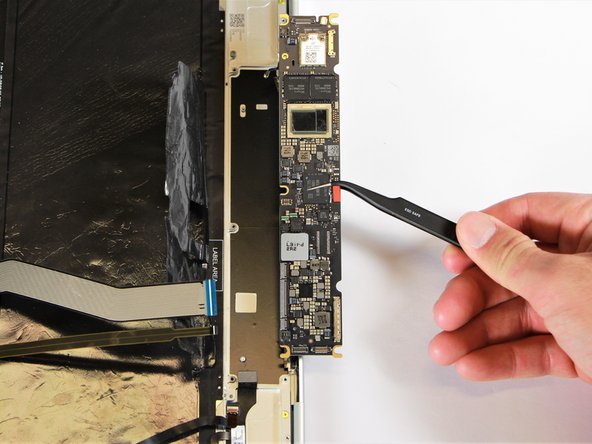
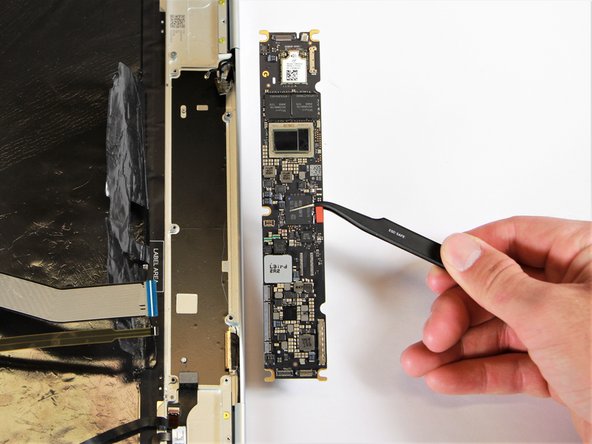
Disconnect the flat cable from the motherboard by using the needle-nose tweezers to gently pull the connector out of the slot.
what is this cable called that is also joined with the image in Step 24? I have to buy a new one as this one in Step 28 is torn. Thanks in advance!
-
To reassemble your device, follow these instructions in reverse order.
To reassemble your device, follow these instructions in reverse order.
Cancel: I did not complete this guide.
9 other people completed this guide.
14 Comments
You’ve put together a very good procedure for replacing a motherboard. My pixelbook needs a motherboard. Where can I buy one? Google does not sell them.
You’ve put together a very good procedure for replacing a motherboard. My pixelbook needs a motherboard. Where can I buy one? Google does not sell them.
I believe the step8 & step16 mentioned “charging port“ shall be the loudspeaker in fact.
It’s bad instruction to pull cable out without unlocking the retaining tab, also it’s impossible to put cable back while the connector is still in locking position. Never pull a cable while it’s locked in the connector, this practice is only used by novices.
Yea, those ribbons will probably come out undamaged without releasing the latch if careful but you are NOT going to get them back into the connector without opening and closing the latch. The latch is the long black bar on the far-side from where the ribbons actually plug in.
Clarkage -
I’ve completed this and am typing this comment on a Pixelbook with a new motherboard. You don’t need to remove the charging ports at all to do this, steps 8-16 are completely unnecessary. Skip them, and just focus on the steps to get the motherboard itself out and replace it.
Olm3ca, where did you get the replacement board?
Nolan -
I am having a hard time with Step 29. Might it be something other than T3?
Nevermind … I think my t3 screw bit is messed up.
Thank you for the great guidance. I’ve replaced motherboard, and it’s correct that you can skip steps 8-16, and I would recommend to skip them, not to broke charging LEDs, which I did on my other project :)
Dónde puedo comprar laminas board
Dónde puedo conseguir la Main board
Going to echo what others have said:
"You don’t need to remove the charging ports at all to do this, steps 8-16 are completely unnecessary."
"It’s bad instruction to pull cable out without unlocking the retaining tab, also it’s impossible to put cable back while the connector is still in locking position."



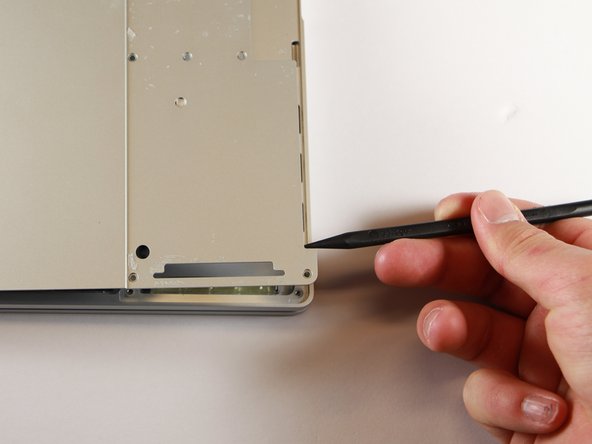























After using the spurger to start lifting the rubber like cover at a corner, a two inch wide paint scrapper proved to be an easy way to continue. Using the scrapper at roughly a 30 degree angle (with respect to the laptop rectangle) allowed progressive lifting of the cover. Ripping of the cover tended to occur if only the narrow spurger was used.
Marvin Stodolsky - Reply
Please i need to buy the motherboard
This my email chikaubah33@yahoo.com
chika ubah - Reply
The narrow rubber foot at the base of the display is supported by bendable metal. Be careful how evenly you remove it as uneven motions will result in a more bent and harder to re-apply piece.
Meta Data - Reply