Introduction
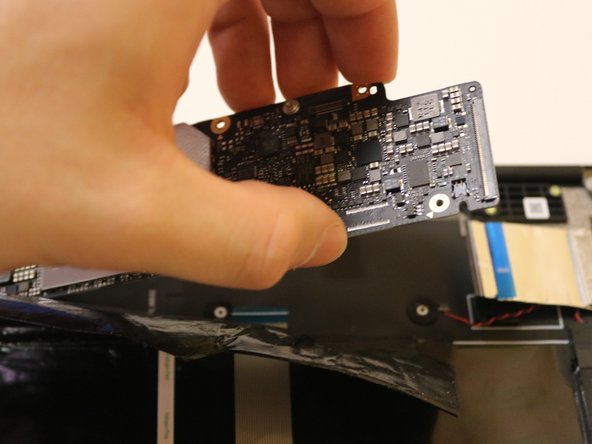
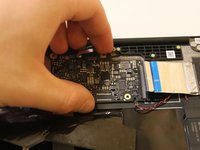
This guide aims to help users learn how to remove the motherboard of the Google Pixelbook Go in order to fix a faulty motherboard, RAM, storage, and/or processor.
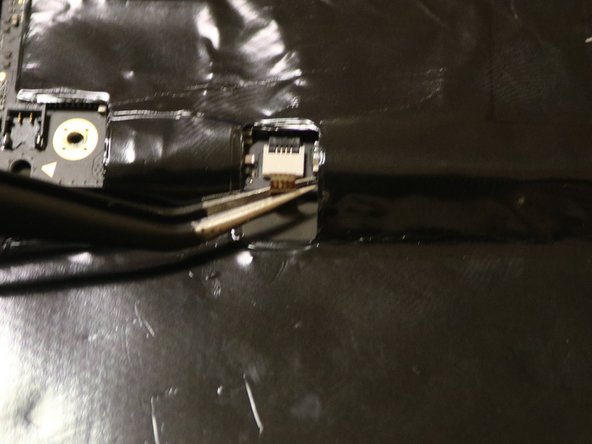
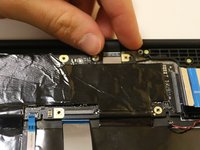
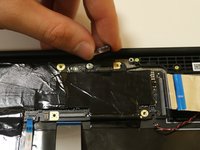
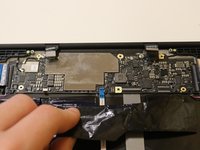
The motherboard distributes electricity and facilitates communication to and from the central processing unit, random access memory, and any other component of the computer's hardware. If your device starts to boot but then shuts down, this could be a sign of a failing motherboard.
Keep in mind that you should never work on any electrical device that is plugged into a power outlet, and make sure that the power is fully turned off before you start. Once you are ready to begin, follow these steps in order to successfully complete your replacement.
What you need
-
-
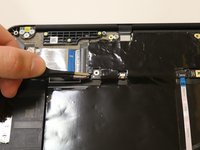
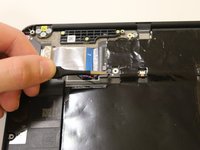
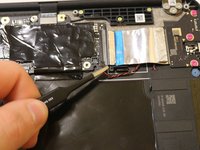
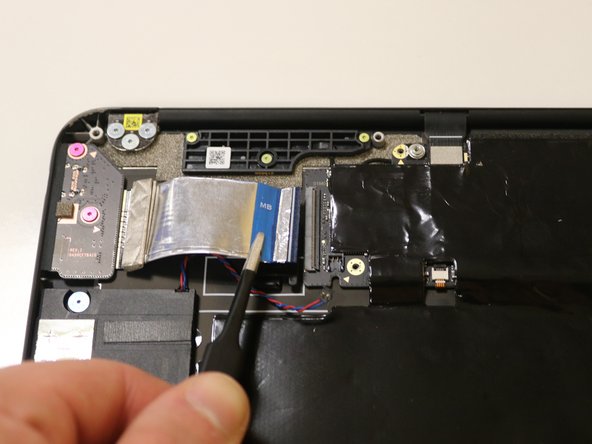
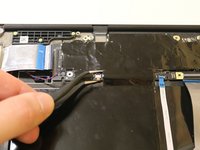
Flip the device so that the back is facing up.
-
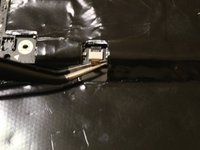
Peel the rubber stoppers off the top and bottom of the device.
-
-


To reassemble your device, follow these instructions in reverse order.
Cancel: I did not complete this guide.
2 other people completed this guide.

Team

University of Delaware, Team 11-1, McGuire Spring 2023 Member of University of Delaware, Team 11-1, McGuire Spring 2023
UD-MCGUIRE-S23S11G1
5 Members
4 Guides authored