Free Shipping on Domestic Orders $75+

Google Pixel XL Fingerprint Scanner Replacement

Archived Guide
This guide is retained solely for historical purposes. Use the updated version of the guide to perform your repair.

What you need

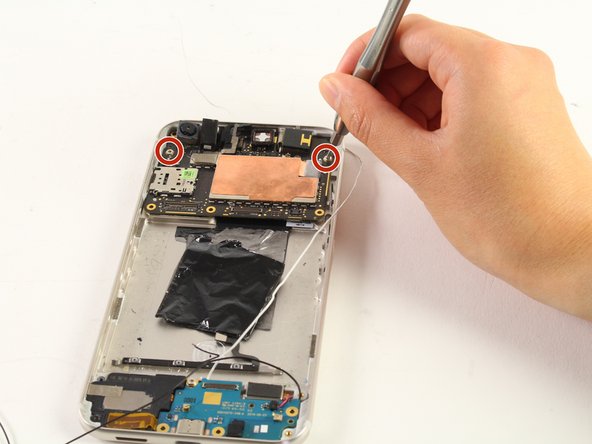
    1. Google Pixel XL Fingerprint Scanner Replacement, Fingerprint Scanner: step 1, image 1 of 1
      • Remove the two remaining 3mm T5 screws which secure the motherboard in place.

      Ask FixBot

      Add Comment

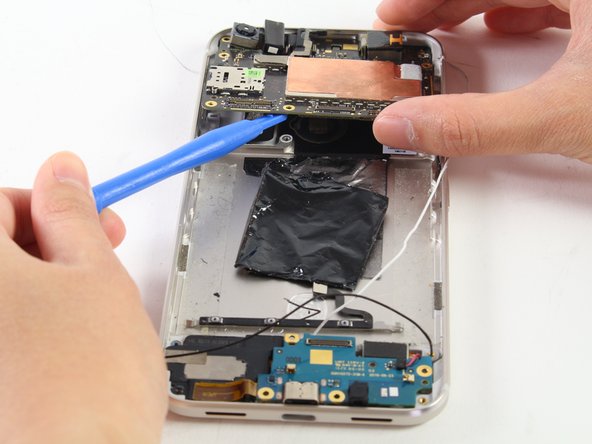
    2. Google Pixel XL Fingerprint Scanner Replacement: step 2, image 1 of 2 Google Pixel XL Fingerprint Scanner Replacement: step 2, image 2 of 2
      • Slightly lift the motherboard using the plastic opening tool to access the connector which holds the motherboard from the bottom.

      • Disconnect the connector by pulling it away from the board.

      Ask FixBot

      Add Comment

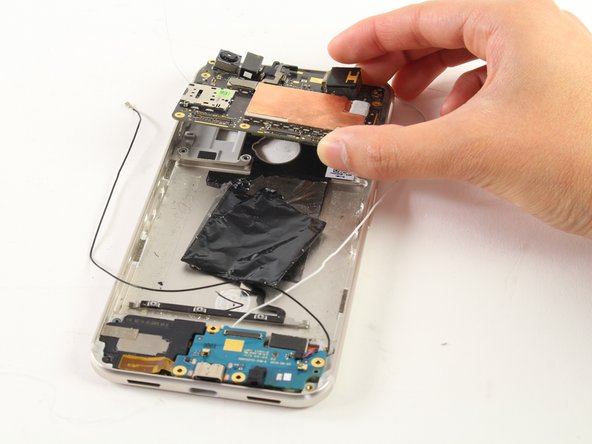
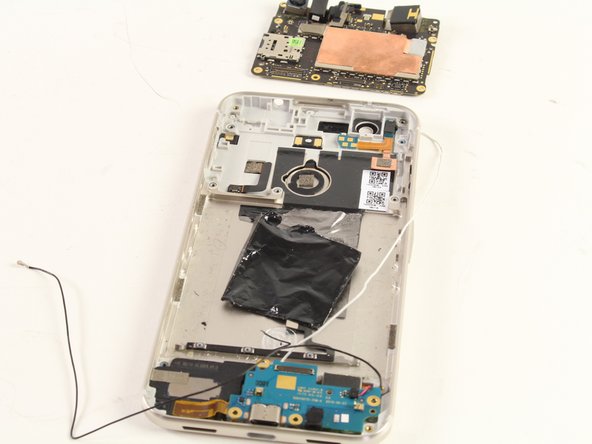
    3. Google Pixel XL Fingerprint Scanner Replacement: step 3, image 1 of 2 Google Pixel XL Fingerprint Scanner Replacement: step 3, image 2 of 2
      • Lift the motherboard out of the phone.

      Ask FixBot

      Add Comment

    4. Google Pixel XL Fingerprint Scanner Replacement: step 4, image 1 of 1
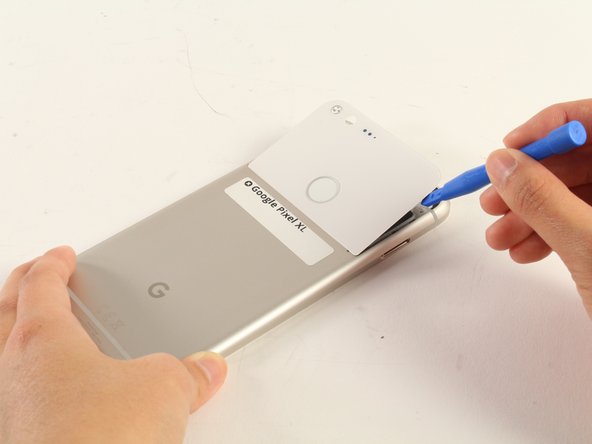
      • Be very careful when prying because it is possible for the glass to crack during this step.

      • Insert the plastic opening tool underneath the glass panel on the back of the device and gently pry upwards around the seam.

      Ask FixBot

      Add Comment

    5. Google Pixel XL Fingerprint Scanner Replacement: step 5, image 1 of 3 Google Pixel XL Fingerprint Scanner Replacement: step 5, image 2 of 3 Google Pixel XL Fingerprint Scanner Replacement: step 5, image 3 of 3
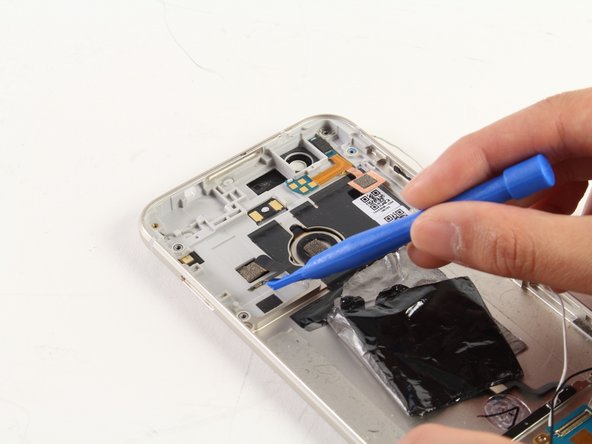
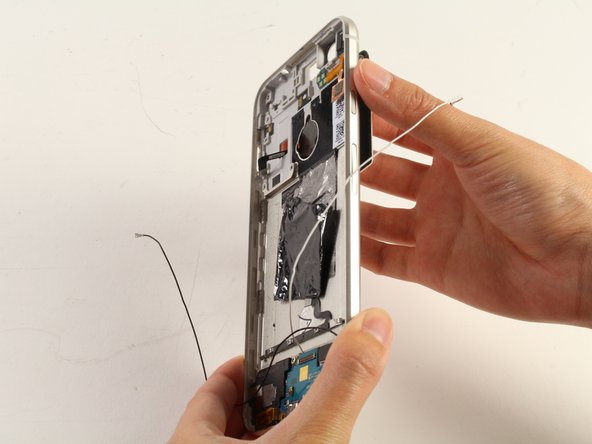
      • Peel the ribbon cable that connects to the fingerprint scanner off of the sticky pads on the inside of the phone.

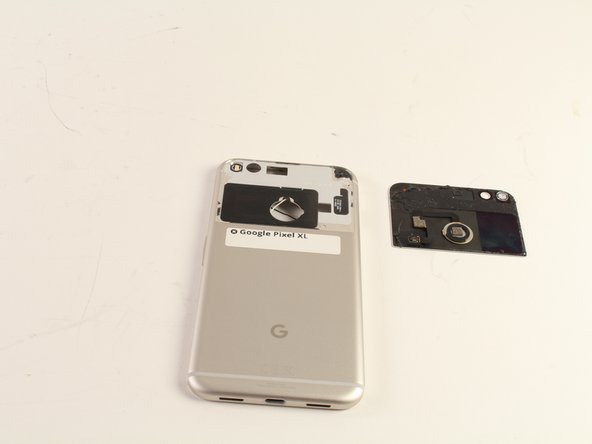
      • Pull the glass panel out from the phone while routing the ribbon cable through the hole in the chassis.

      • Keep the glass panel and place the rest of the phone off to the side.

      Ask FixBot

      Add Comment

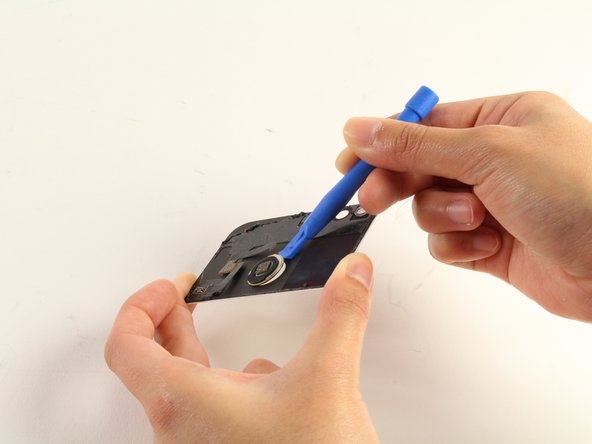
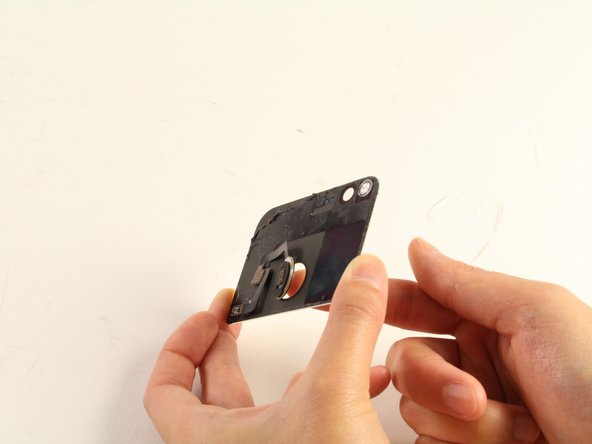
    6. Google Pixel XL Fingerprint Scanner Replacement: step 6, image 1 of 2 Google Pixel XL Fingerprint Scanner Replacement: step 6, image 2 of 2
      • Use the plastic opening tool to pry the fingerprint scanner out from the inside of the glass panel.

      • If the plastic opening tool is not working properly to remove the scanner, you may push it out with your finger.

      Ask FixBot

      Add Comment

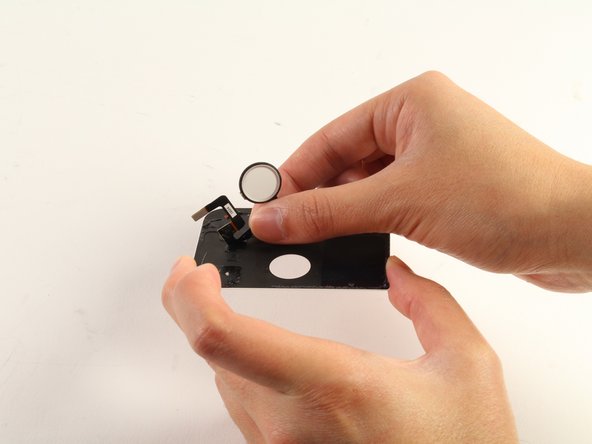
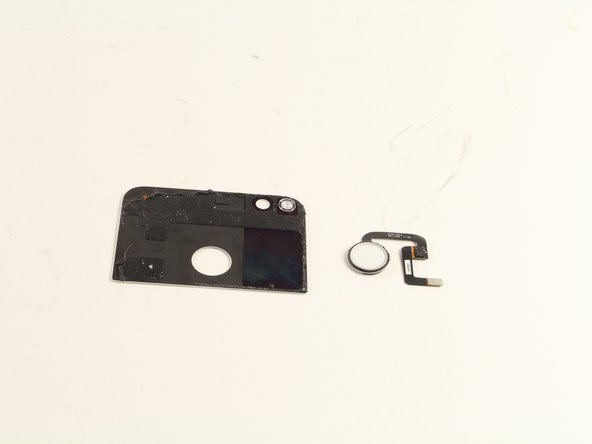
    7. Google Pixel XL Fingerprint Scanner Replacement: step 7, image 1 of 2 Google Pixel XL Fingerprint Scanner Replacement: step 7, image 2 of 2
      • Remove the fingerprint scanner completely from the back panel.

      Ask FixBot

      Add Comment

Conclusion

To reassemble your device, follow these instructions in reverse order.

Cancel: I did not complete this guide.

Andrew Ferguson

Member since: 03/14/17

1,403 Reputation

3 Guides authored

Team

Cal Poly, Team S13-G4, Forte Spring 2017 Member of Cal Poly, Team S13-G4, Forte Spring 2017

CPSU-FORTE-S17S13G4

4 Members

36 Guides authored

0 Guide Comments

Add Comment

View Statistics:

Past 24 Hours: 0

Past 7 Days: 0

Past 30 Days: 9

All Time: 62