
Google Pixel XL Charging Assembly Replacement

Archived Guide
This guide is retained solely for historical purposes. Use the updated version of the guide to perform your repair.

What you need

  1. Google Pixel XL Charging Assembly Replacement, Charging Assembly: step 1, image 1 of 2 Google Pixel XL Charging Assembly Replacement, Charging Assembly: step 1, image 2 of 2
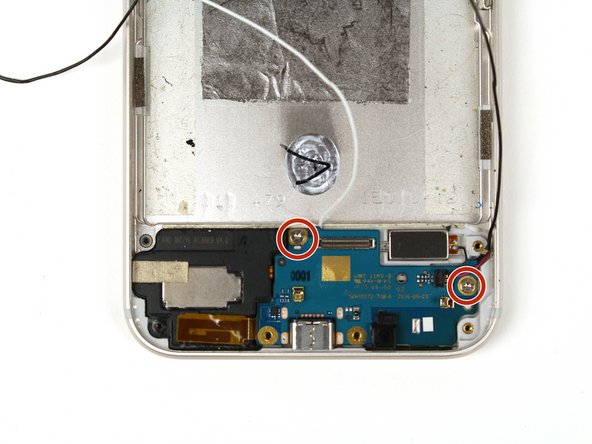
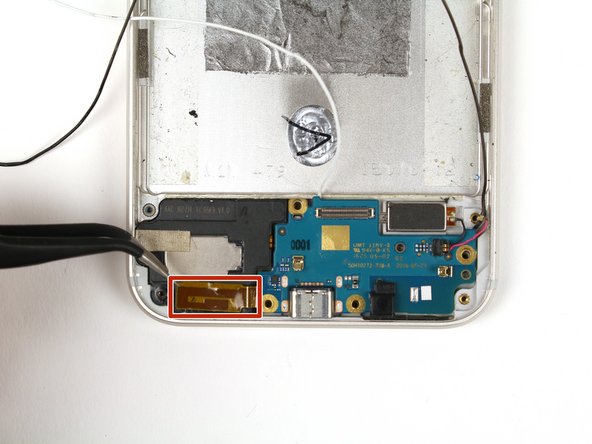
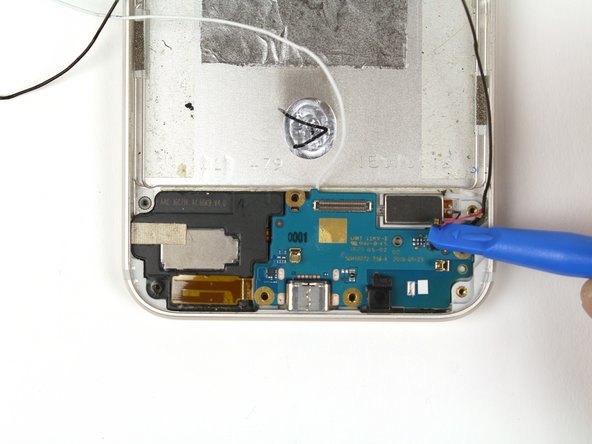
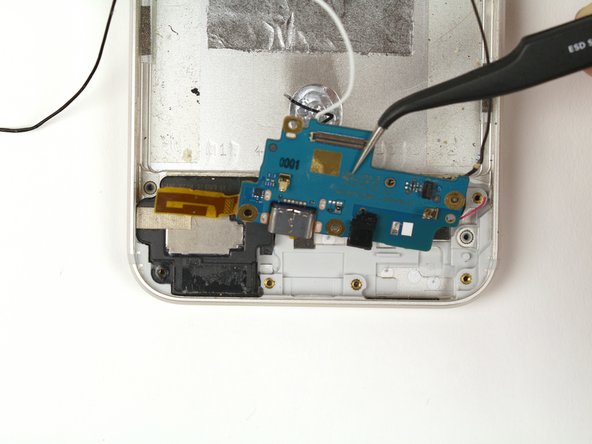
    • Using a T5 Torx screwdriver, unscrew the two 3 mm screws from the daughterboard.

  2. Google Pixel XL Charging Assembly Replacement: step 2, image 1 of 2 Google Pixel XL Charging Assembly Replacement: step 2, image 2 of 2
    • Using a pair of precision tweezers, carefully peel the orange tape from the frame.

  3. Google Pixel XL Charging Assembly Replacement: step 3, image 1 of 2 Google Pixel XL Charging Assembly Replacement: step 3, image 2 of 2
    • Using a blue plastic opening tool, detach the connector by gently pulling to the right.

    • Applying too much force may result in damaging the black connector and/or the cable.

  4. Google Pixel XL Charging Assembly Replacement: step 4, image 1 of 1
    • Gently lift the daughterboard out of the device.

    • To replace the charging assembly, you will need to replace the entire daughterboard.

Conclusion

To reassemble your device, follow these instructions in reverse order.

Julia List

Member since: 04/21/15

5,604 Reputation

7 Guides authored

0 Comments

Add Comment

View Statistics:

Past 24 Hours: 1

Past 7 Days: 1

Past 30 Days: 3

All Time: 34