Free Shipping on Domestic Orders $75+

Google Pixel 9a Rear Cover Installation

Prerequisite Only
This is a prerequisite-only guide! This guide is part of another procedure and isn’t meant to be used alone.
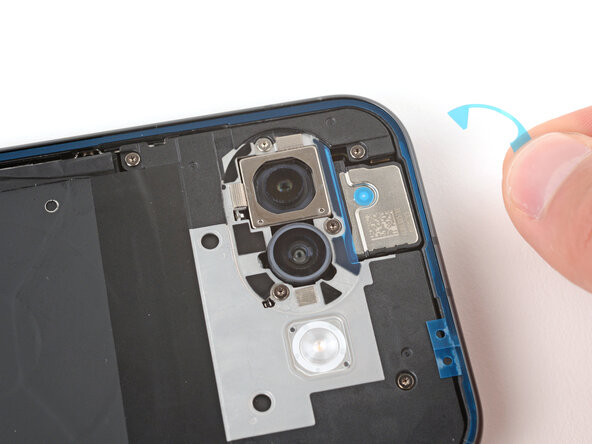
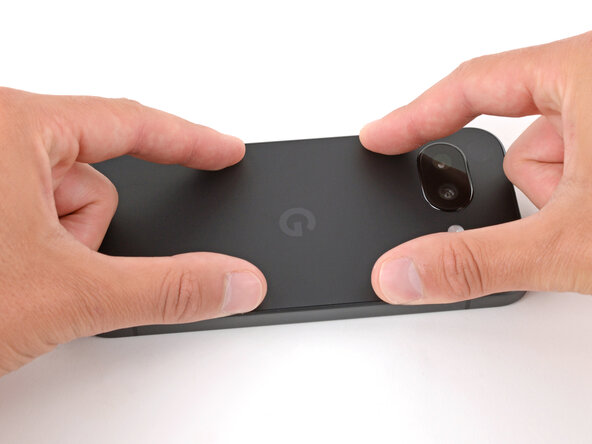
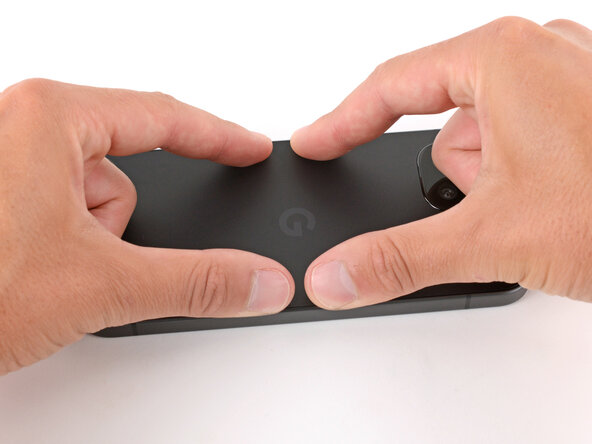
    1. Google Pixel 9a Rear Cover Installation, Remove the remaining liners: step 1, image 1 of 3 Google Pixel 9a Rear Cover Installation, Remove the remaining liners: step 1, image 2 of 3 Google Pixel 9a Rear Cover Installation, Remove the remaining liners: step 1, image 3 of 3
      • Use the point of a spudger to lift and remove the plastic liners from the adhesive around the rear cameras.

      • If the adhesive starts to pull up with the liner, lay it back in place and use your spudger to secure it again.

      Ask FixBot

      Add Comment

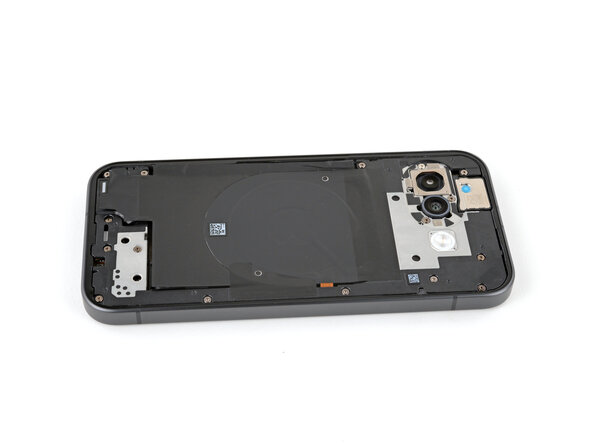
    2. Google Pixel 9a Rear Cover Installation: step 2, image 1 of 2 Google Pixel 9a Rear Cover Installation: step 2, image 2 of 2
      • Use the pull tabs to remove the final liner from the rear cover adhesive.

      Ask FixBot

      Add Comment

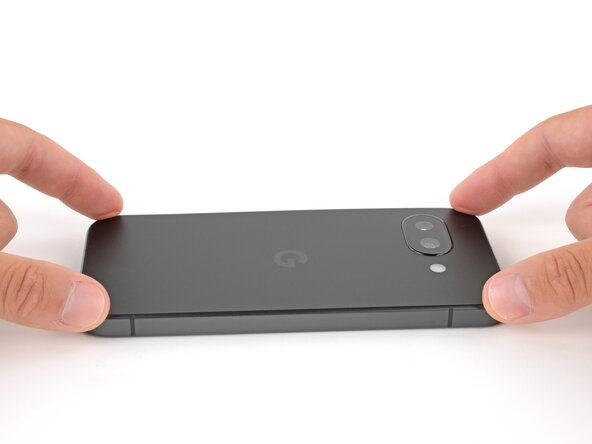
    3. Google Pixel 9a Rear Cover Installation, Install the rear cover: step 3, image 1 of 3 Google Pixel 9a Rear Cover Installation, Install the rear cover: step 3, image 2 of 3 Google Pixel 9a Rear Cover Installation, Install the rear cover: step 3, image 3 of 3
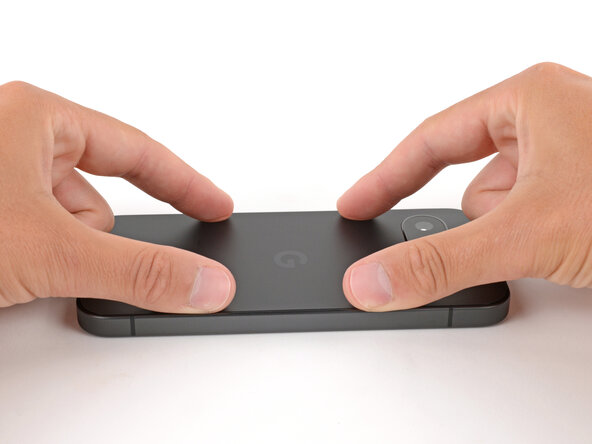
      • Align the rear cover over the frame and press it into place.

      Ask FixBot

      Add Comment

    4. Google Pixel 9a Rear Cover Installation: step 4, image 1 of 3 Google Pixel 9a Rear Cover Installation: step 4, image 2 of 3 Google Pixel 9a Rear Cover Installation: step 4, image 3 of 3
      Ask FixBot

      Add Comment

Finish Line

Cancel: I did not complete this guide.

Spencer Day

Member since: 09/14/22

206,026 Reputation

1,267 Guides authored

Team

iFixit Member of iFixit

Staff

122 Members

72,401 Guides authored

0 Guide Comments

Add Comment

View Statistics:

Past 24 Hours: 0

Past 7 Days: 3

Past 30 Days: 7

All Time: 153