Free Shipping on Domestic Orders $75+

Google Pixel 9 Pro Fold Inner Front Camera Reinstallation

Prerequisite Only
This is a prerequisite-only guide! This guide is part of another procedure and isn’t meant to be used alone.
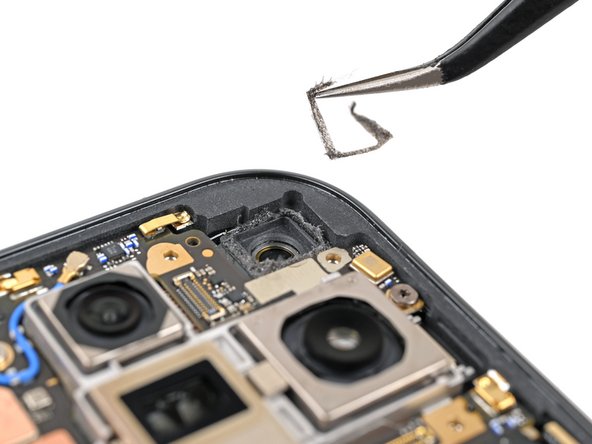
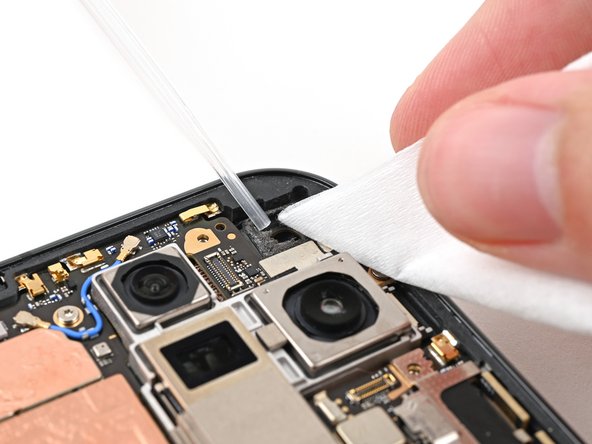
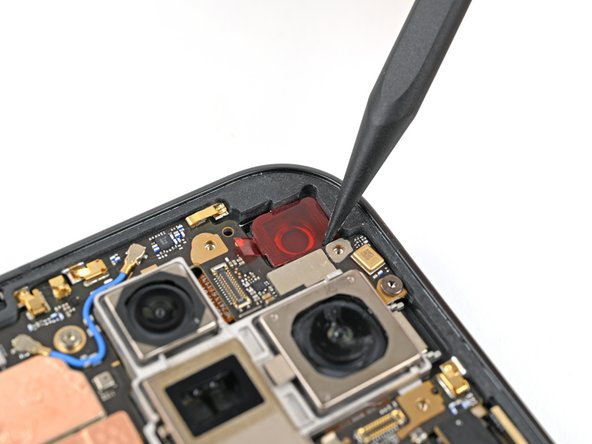
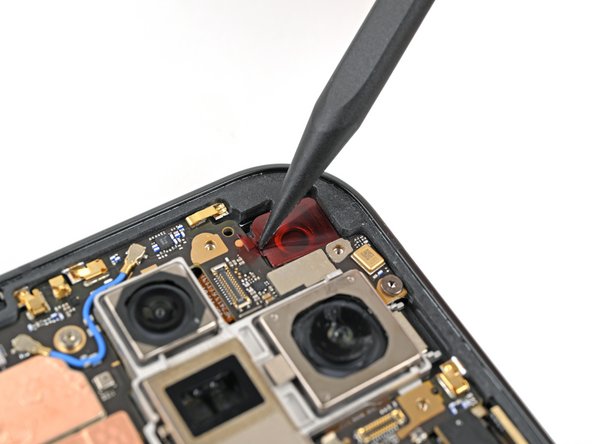
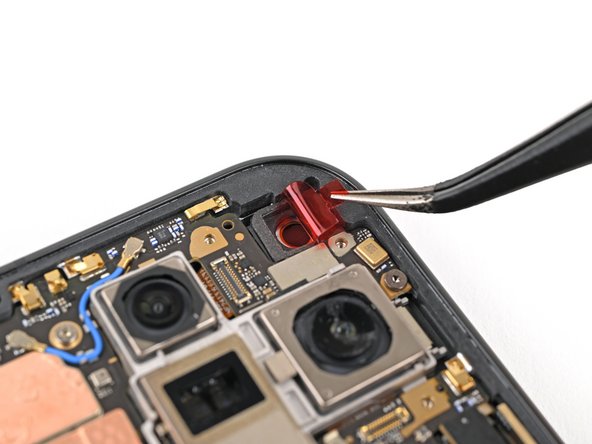
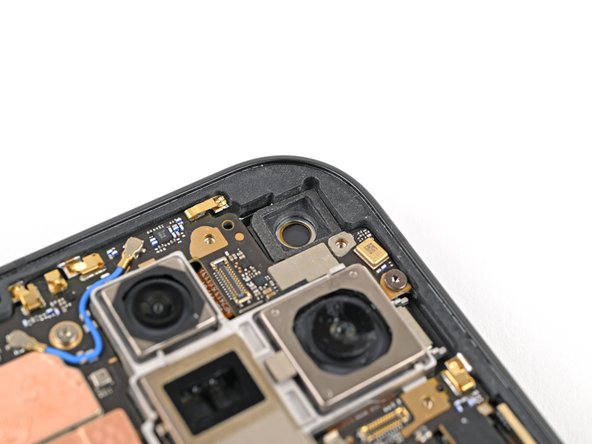
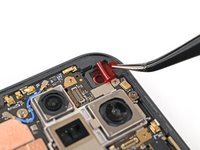
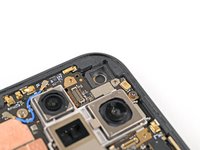
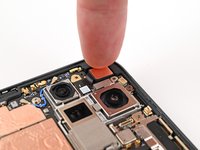
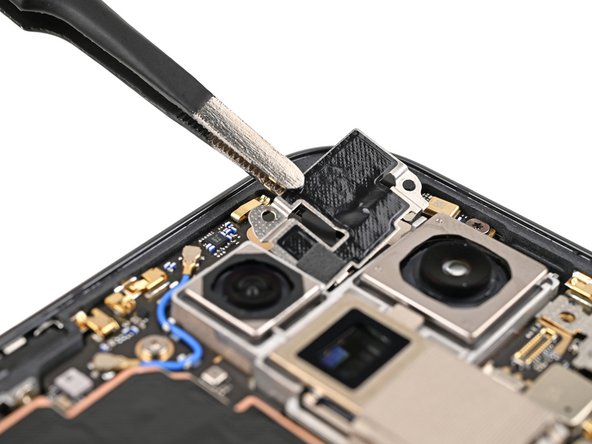
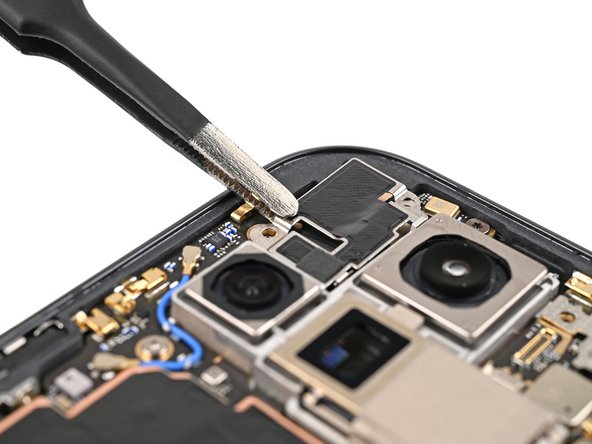
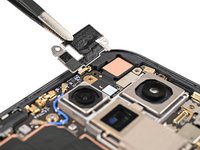
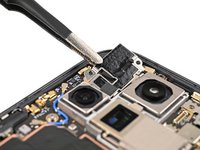
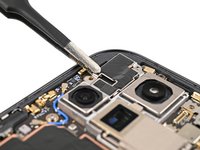
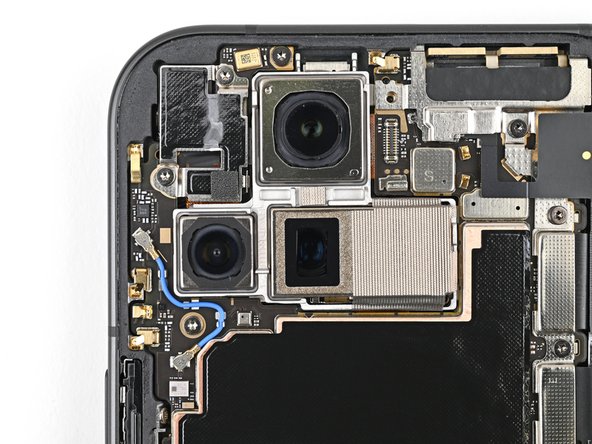
    1. Google Pixel 9 Pro Fold Inner Front Camera Reinstallation, Remove the old adhesive: step 1, image 1 of 3 Google Pixel 9 Pro Fold Inner Front Camera Reinstallation, Remove the old adhesive: step 1, image 2 of 3 Google Pixel 9 Pro Fold Inner Front Camera Reinstallation, Remove the old adhesive: step 1, image 3 of 3
      • If your inner front camera adhesive isn't sticky or intact anymore, follow the next four steps to replace it. Otherwise, skip the next four steps.

      • Use tweezers, or your fingers, to remove the old adhesive foam from the inner front camera cutout.

      • Use isopropyl alcohol (>90% or greater) and a coffee filter or lint‑free cloth to remove any adhesive residue.

      Ask FixBot

      Add Comment

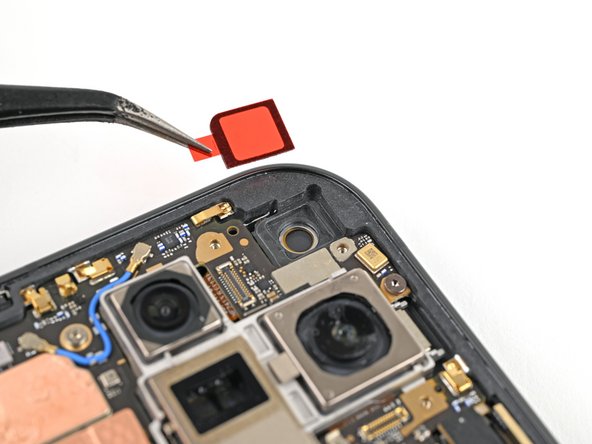
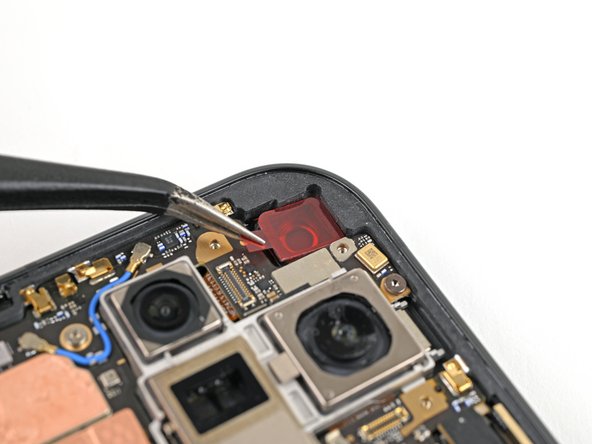
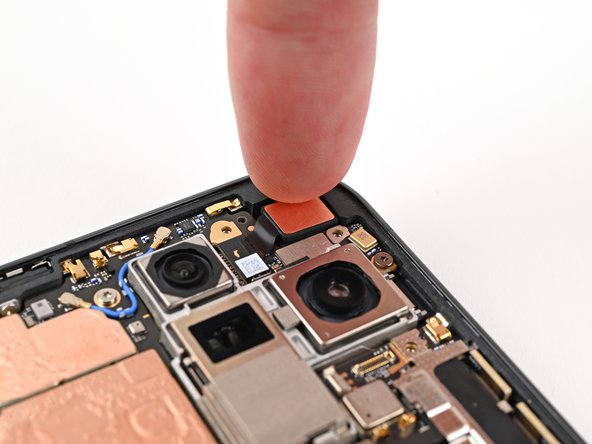
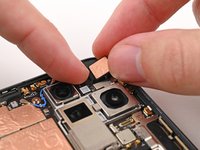
    2. Google Pixel 9 Pro Fold Inner Front Camera Reinstallation, Apply the new adhesive: step 2, image 1 of 3 Google Pixel 9 Pro Fold Inner Front Camera Reinstallation, Apply the new adhesive: step 2, image 2 of 3 Google Pixel 9 Pro Fold Inner Front Camera Reinstallation, Apply the new adhesive: step 2, image 3 of 3
      • Peel the replacement adhesive foam off its clear liner to expose the adhesive underneath.

      • Align the adhesive foam over the cutout in the frame so that the pull tab is facing the bottom of the phone.

      • Place the adhesive in the cutout.

      Ask FixBot

      Add Comment

    3. Google Pixel 9 Pro Fold Inner Front Camera Reinstallation: step 3, image 1 of 3 Google Pixel 9 Pro Fold Inner Front Camera Reinstallation: step 3, image 2 of 3 Google Pixel 9 Pro Fold Inner Front Camera Reinstallation: step 3, image 3 of 3
      • Use the tip of a spudger to press along the edges of the adhesive foam to secure it to the frame.

      Ask FixBot

      Add Comment

    4. Google Pixel 9 Pro Fold Inner Front Camera Reinstallation: step 4, image 1 of 3 Google Pixel 9 Pro Fold Inner Front Camera Reinstallation: step 4, image 2 of 3 Google Pixel 9 Pro Fold Inner Front Camera Reinstallation: step 4, image 3 of 3
      • Use tweezers, or your fingers, to peel off the colored liner and expose the adhesive underneath.

      Ask FixBot

      Add Comment

    5. Google Pixel 9 Pro Fold Inner Front Camera Reinstallation, Reinstall the inner front camera: step 5, image 1 of 2 Google Pixel 9 Pro Fold Inner Front Camera Reinstallation, Reinstall the inner front camera: step 5, image 2 of 2
      • While holding the inner front camera above its cutout, reconnect its press connector.

      • Lay the inner front camera in its cutout and press down to secure it to the adhesive.

      Ask FixBot

      Add Comment

    6. Google Pixel 9 Pro Fold Inner Front Camera Reinstallation, Reinstall the inner front camera bracket: step 6, image 1 of 3 Google Pixel 9 Pro Fold Inner Front Camera Reinstallation, Reinstall the inner front camera bracket: step 6, image 2 of 3 Google Pixel 9 Pro Fold Inner Front Camera Reinstallation, Reinstall the inner front camera bracket: step 6, image 3 of 3
      • Reinsert the inner front camera bracket clip under its slot in the logic board and align the screw holes.

      Ask FixBot

      Add Comment

    7. Google Pixel 9 Pro Fold Inner Front Camera Reinstallation: step 7, image 1 of 2 Google Pixel 9 Pro Fold Inner Front Camera Reinstallation: step 7, image 2 of 2
      • Use a Torx Plus 3IP driver to install the two 2.6 mm‑long screws securing the inner front camera bracket.

      Ask FixBot

      Add Comment

Conclusion

To reassemble your device, follow these instructions in reverse order.

Cancel: I did not complete this guide.

Alex Diaz-Kokaisl

Member since: 01/16/22

250,162 Reputation

1,203 Guides authored

Team

Guide Team Member of Guide Team

Staff

10 Members

61,630 Guides authored

0 Guide Comments

Add Comment

View Statistics:

Past 24 Hours: 2

Past 7 Days: 7

Past 30 Days: 16

All Time: 142