Free Shipping on Domestic Orders $75+

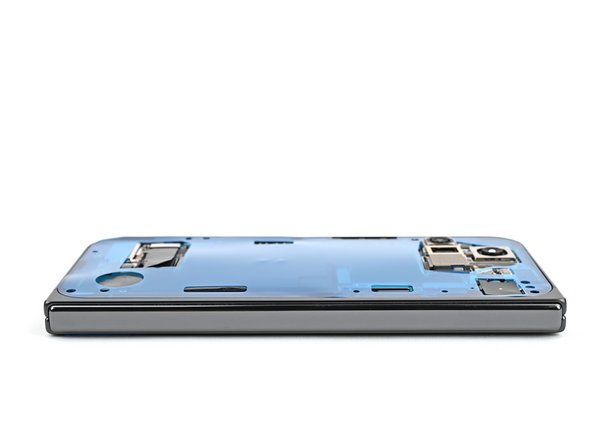
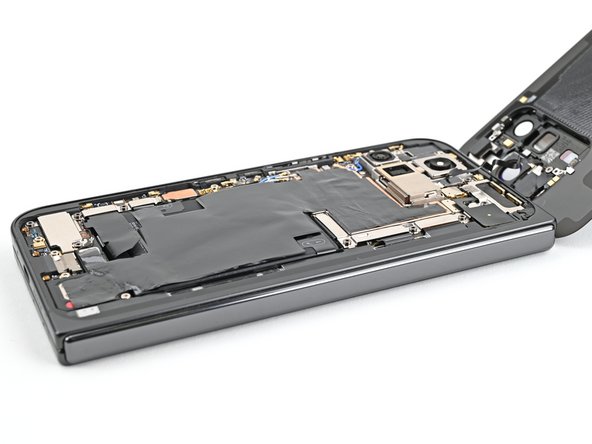
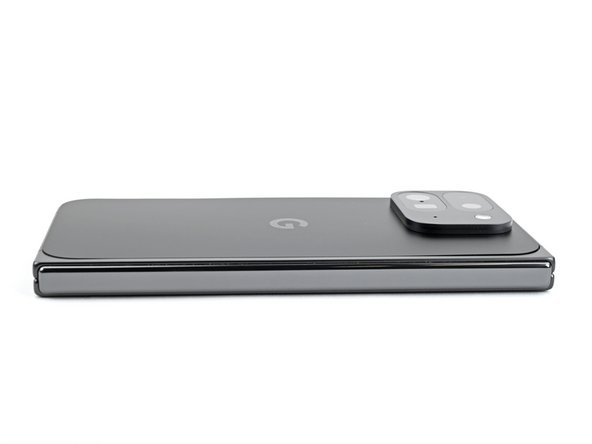
Google Pixel 9 Pro Fold Back Cover Reinstallation

Prerequisite Only
This is a prerequisite-only guide! This guide is part of another procedure and isn’t meant to be used alone.
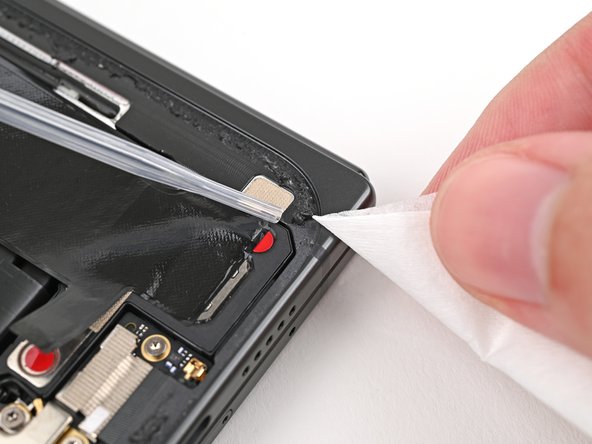
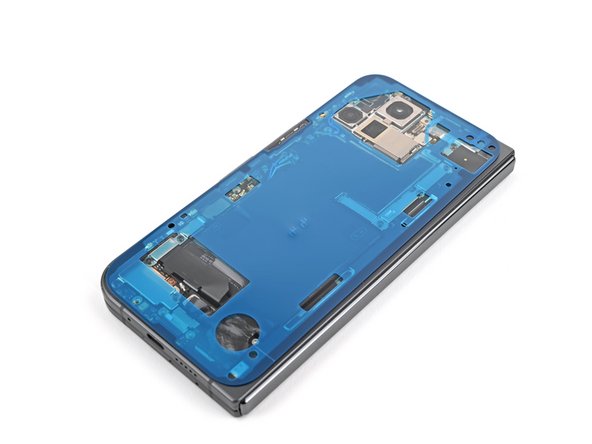
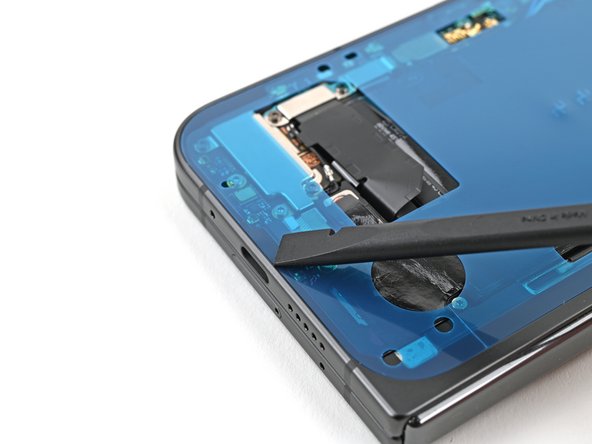
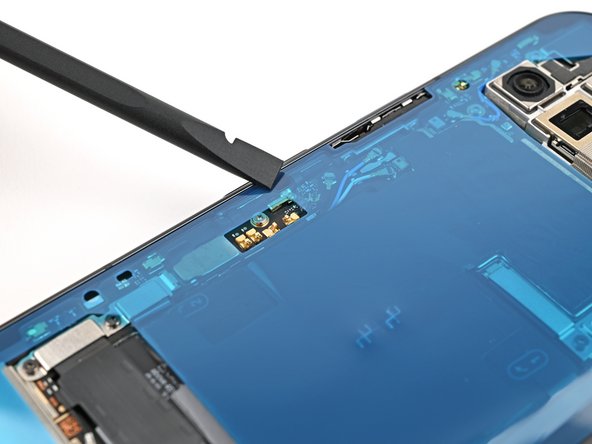
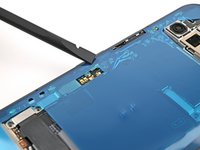
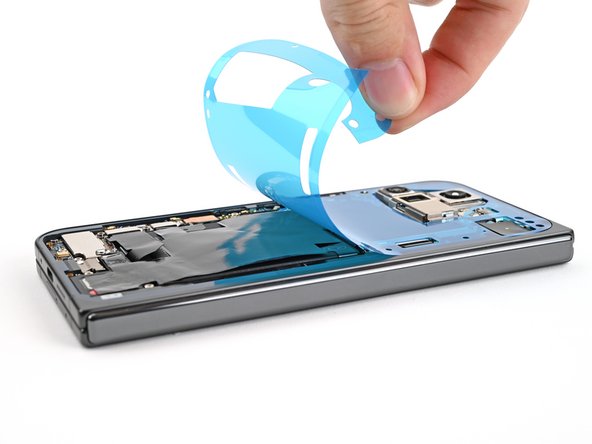
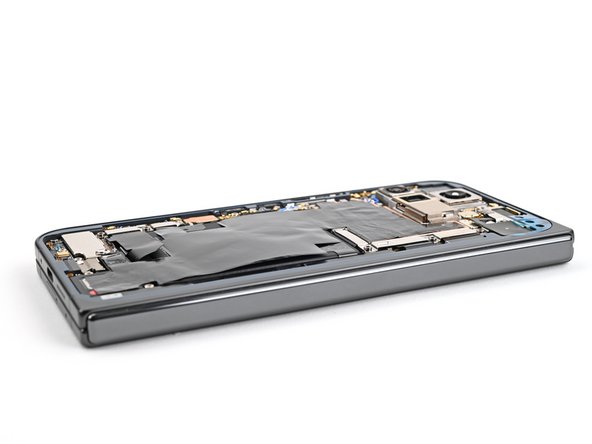
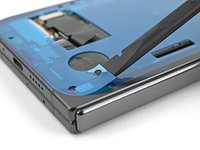
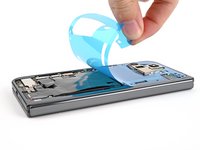
    1. Google Pixel 9 Pro Fold Back Cover Reinstallation, Remove the old adhesive: step 1, image 1 of 2 Google Pixel 9 Pro Fold Back Cover Reinstallation, Remove the old adhesive: step 1, image 2 of 2
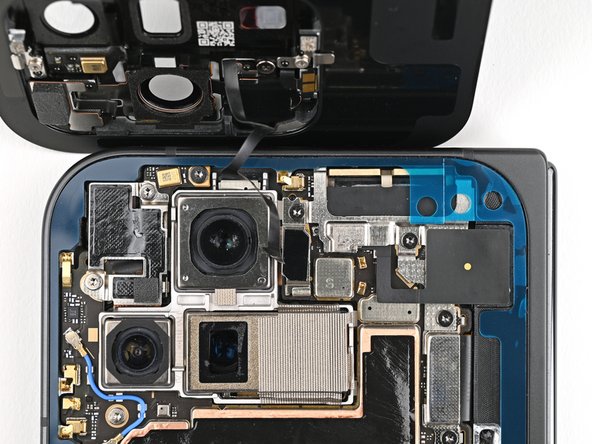
      • Use a spudger, or your fingers, to remove the old back cover adhesive.

      • Use isopropyl alcohol (>90%) and a coffee filter or a microfiber cloth to remove any adhesive residue.

      Ask FixBot

      Add Comment

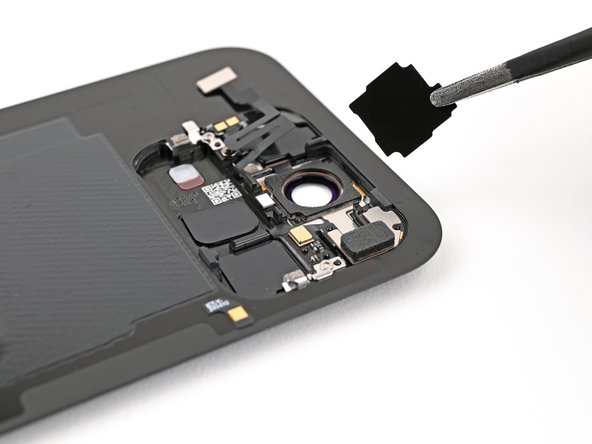
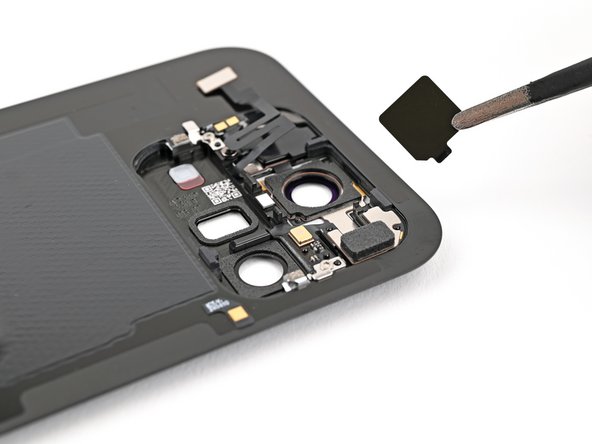
    2. Google Pixel 9 Pro Fold Back Cover Reinstallation, Remove the back cover liners: step 2, image 1 of 3 Google Pixel 9 Pro Fold Back Cover Reinstallation, Remove the back cover liners: step 2, image 2 of 3 Google Pixel 9 Pro Fold Back Cover Reinstallation, Remove the back cover liners: step 2, image 3 of 3
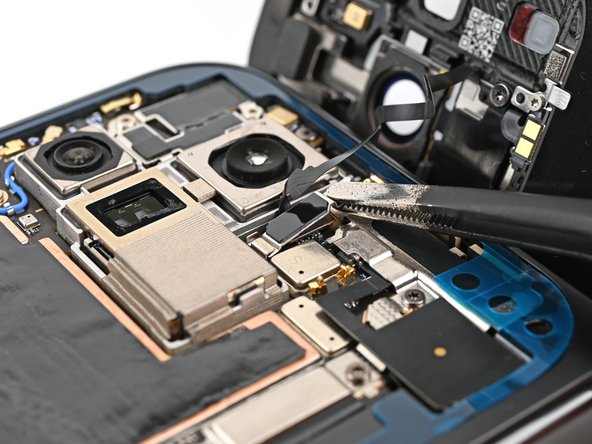
      • If you're replacing your back cover with a new one, follow the next two steps. Otherwise, skip them.

      • Use tweezers, or your fingers, to remove the three rear camera liners from the inside of your new back cover.

      Ask FixBot

      Add Comment

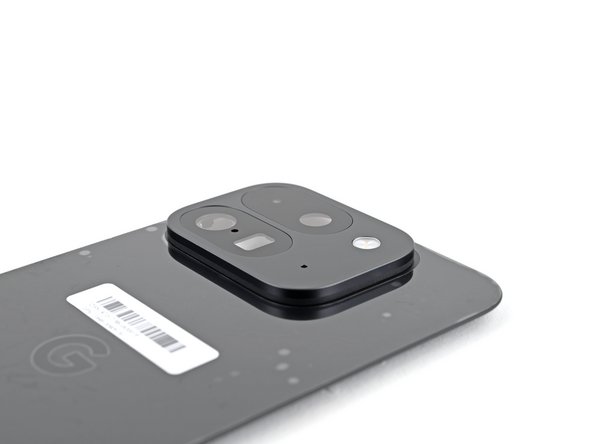
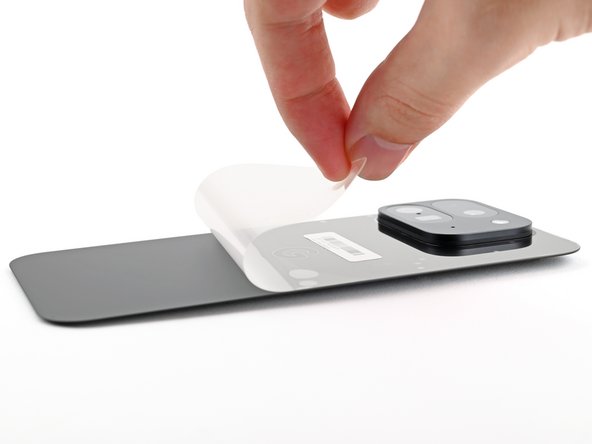
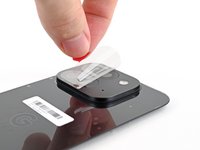
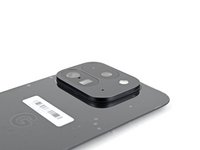
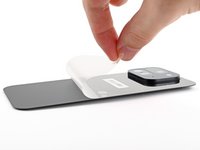
    3. Google Pixel 9 Pro Fold Back Cover Reinstallation: step 3, image 1 of 3 Google Pixel 9 Pro Fold Back Cover Reinstallation: step 3, image 2 of 3 Google Pixel 9 Pro Fold Back Cover Reinstallation: step 3, image 3 of 3
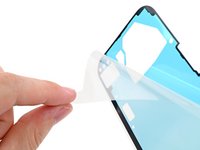
      • Peel off the remaining clear liners on the outside of the back cover.

      Ask FixBot

      Add Comment

    4. Google Pixel 9 Pro Fold Back Cover Reinstallation, Compare your adhesive: step 4, image 1 of 2 Google Pixel 9 Pro Fold Back Cover Reinstallation, Compare your adhesive: step 4, image 2 of 2
      • Before removing any liners, check if the adhesive matches the frame.

      • The clear liner should face the frame.

      Ask FixBot

      Add Comment

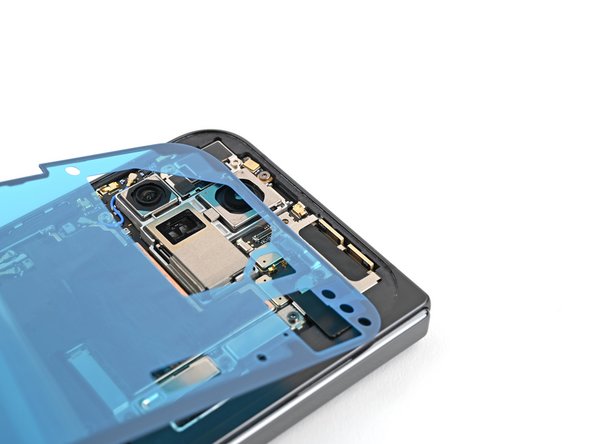
    5. Google Pixel 9 Pro Fold Back Cover Reinstallation, Apply the new adhesive: step 5, image 1 of 3 Google Pixel 9 Pro Fold Back Cover Reinstallation, Apply the new adhesive: step 5, image 2 of 3 Google Pixel 9 Pro Fold Back Cover Reinstallation, Apply the new adhesive: step 5, image 3 of 3
      • Be careful during this step, as it's easy to stick the adhesive in the wrong spot. Take your time and work slowly.

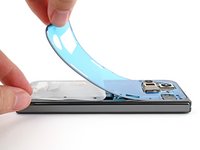
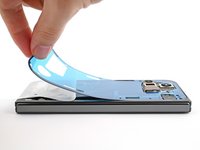
      • Peel away the top half of the new adhesive strip from its clear liner and keep it folded before continuing.

      • Align the top half of the adhesive over the frame, using the corners as reference points.

      • Place the adhesive on the frame.

      Ask FixBot

      Add Comment

    6. Google Pixel 9 Pro Fold Back Cover Reinstallation: step 6, image 1 of 2 Google Pixel 9 Pro Fold Back Cover Reinstallation: step 6, image 2 of 2
      • Use the flat end of a spudger, or your fingers, to press down the top edge of the adhesive and adhere it to the frame.

      Ask FixBot

      Add Comment

    7. Google Pixel 9 Pro Fold Back Cover Reinstallation: step 7, image 1 of 3 Google Pixel 9 Pro Fold Back Cover Reinstallation: step 7, image 2 of 3 Google Pixel 9 Pro Fold Back Cover Reinstallation: step 7, image 3 of 3
      • While peeling away the rest of the clear liner, slowly lay the rest of the adhesive over the perimeter of the phone.

      Ask FixBot

      Add Comment

    8. Google Pixel 9 Pro Fold Back Cover Reinstallation: step 8, image 1 of 3 Google Pixel 9 Pro Fold Back Cover Reinstallation: step 8, image 2 of 3 Google Pixel 9 Pro Fold Back Cover Reinstallation: step 8, image 3 of 3
      • Use the flat end of a spudger, or your fingers, to press down the rest of the adhesive and adhere it to the frame.

      Ask FixBot

      Add Comment

    9. Google Pixel 9 Pro Fold Back Cover Reinstallation: step 9, image 1 of 3 Google Pixel 9 Pro Fold Back Cover Reinstallation: step 9, image 2 of 3 Google Pixel 9 Pro Fold Back Cover Reinstallation: step 9, image 3 of 3
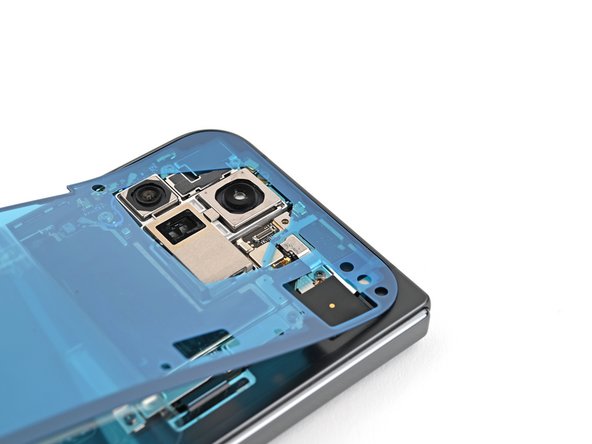
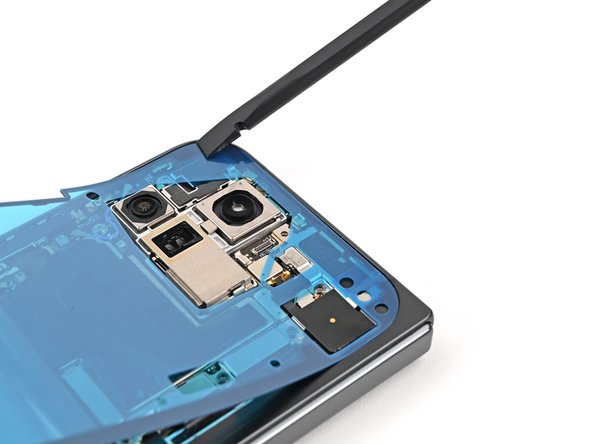
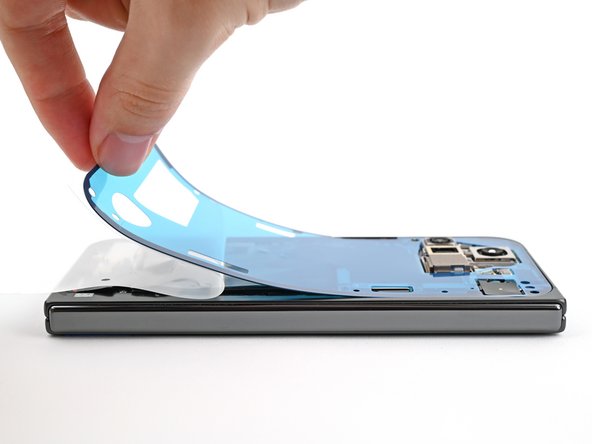
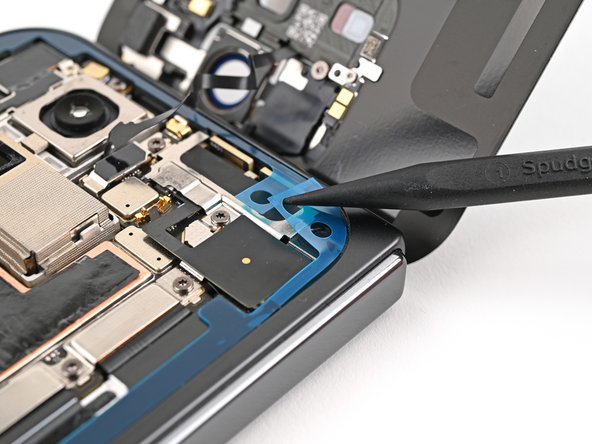
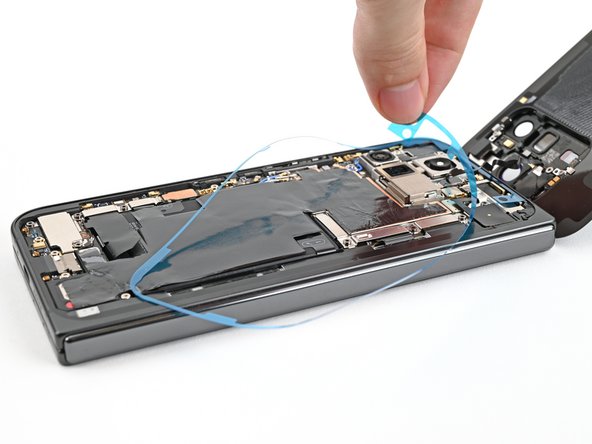
      • Use a spudger to pry up the segmented tab on the bottom right corner of the large blue liner.

      • Lift the tab and peel off the large blue liner to expose the secondary liner.

      • If any of the adhesive starts to peel up with the liner, gently lay it back on the frame and use the flat end of a spudger to secure it.

      Ask FixBot

      Add Comment

    10. Google Pixel 9 Pro Fold Back Cover Reinstallation, Reconnect the back cover cable: step 10, image 1 of 1
      • While holding the back cover or propping it up, reconnect the back cover cable.

      • Don't try to force the connector into place. If you're having trouble, reposition it and try again.

      Ask FixBot

      Add Comment

    11. Google Pixel 9 Pro Fold Back Cover Reinstallation, Reinstall the top bracket: step 11, image 1 of 2 Google Pixel 9 Pro Fold Back Cover Reinstallation, Reinstall the top bracket: step 11, image 2 of 2
      • Reinsert the top bracket clip under its slot in the logic board and align its screw hole.

      Ask FixBot

      Add Comment

    12. Google Pixel 9 Pro Fold Back Cover Reinstallation: step 12, image 1 of 2 Google Pixel 9 Pro Fold Back Cover Reinstallation: step 12, image 2 of 2
      • Use a Torx Plus 3IP driver to install the 3.0 mm‑long screw securing the top bracket.

      Ask FixBot

      Add Comment

    13. Google Pixel 9 Pro Fold Back Cover Reinstallation, Remove the secondary liner: step 13, image 1 of 2 Google Pixel 9 Pro Fold Back Cover Reinstallation, Remove the secondary liner: step 13, image 2 of 2
      • Use the tip of a spudger to pry up the segmented tab on the top right corner of the secondary liner.

      Ask FixBot

      Add Comment

    14. Google Pixel 9 Pro Fold Back Cover Reinstallation: step 14, image 1 of 3 Google Pixel 9 Pro Fold Back Cover Reinstallation: step 14, image 2 of 3 Google Pixel 9 Pro Fold Back Cover Reinstallation: step 14, image 3 of 3
      • Peel off the secondary liner to expose the adhesive.

      • If any of the adhesive starts to peel up with the liner, gently lay it back on the frame and use the flat end of a spudger to secure it.

      Ask FixBot

      Add Comment

    15. Google Pixel 9 Pro Fold Back Cover Reinstallation, Secure the back cover: step 15, image 1 of 2 Google Pixel 9 Pro Fold Back Cover Reinstallation, Secure the back cover: step 15, image 2 of 2
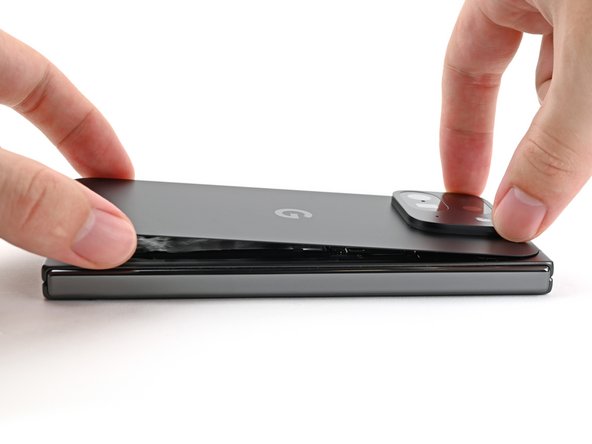
      • Align the top edge of the back cover with the frame and press down to adhere it.

      Ask FixBot

      Add Comment

    16. Google Pixel 9 Pro Fold Back Cover Reinstallation: step 16, image 1 of 3 Google Pixel 9 Pro Fold Back Cover Reinstallation: step 16, image 2 of 3 Google Pixel 9 Pro Fold Back Cover Reinstallation: step 16, image 3 of 3
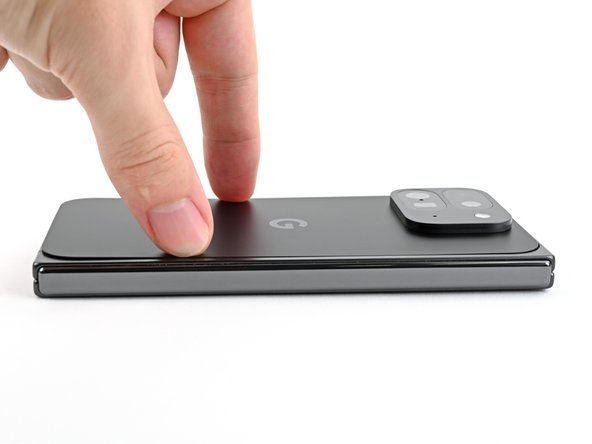
      • Press along the perimeter of the back cover to adhere it to the frame.

      • Optionally, you can use a hair dryer or heat gun to lightly heat the edges of the back cover and create a stronger bond.

      • Let the phone sit a few hours for the adhesive to cure.

      Ask FixBot

      Add Comment

Conclusion

To reassemble your device, follow these instructions in reverse order.

Cancel: I did not complete this guide.

Alex Diaz-Kokaisl

Member since: 01/16/22

250,095 Reputation

1,203 Guides authored

Team

Guide Team Member of Guide Team

Staff

10 Members

61,630 Guides authored

0 Guide Comments

Add Comment

View Statistics:

Past 24 Hours: 1

Past 7 Days: 3

Past 30 Days: 9

All Time: 121