This translation was generated by a machine and has not been reviewed by a person yet. Speak this language? Review it.

Laça Tudo Usage Training

Lacito and one other contributor
Last updated on Sep 2, 2026
Views: 259
View statistics:
- Past 24 Hours:
- 1
- Past 7 Days:
- 7
- Past 30 Days:
- 43
- All Time:
- 259
Comments: 0
No one has left comments on this guide. Will you be first?
Go to guide commentsCompleted: 1 2
1 person has marked this guide "completed." Will you be next?
2 people have marked this guide "completed." Including you — great job!
Favorites: 0 1
No one has favorited (and subscribed to) this guide. Will you be the first?
1 person has favorited (and subscribed to) this guide — and that's you!
In Progress
This guide is a work in progress. Reload periodically to see the latest changes!
Community-Contributed Guide
An awesome member of our community made this guide. It was not created by iFixit staff.
-
-
-
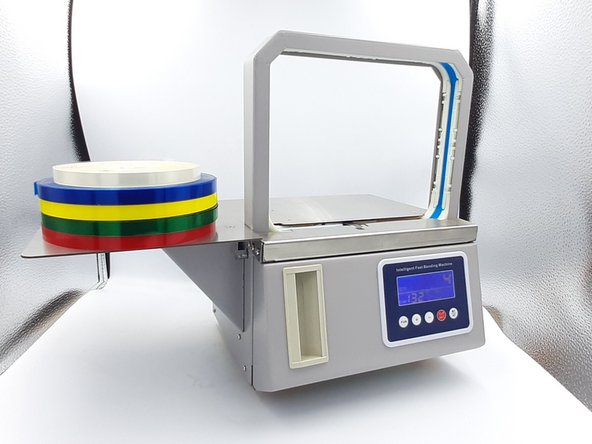
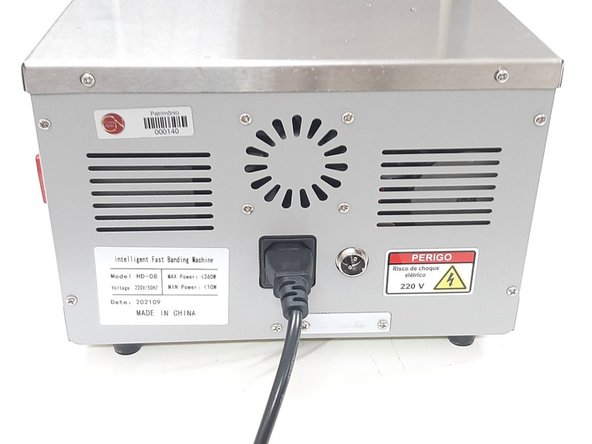
Main switch, designed to energize and de-energize the machine for maintenance procedures.
-
Power button, designed to turn the machine on or off.
-
-
-
To turn on the machine, activate the master switch, leaving the selector positioned at the I indicator (Photo 1).
-
Then press the (I) button to turn on the machine (Green) (Photo 2).
-
After 2 seconds, the control panel screen will light up (Photo 3).
-
-
-
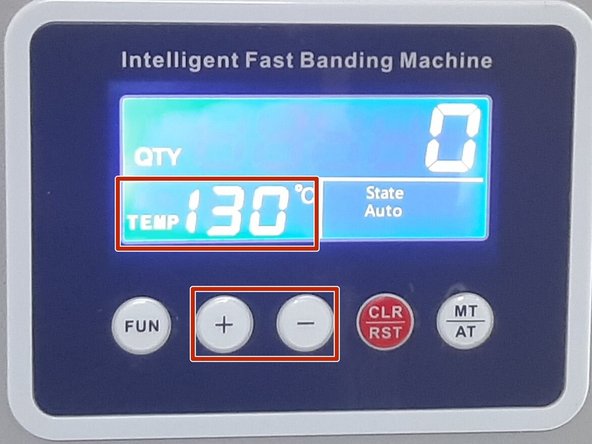
The + button is used to increase the machine's sealing temperature.
-
The - button is used to decrease the machine's sealing temperature (Photo 1).
-
The MT/AT button is used to switch between automatic and manual operating modes or vice versa (Photo 2).
-
The FUN button is used to enter the parameter configuration mode; there are 7 parameters in total.
-
-
-
Press the "FUN" key once; the temperature display value flashes, indicating that the machine has entered the parameter setting state.
-
Temperature value = 01: adjust the Tape tightness (the factory value is 6), press , the operating range is 1-30; the adjustment must be made according to the object to be sealed and the necessary tightness. To adjust, use the + and - keys.
-
Temperature value = 02: adjust the length of the tape tail after sealing (the factory value is 6), press the + or - keys to enter the required value, the value range (0-30). The higher the value, the longer the tail length, otherwise, it is shorter.
-
Temperature value = 03: start the sensor sensitivity adjustment (the factory value is 19), press the + or - keys to enter the required value, value range (3-60); the higher the value, the slower the response, otherwise it is more sensitive. Press the "function" key again to switch to the next setting item.
-
-
-
Temperature value = 4: initial delay time (the factory setting is 1), press the key to enter the desired value, range (1-9), each value represents 0.5s.
-
Temperature value = 5: set the tensioning time, this is the time the machine stretches the strap for sealing, the selection range is (1-10), and press "+" and "-" to enter the required value.
-
Temperature value = 6: adjust the strap cooling time, selection range is (6-30). Press the "+" and "-" keys to adjust the cooling time. The higher the value, the longer the cooling time. Adjust according to the principle that the greater the pulling force on the secured object, the longer the cooling time required.
-
-
-
Temperature value = 7: sets the speed at which the OPP Tape is applied to the machine; the adjustment range is (1-11). The higher the value, the faster the OPP Tape application speed. A speed that is too fast will cause the OPP Tape to become loose in the conveyor channel, resulting in irregular OPP Tape feeding.
-
-
-
Now let's load the OPP Tape rolls into the machine.
-
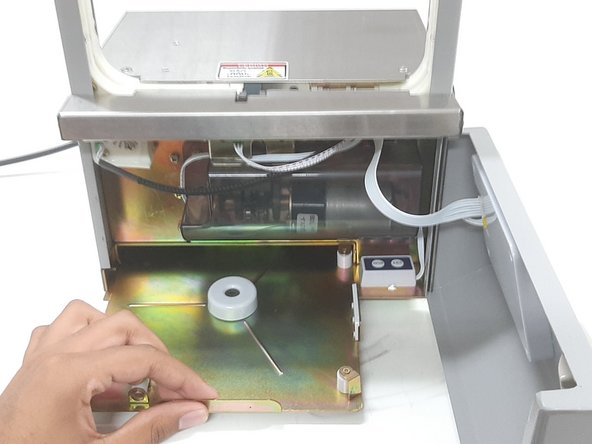
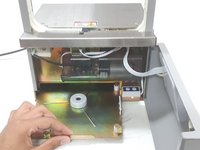
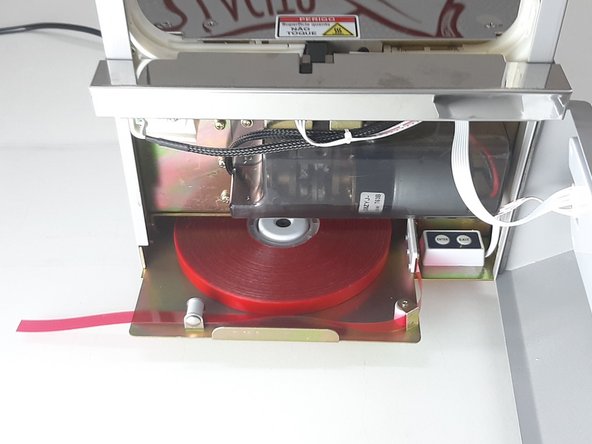
First, open the front cover of the machine and pull out the roll tray at the bottom. (Photos 1 and 2)
-
After that, place the roll in the tray according to photo 3.
-
-
-
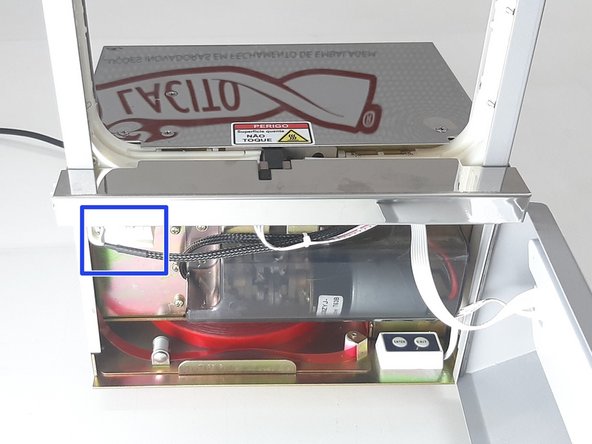
After that, take the end of the tape and pass it through the initial roller as shown in Photo 1.
-
Then pass the tape through the center guide and the center roller, as shown in Photo 2.
-
Then pass the tape through the center roller. (Photo 3)
-
-
-
Finally, insert the tape into the feeder and hold the tape in the feeder. (Photo 1 and 2)
-
With the tape positioned in the feeder, press the ENTER button on the inside of the machine. (Photo 3)
-
The machine should then pull the tape, after which the machine will be ready for use. (Photo 3)
-
-
-
-
To change the mode, simply press the MT/AT key on the control panel. The machine will indicate on the display which mode it is in, automatic or manual. (Photos 2 and 3)
-
-
-
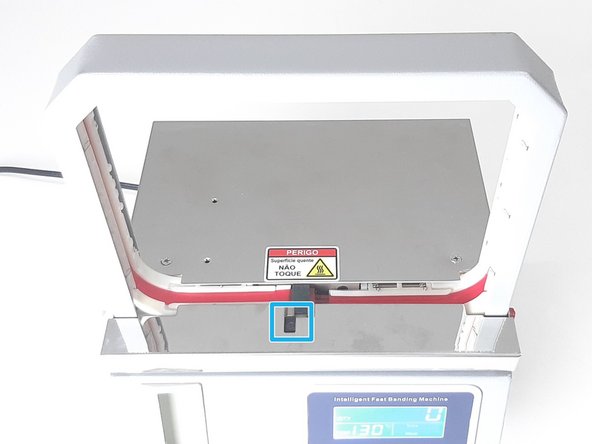
If the machine is in automatic mode, simply bring the object you wish to seal and move it close to the proximity sensor located on the machine base. Photos 1 and 2.
-
When the operator moves the object close to the sensor, the machine will immediately seal the merchandise. (Photo 2)
-
-
-
To use the machine in manual mode, you must connect the pedal to the back of the machine; connect the cable to the connector and tighten the locking nut.
-
After that, check which mode the machine is in, Manual or Automatic. If it is in Automatic, press the AT/MT key to switch to manual mode.
-
With the machine in manual mode, simply place the box inside the strapping arch and press the pedal with your foot to start the machine's operation.
-
-
-
We've reached the end. Leave a comment telling us what you thought—it's important for us to always be improving.
-
See you later.
-
 Ask FixBot














Cancel: I did not complete this guide.
One other person completed this guide.
Special thanks to these translators:
100%

redratchet21 is helping us fix the world! Want to contribute?
Start translating ›

